
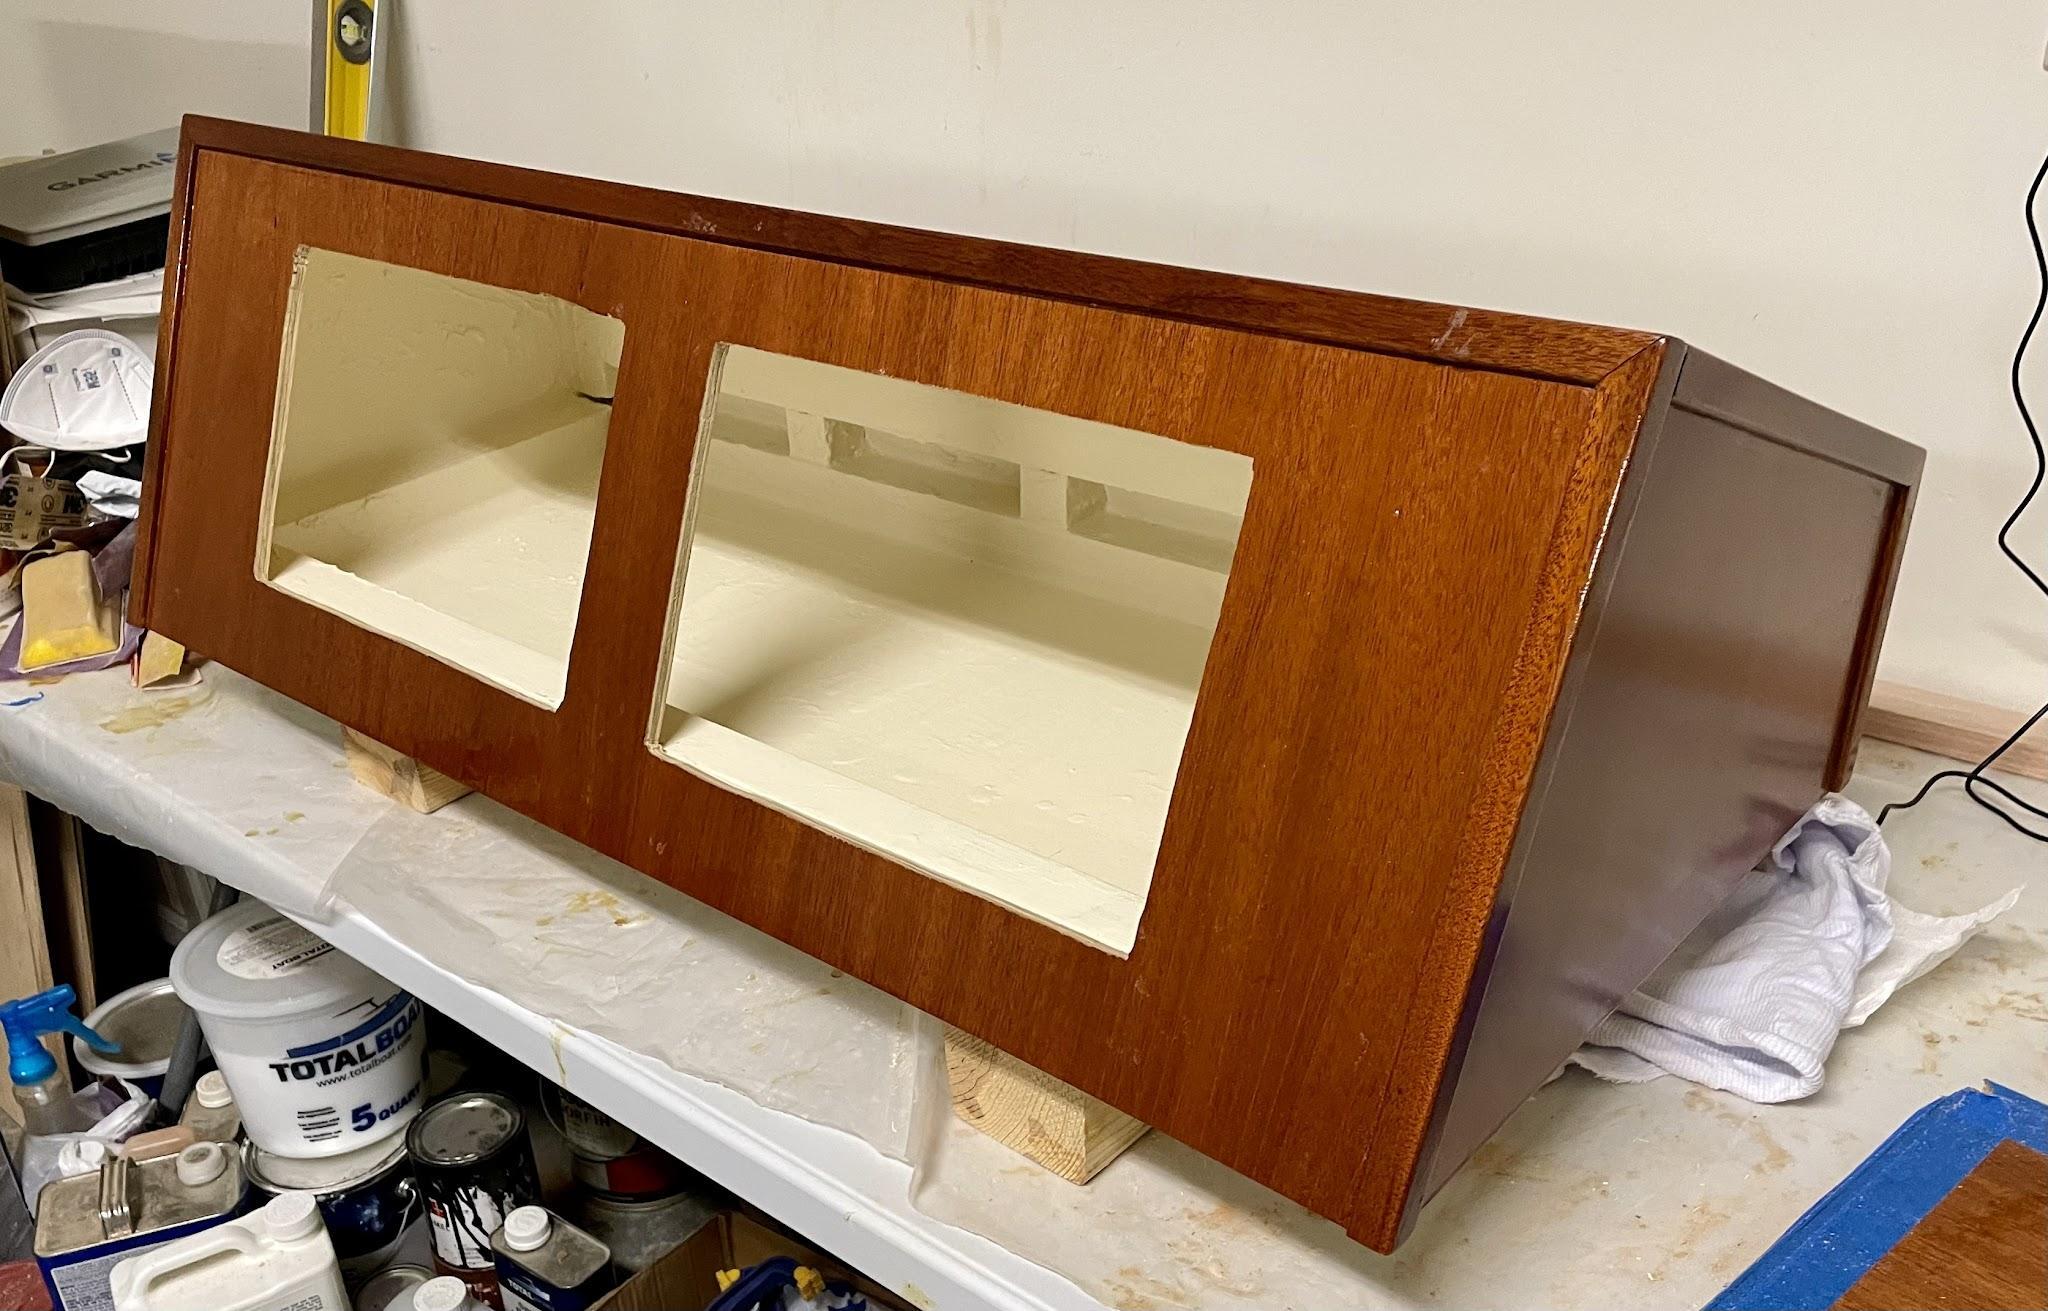
Once I was satisfied with the cardboard prototype that I’d fabricated for the pilothouse console, I made some sketches of it on graph paper by using the prototype as a guide for the console’s shape, depth, and front-panel angle. I then began building the actual console.
I started by cutting the console’s base from half-inch oak plywood—a simple beginning, but every project has to start somewhere. I also sanded both sides and all edges to ensure that the board was square and the edges were flat. In addition, I checked its measurements to be sure that the dimensions, when combined with the planned outer panels, would correspond to the overall size of the prototype.
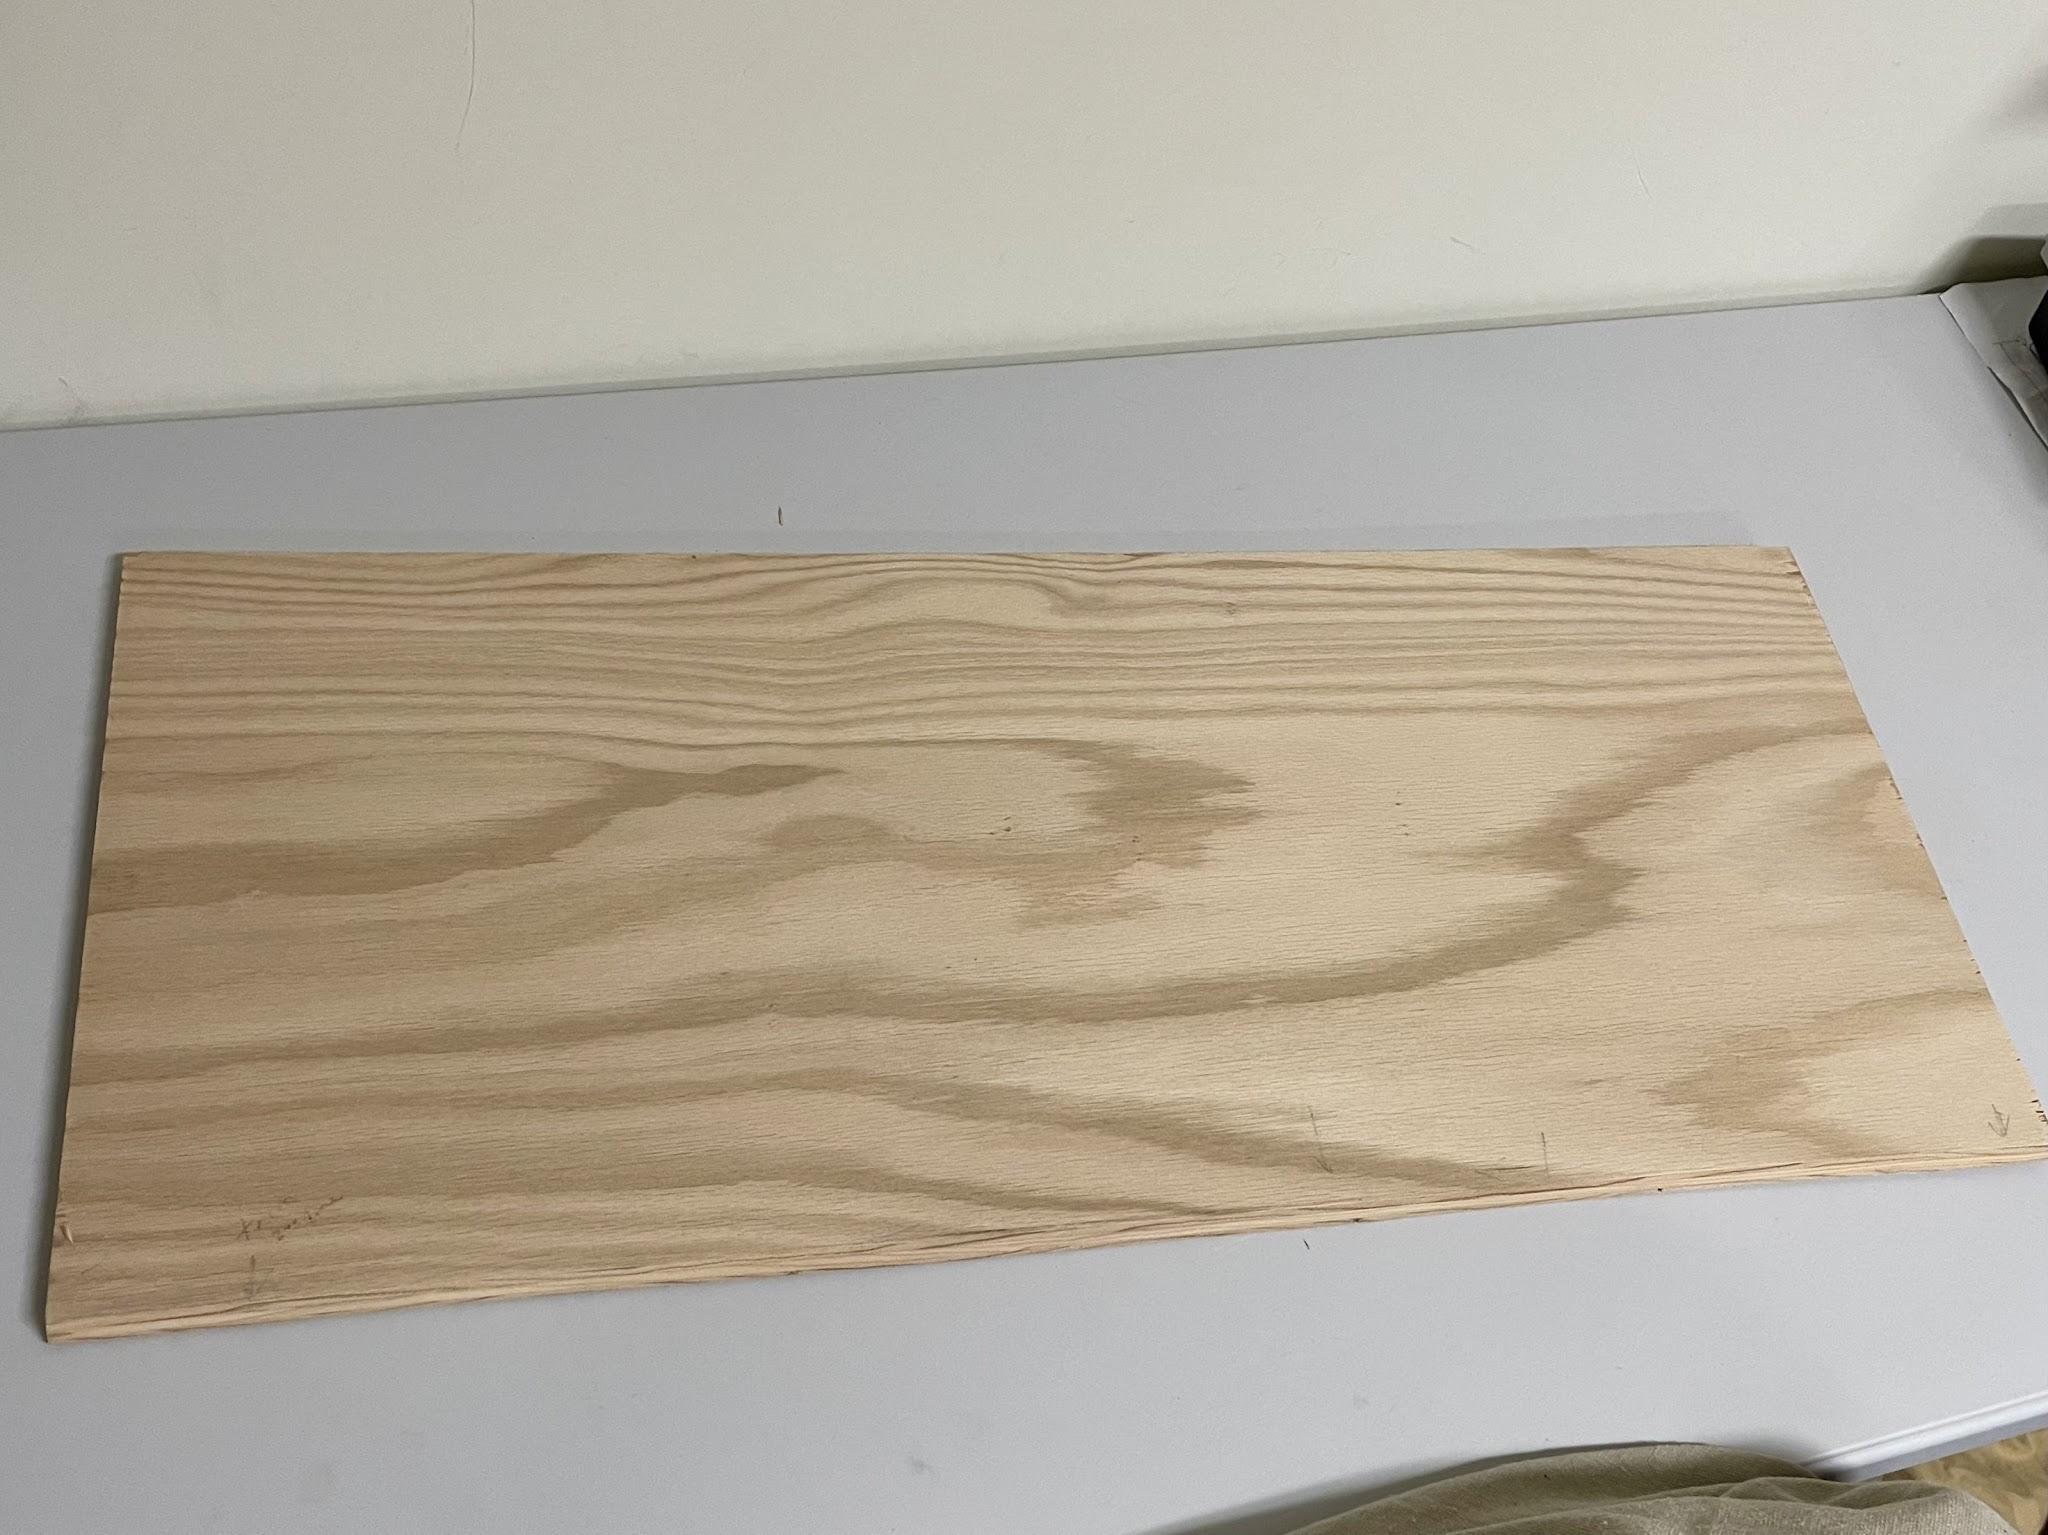
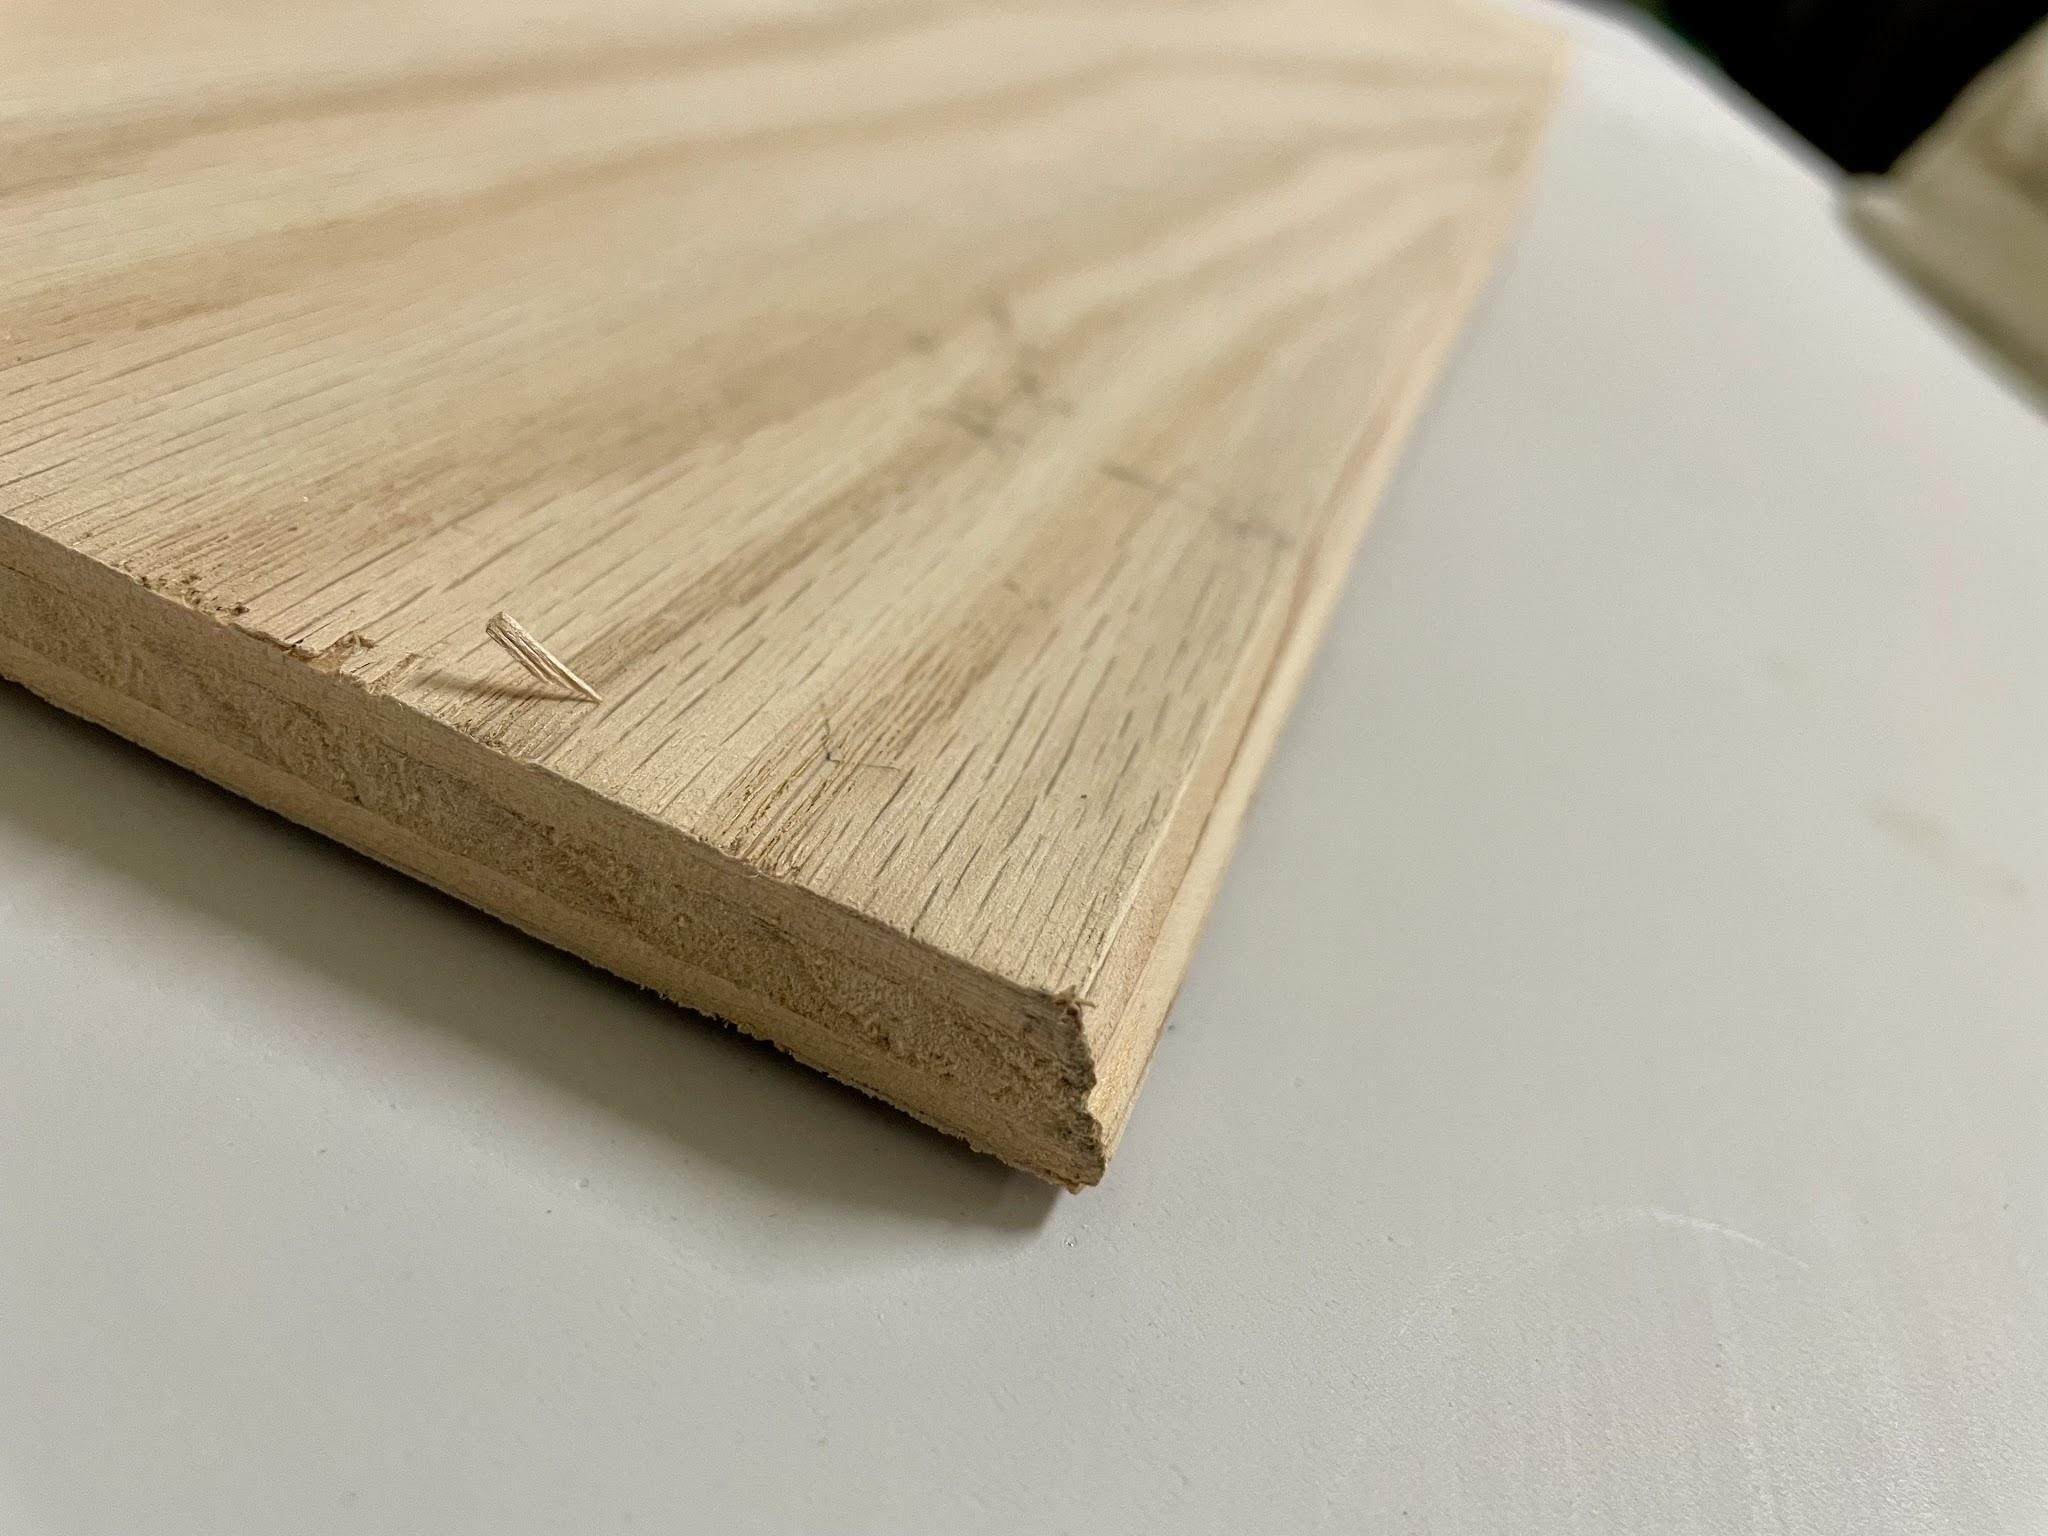
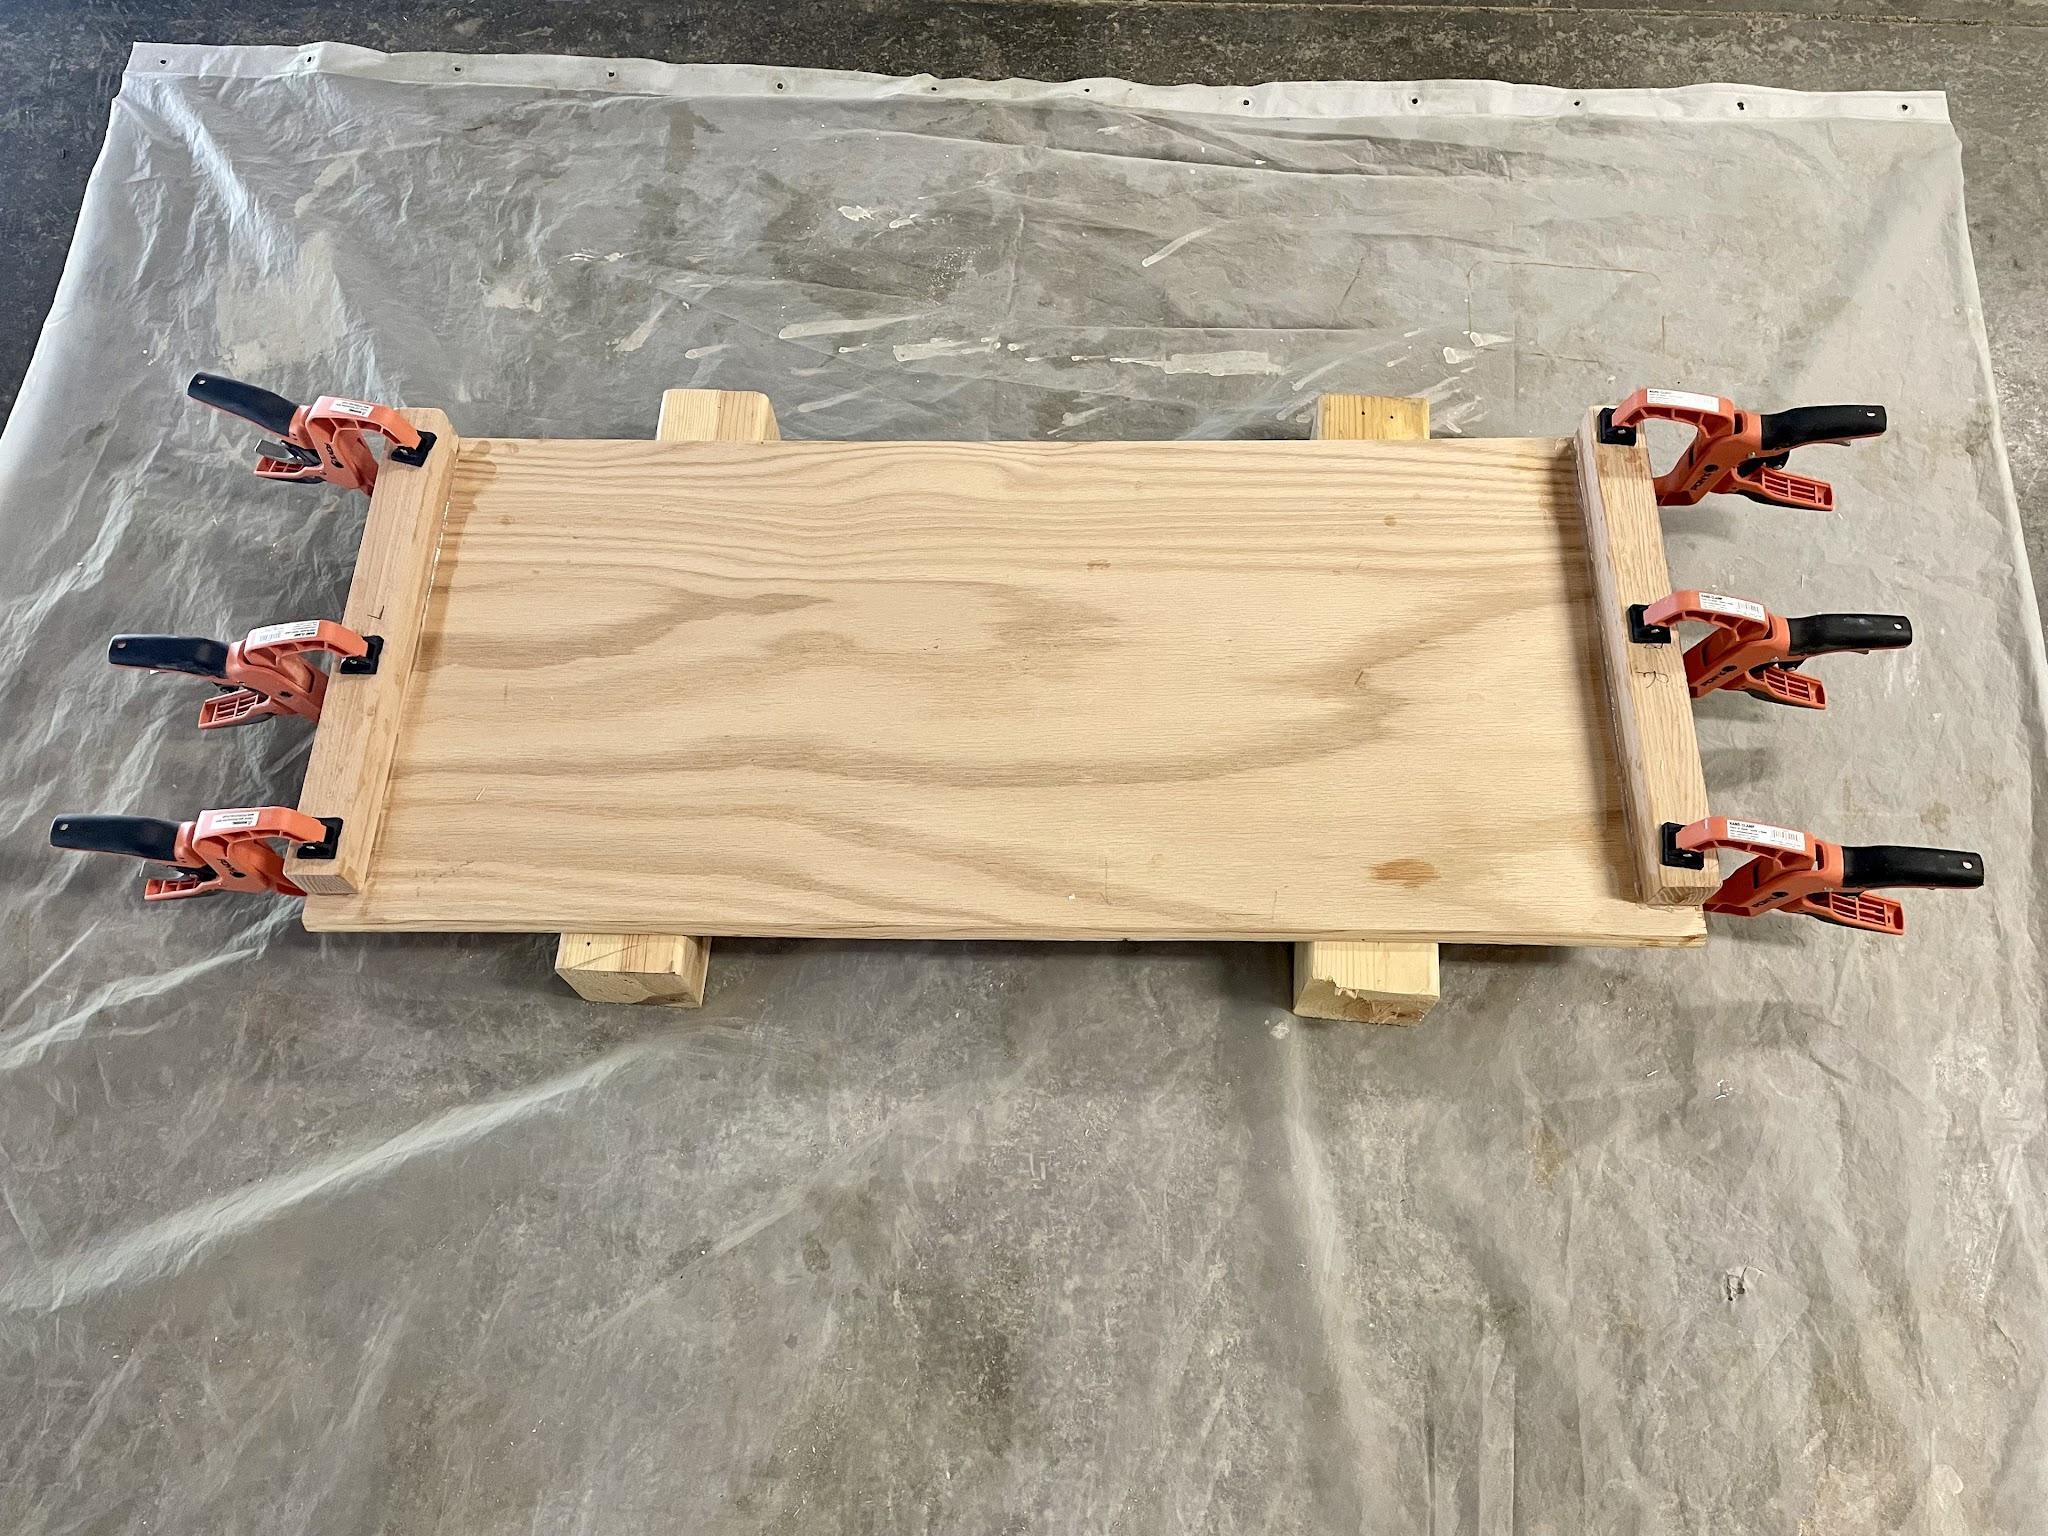
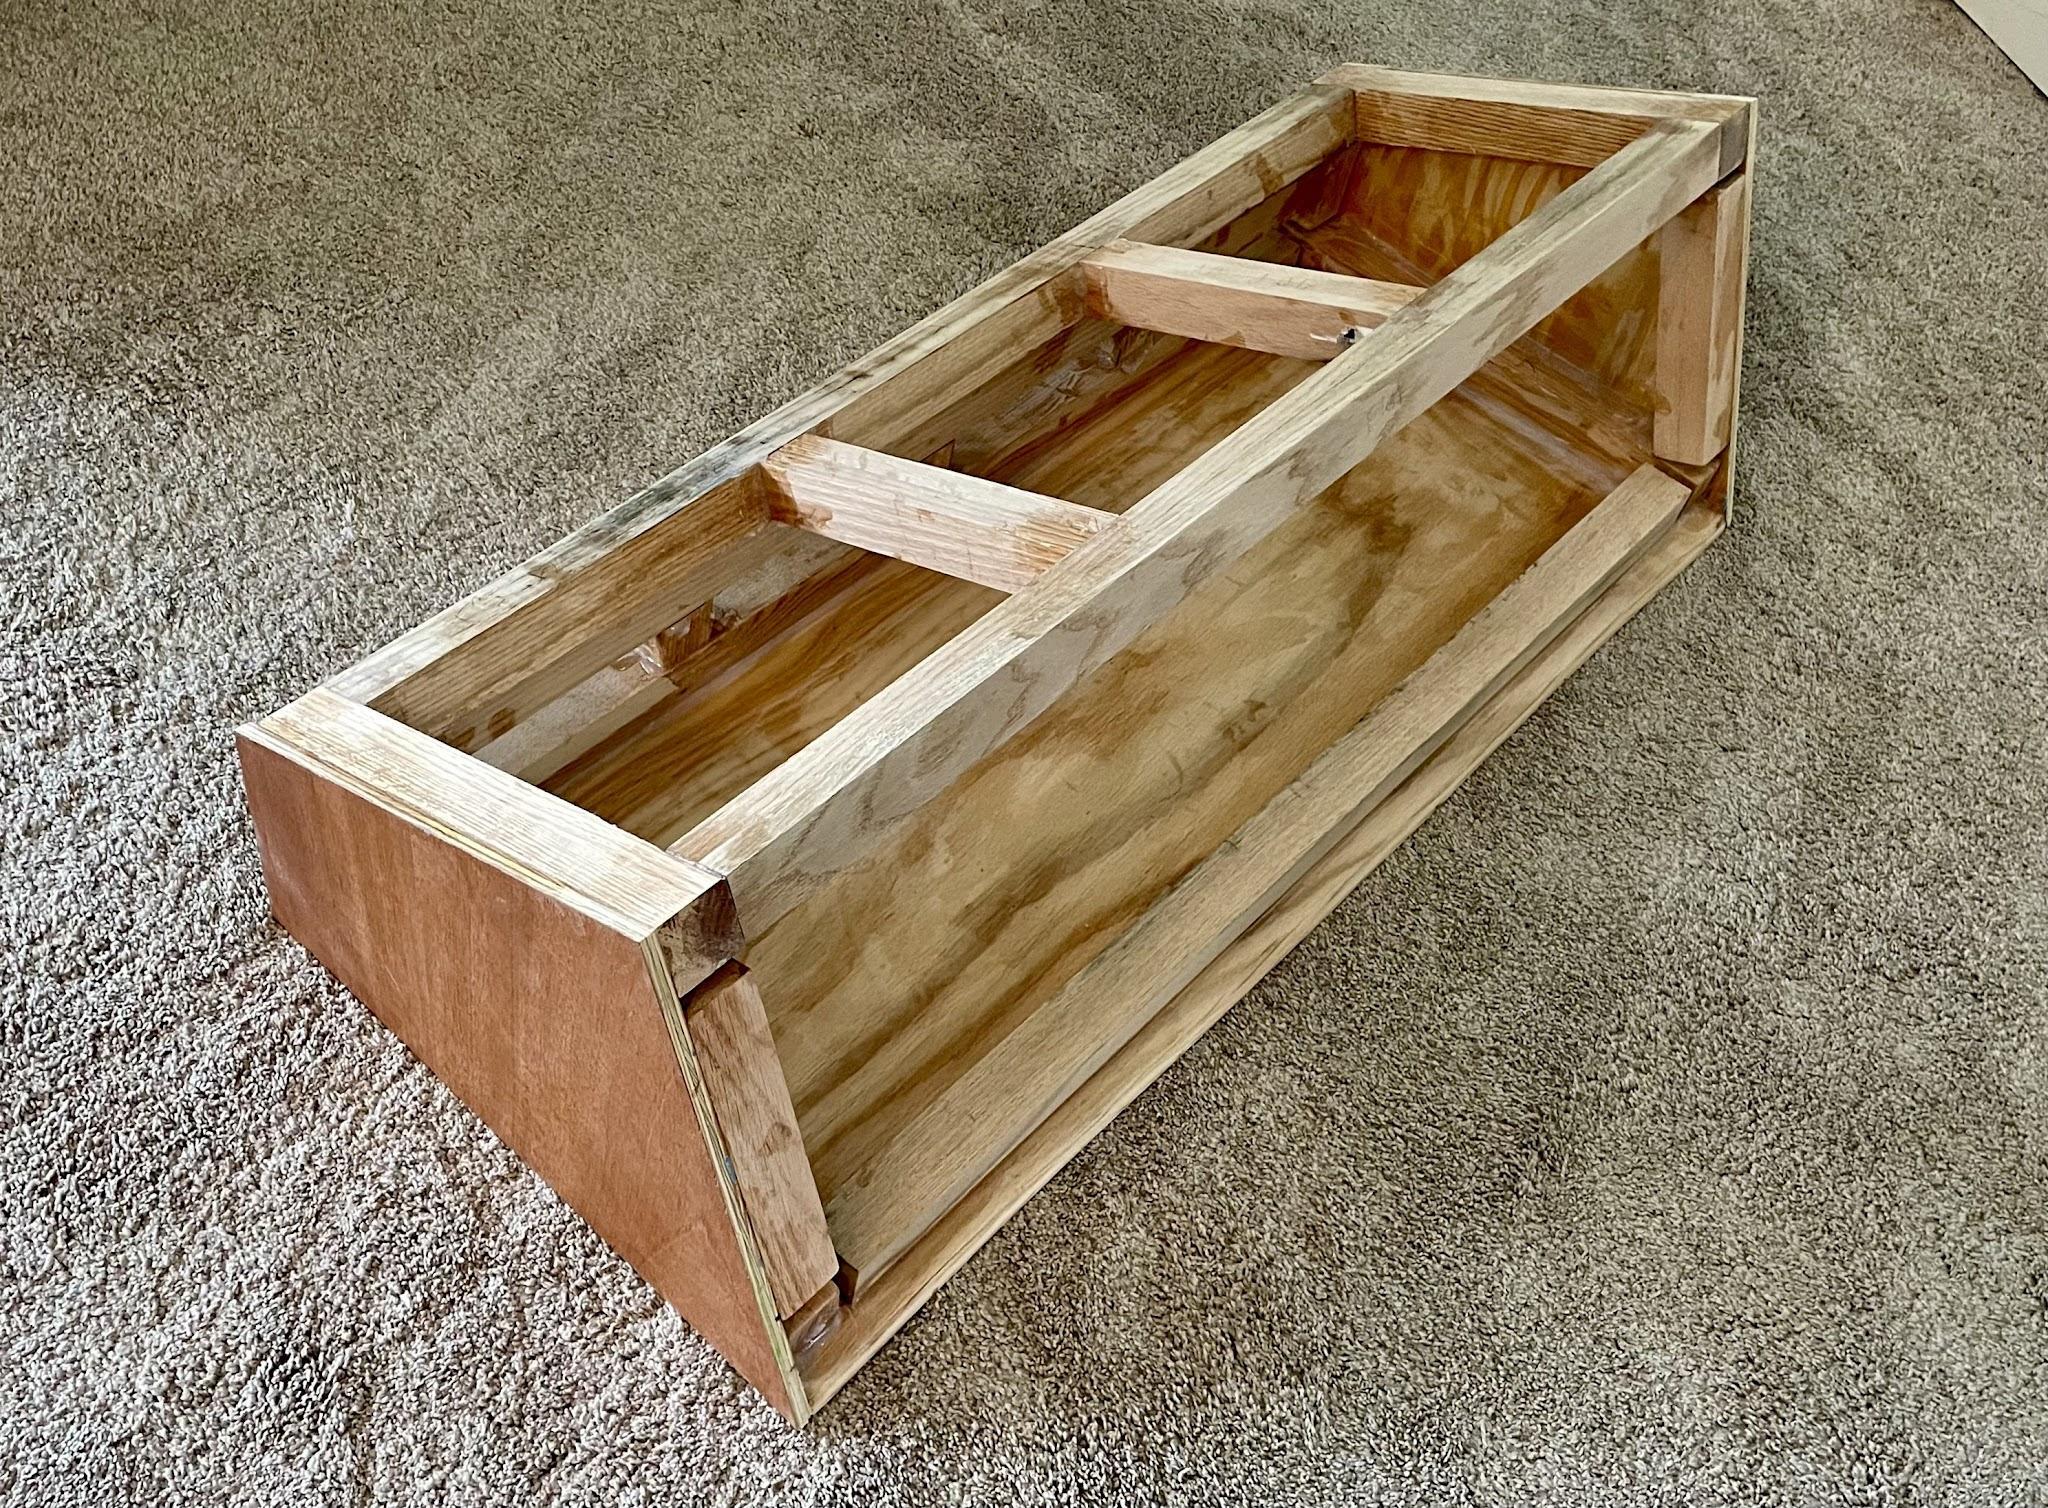
I proceeded with cutting and installing oak 2x2s at the ends of the base board. These 2x2s were the beginning of the frame for the panels (“shell”) of the console cabinet.
I then used one of the cardboard prototype’s sides as a pattern for the two mahogany veneer plywood side panels and scribed a cutting line along the cardboard’s perimeter. The mahogany veneer was only on one side of the panel that I was cutting, so I had to be sure that the orientation was right for each panel when outlining the cutting lines. As usual, I checked that several times for each panel on its targeted installation side to be certain that the mahogany side would be on the exterior side of the console (and not the interior side, which of course would mean recutting another board).
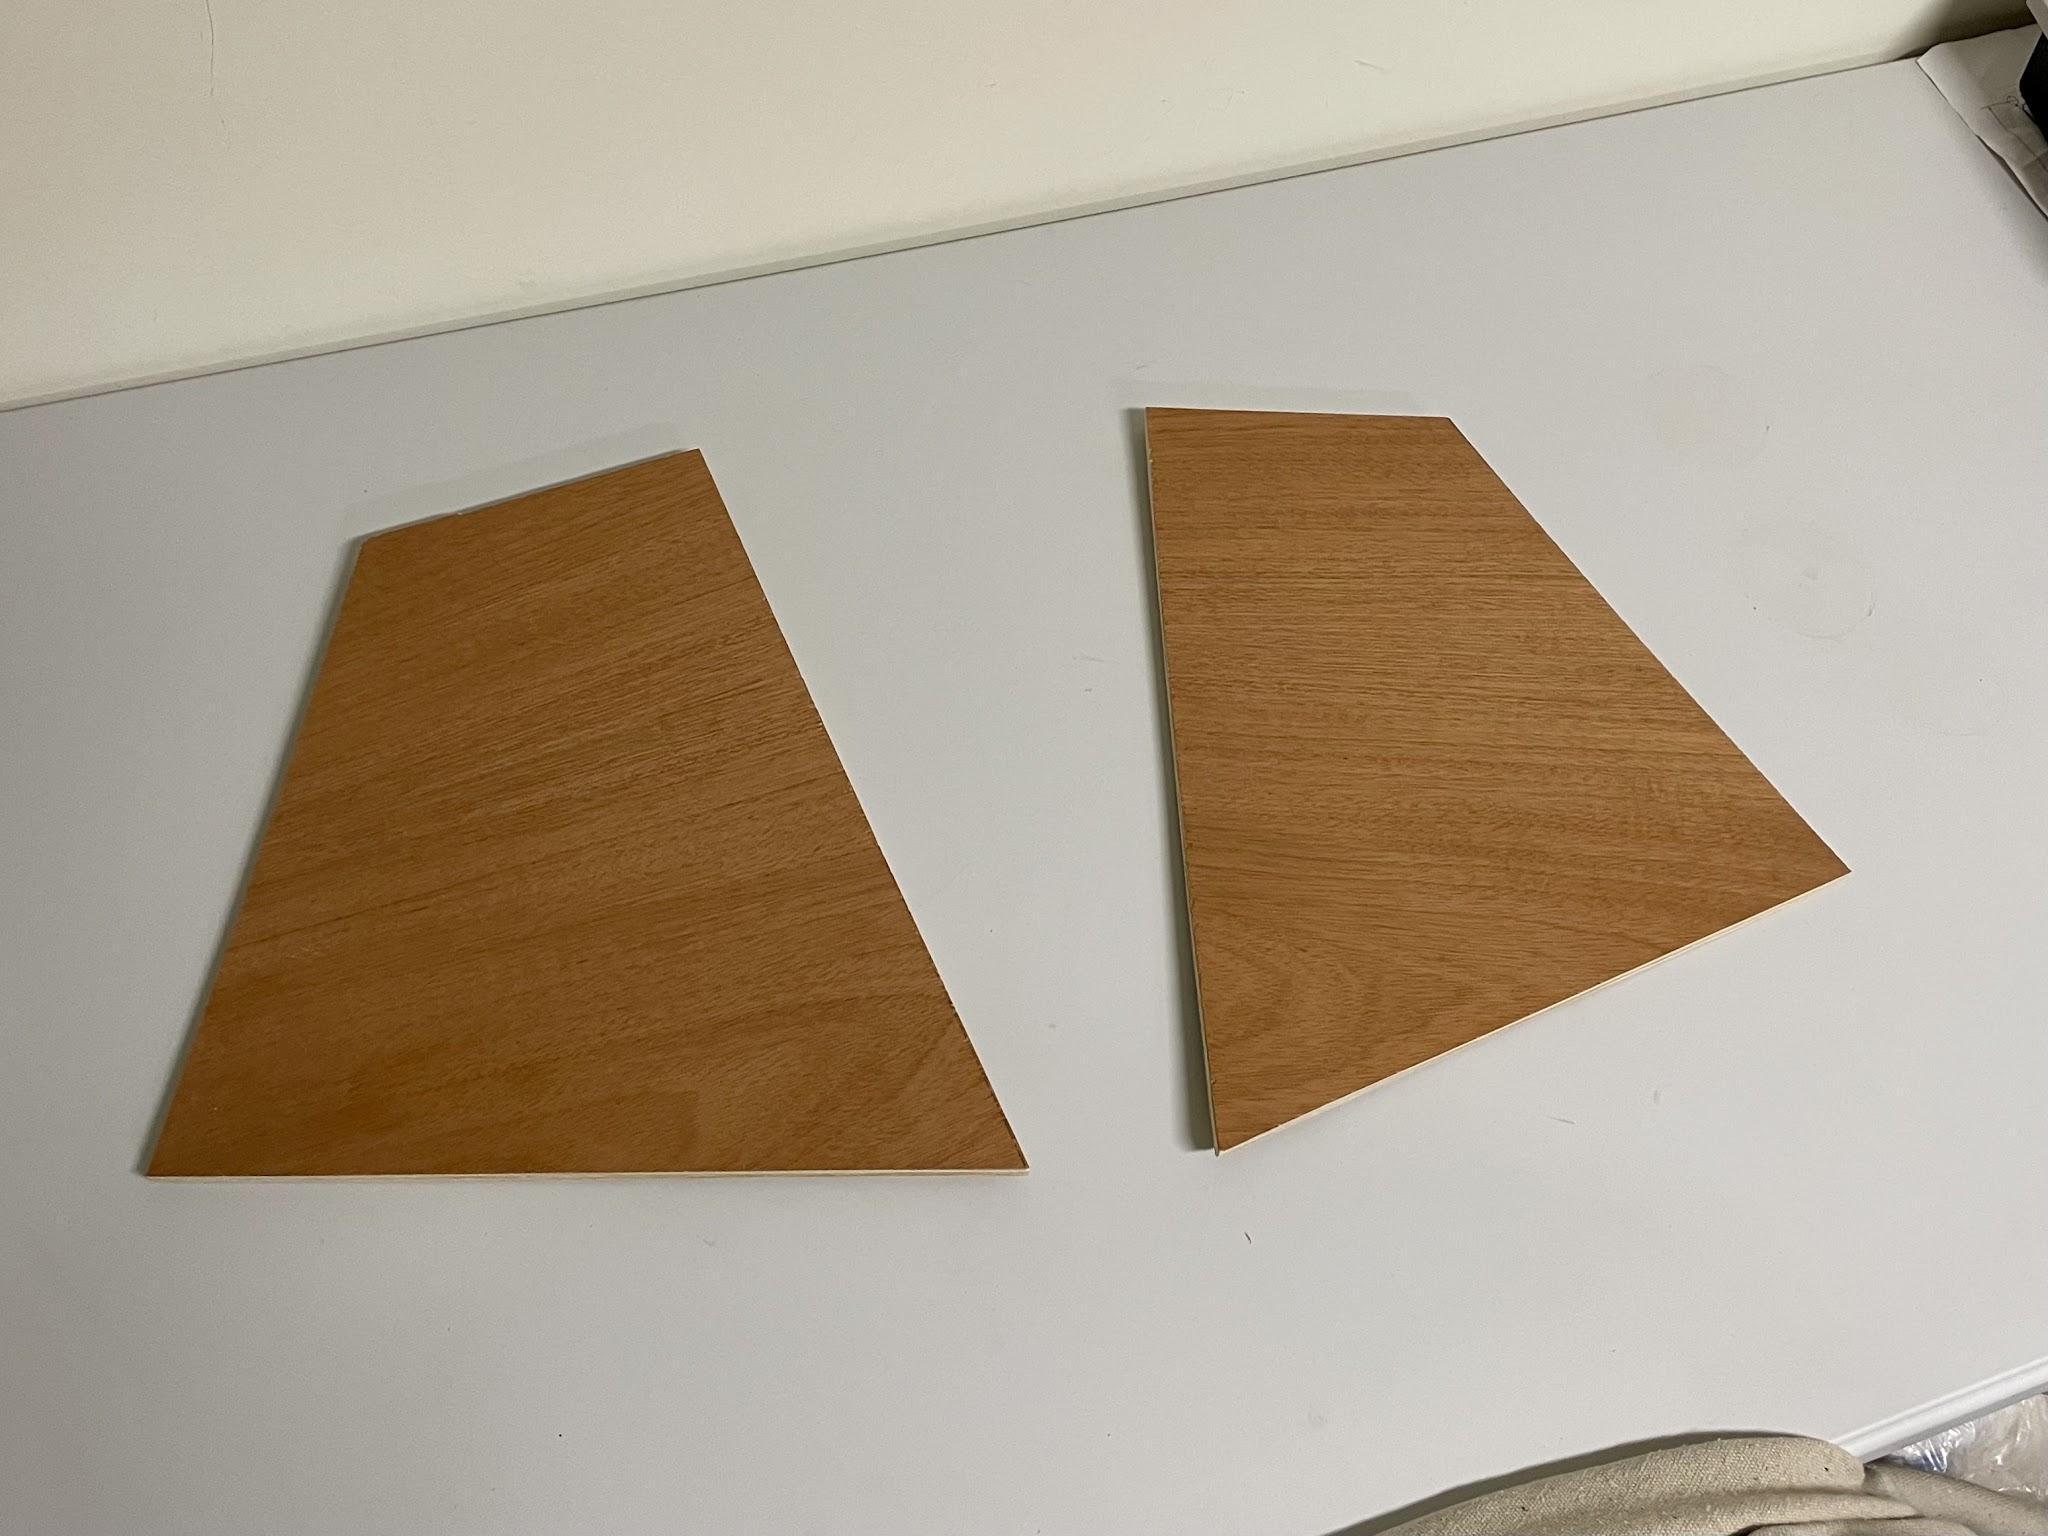
All panels (except the base board) were cut from mahogany veneer glued to ¼-inch oak plywood. I had previously made the mahogany veneer panels using a vacuum press that I’d constructed (another project).
After rough-cutting the side panels, I placed them on top of each other and sanded their edges together so both sides would have the same shape—as close to “exact” as I could get.
I then epoxied the side panels to the base board and supports. After a couple of dry runs attaching the panels with clamps, I applied the epoxy and clamped everything down while the base was flat on the floor (on plastic) to ensure that the panels were flush with the bottom of the base. I’d mixed the epoxy a bit too thick, which caused the boards to slide around some after being clamped. So I nervously checked them several times and adjusted the alignment a couple of times before the curing took hold. The last thing I wanted at this point was to come back to the cured assembly later and find that the sides had slipped from where they needed to be.
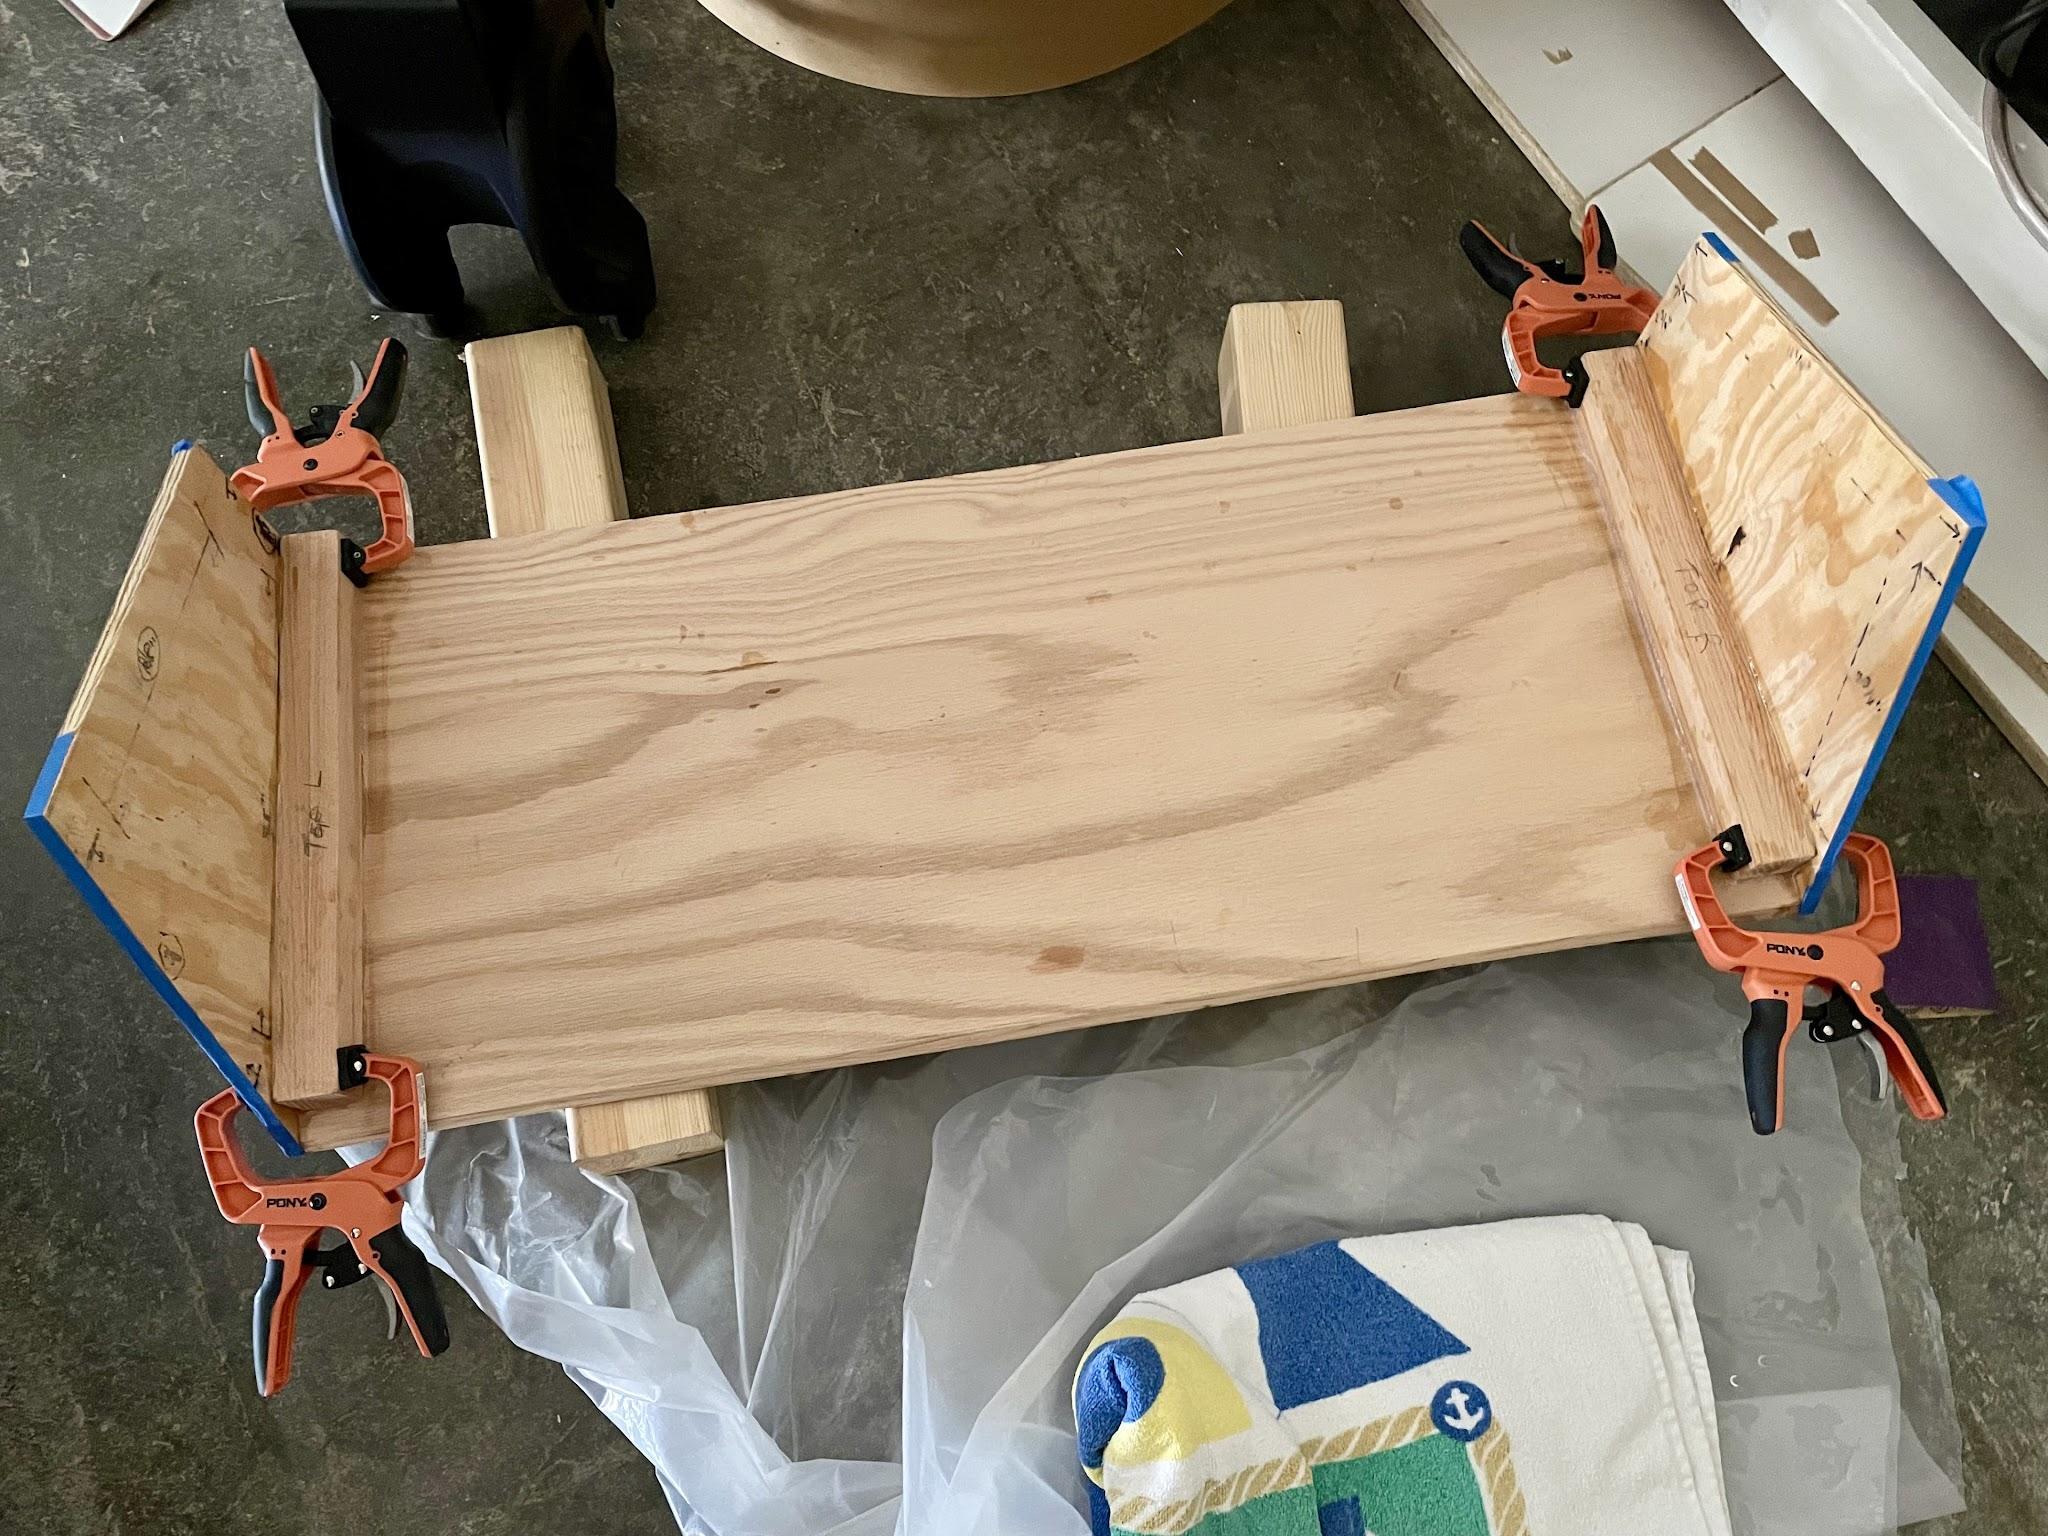
After the side panels fully cured to the bottom supports, I installed oak 2x2s flush with the edges of the side panels. These would provide some of the support for the remaining front, top, and back panels.
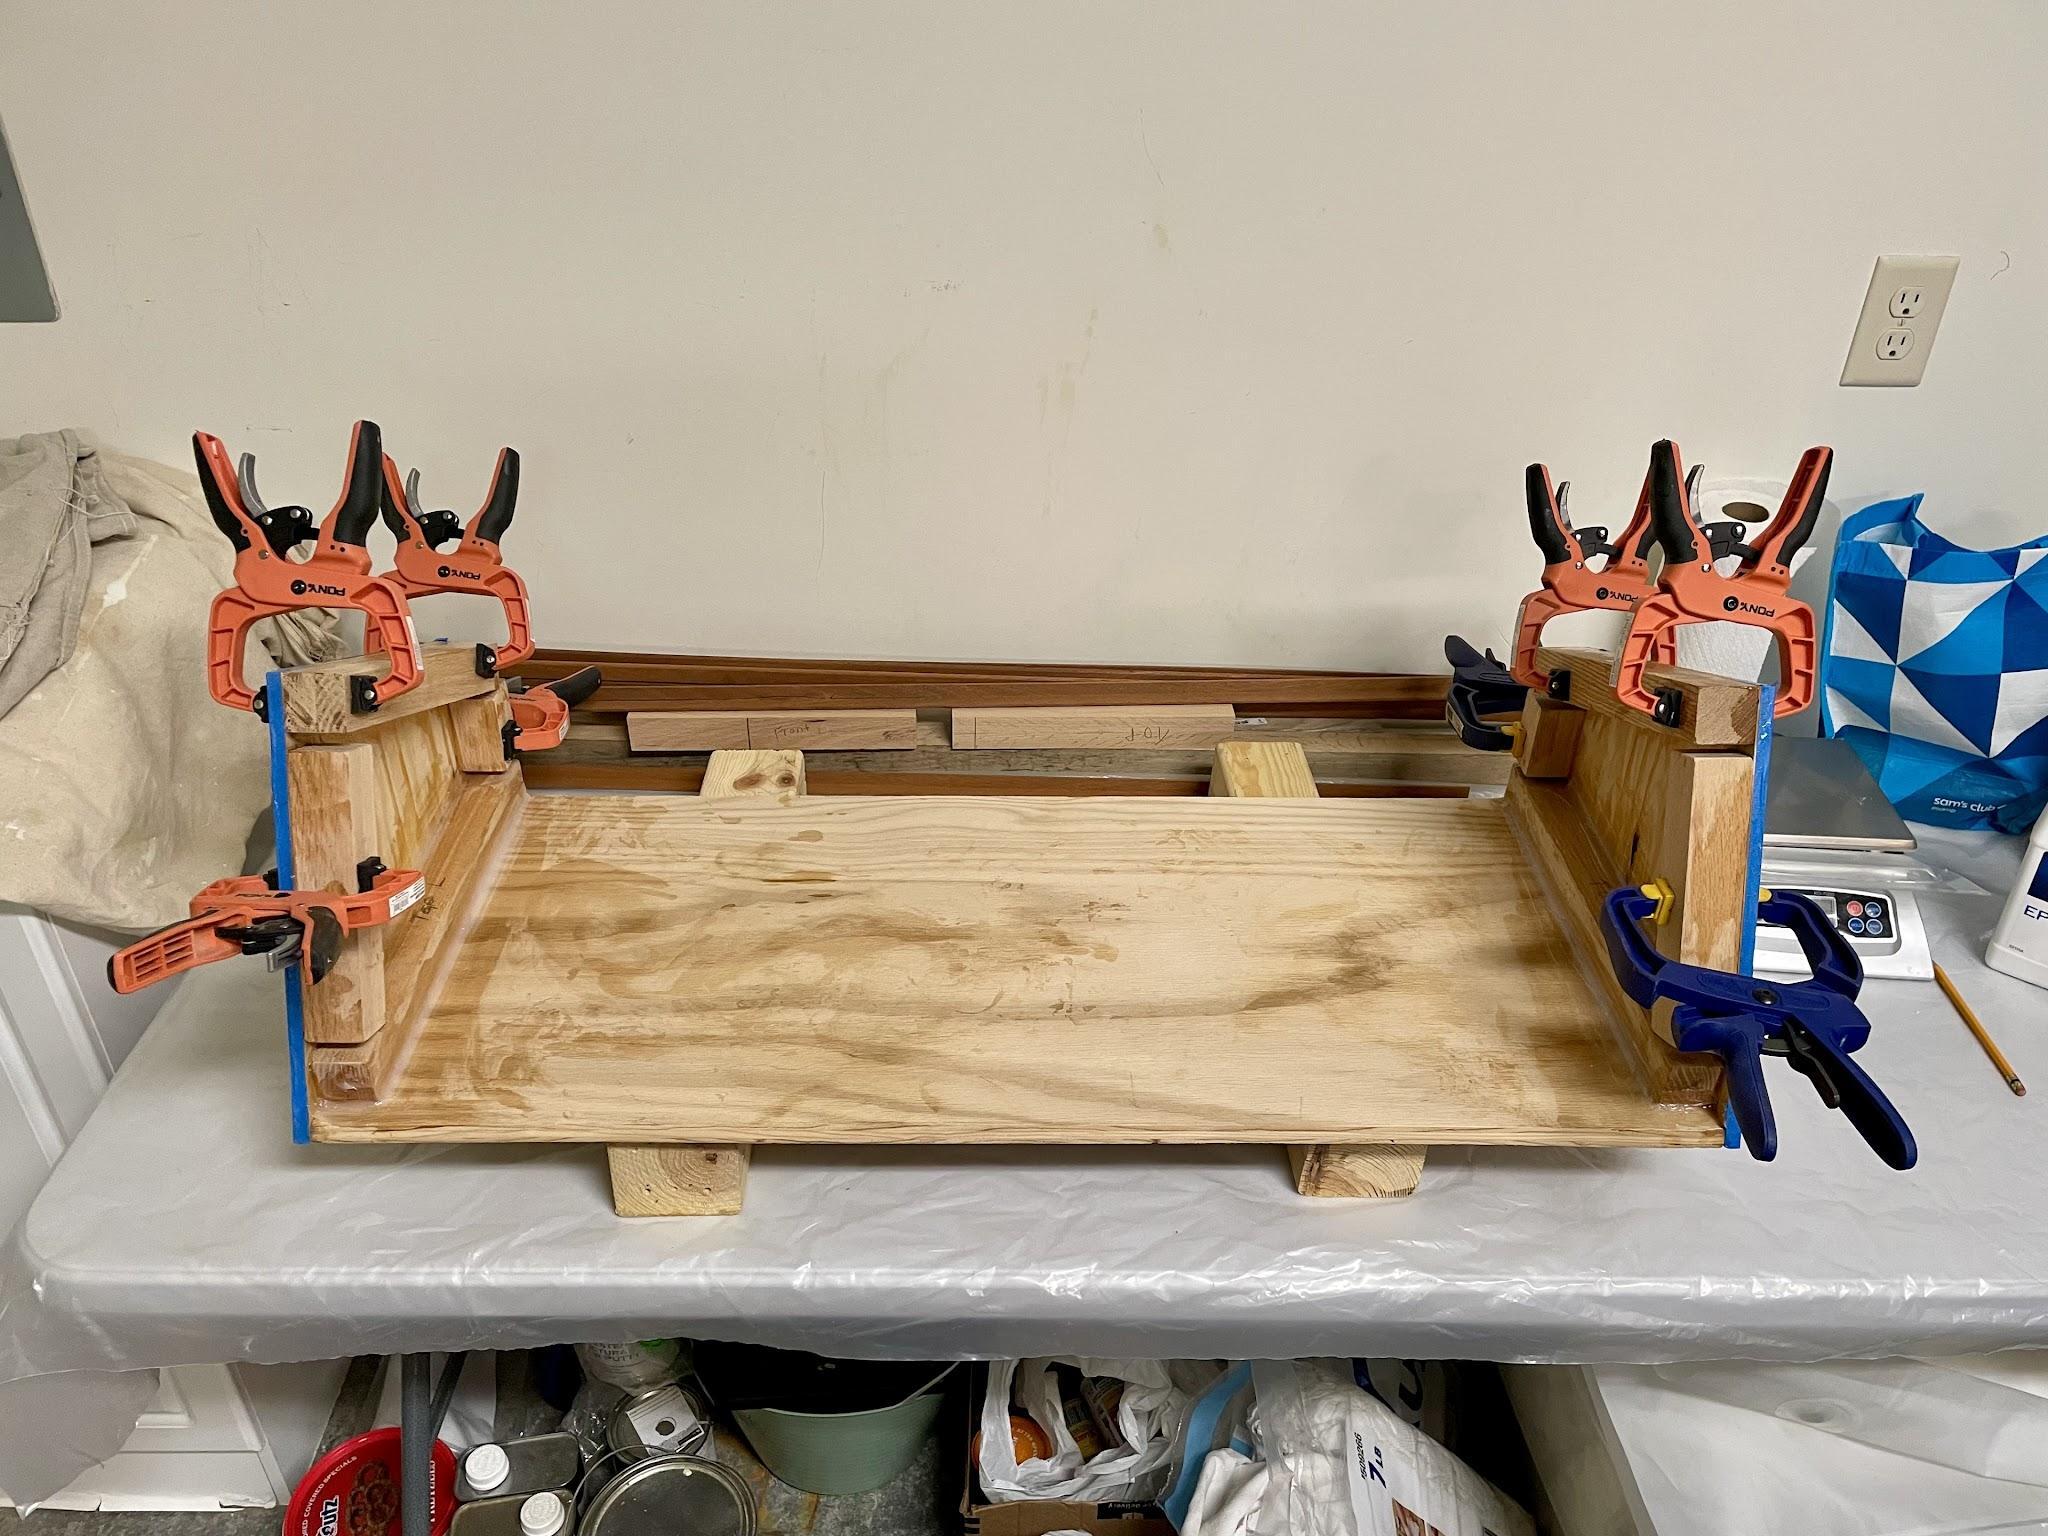
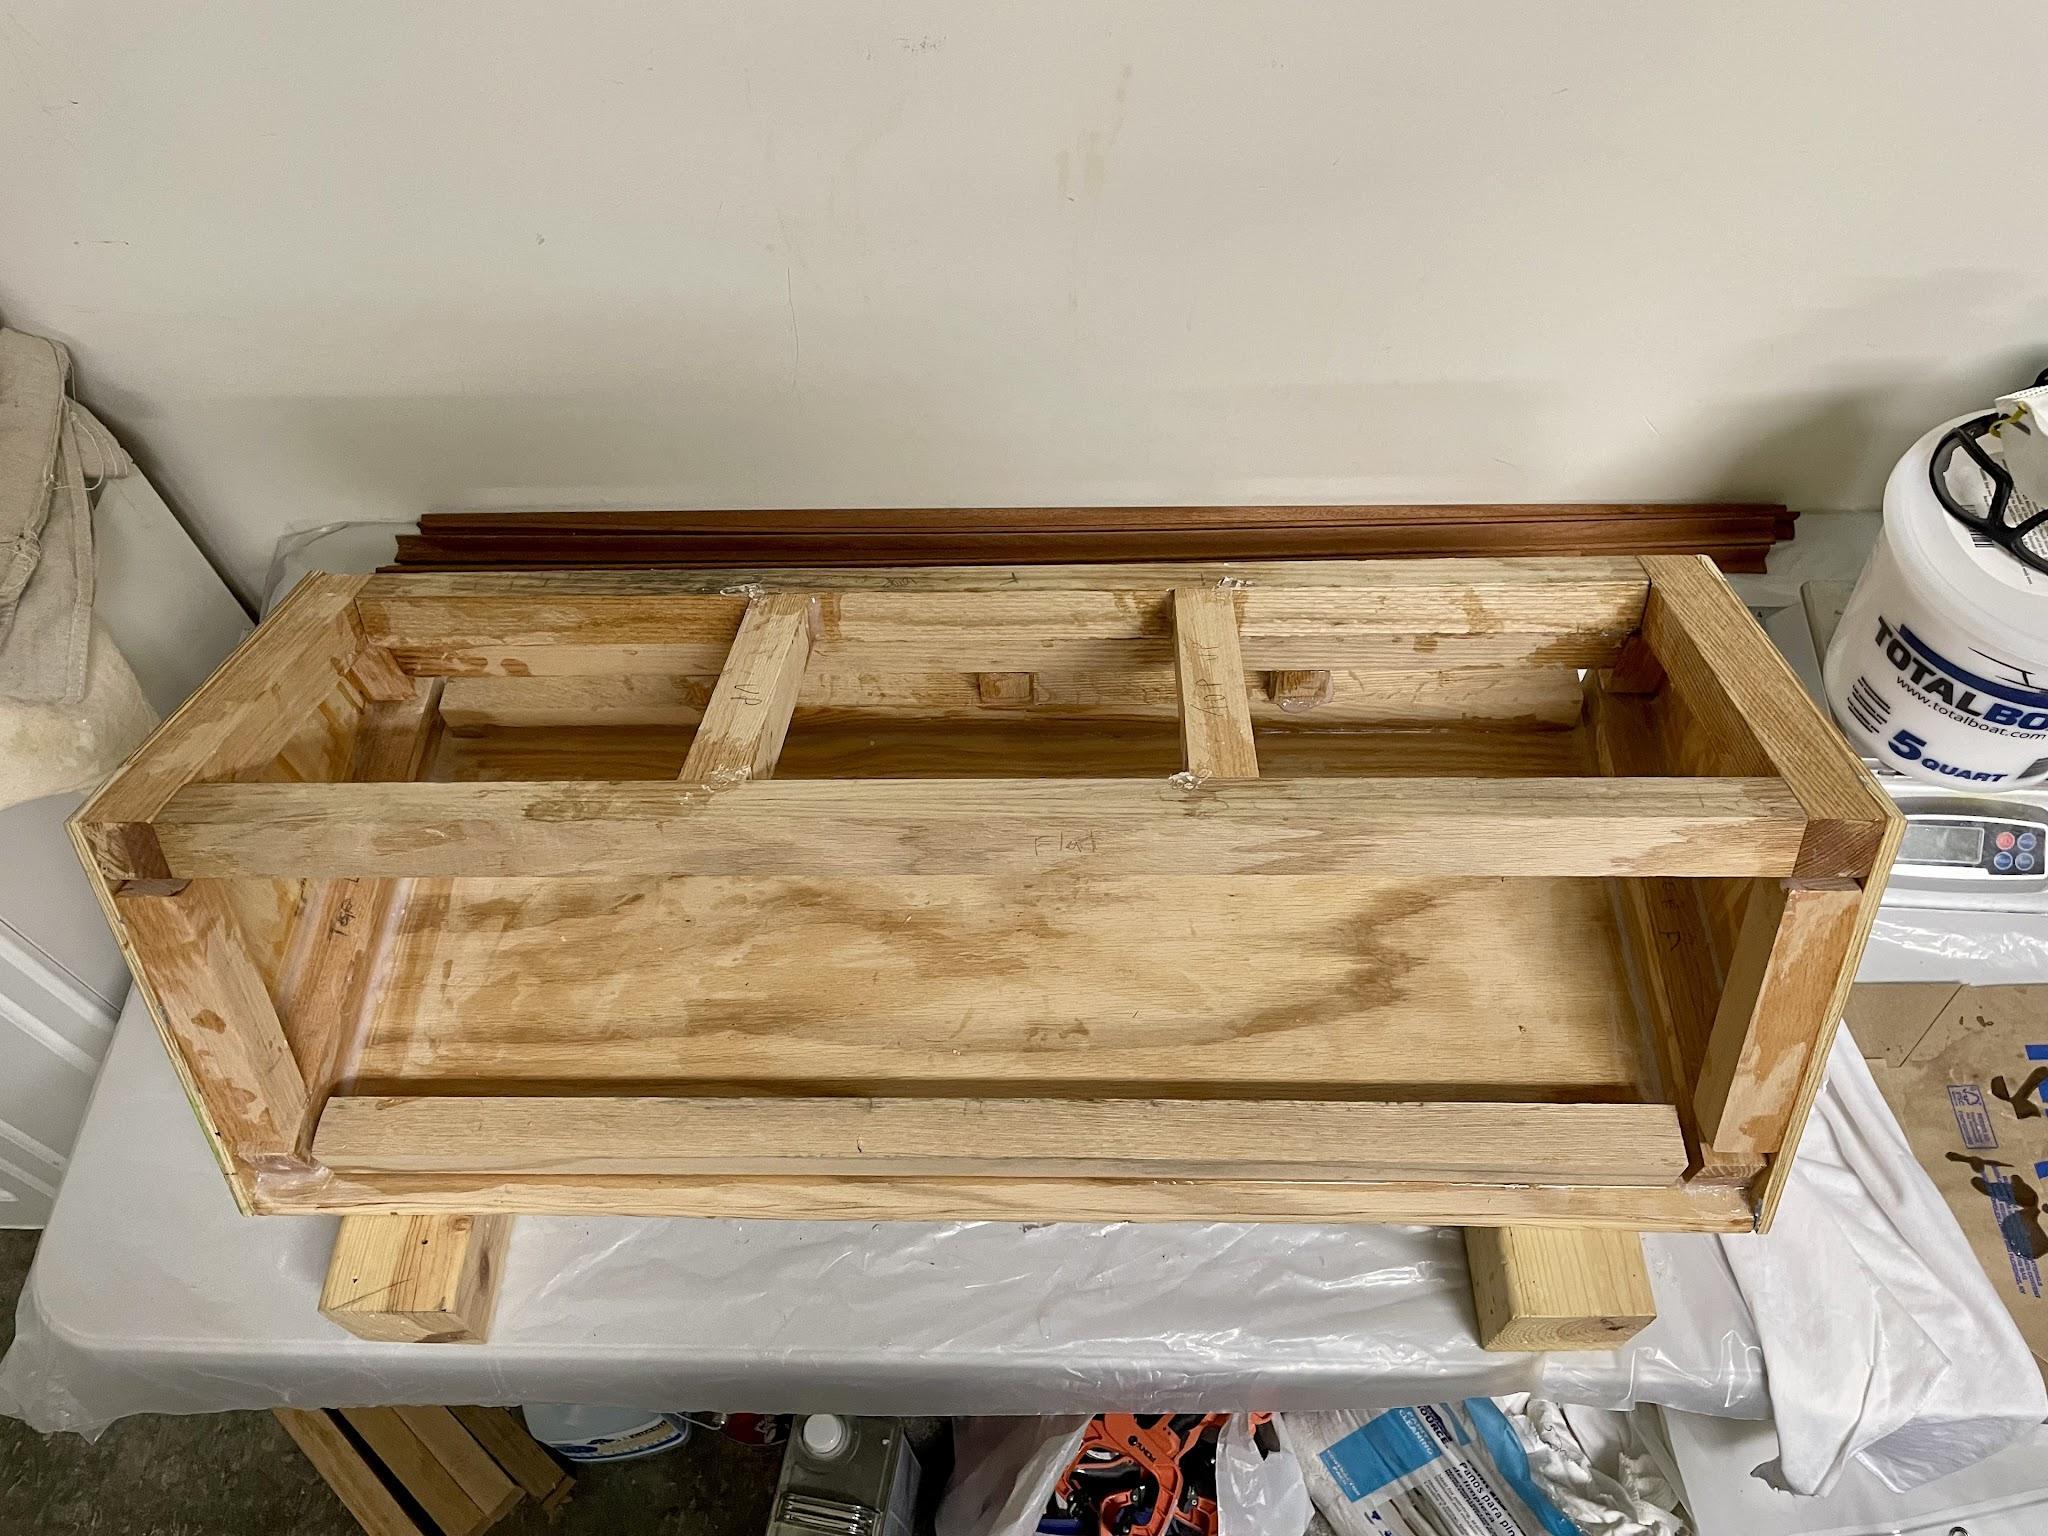
The next step was to install the additional lengthwise oak 2x2s to provide additional supports for the front, top, and back panels. I did several dry runs with the 2x2s and trimmed their lengths as needed to be sure that the side panels (which could still flex at this point) were straight and perpendicular to the base with the supports in place. Since this was a key alignment step, I spent some time making sure that it was right.
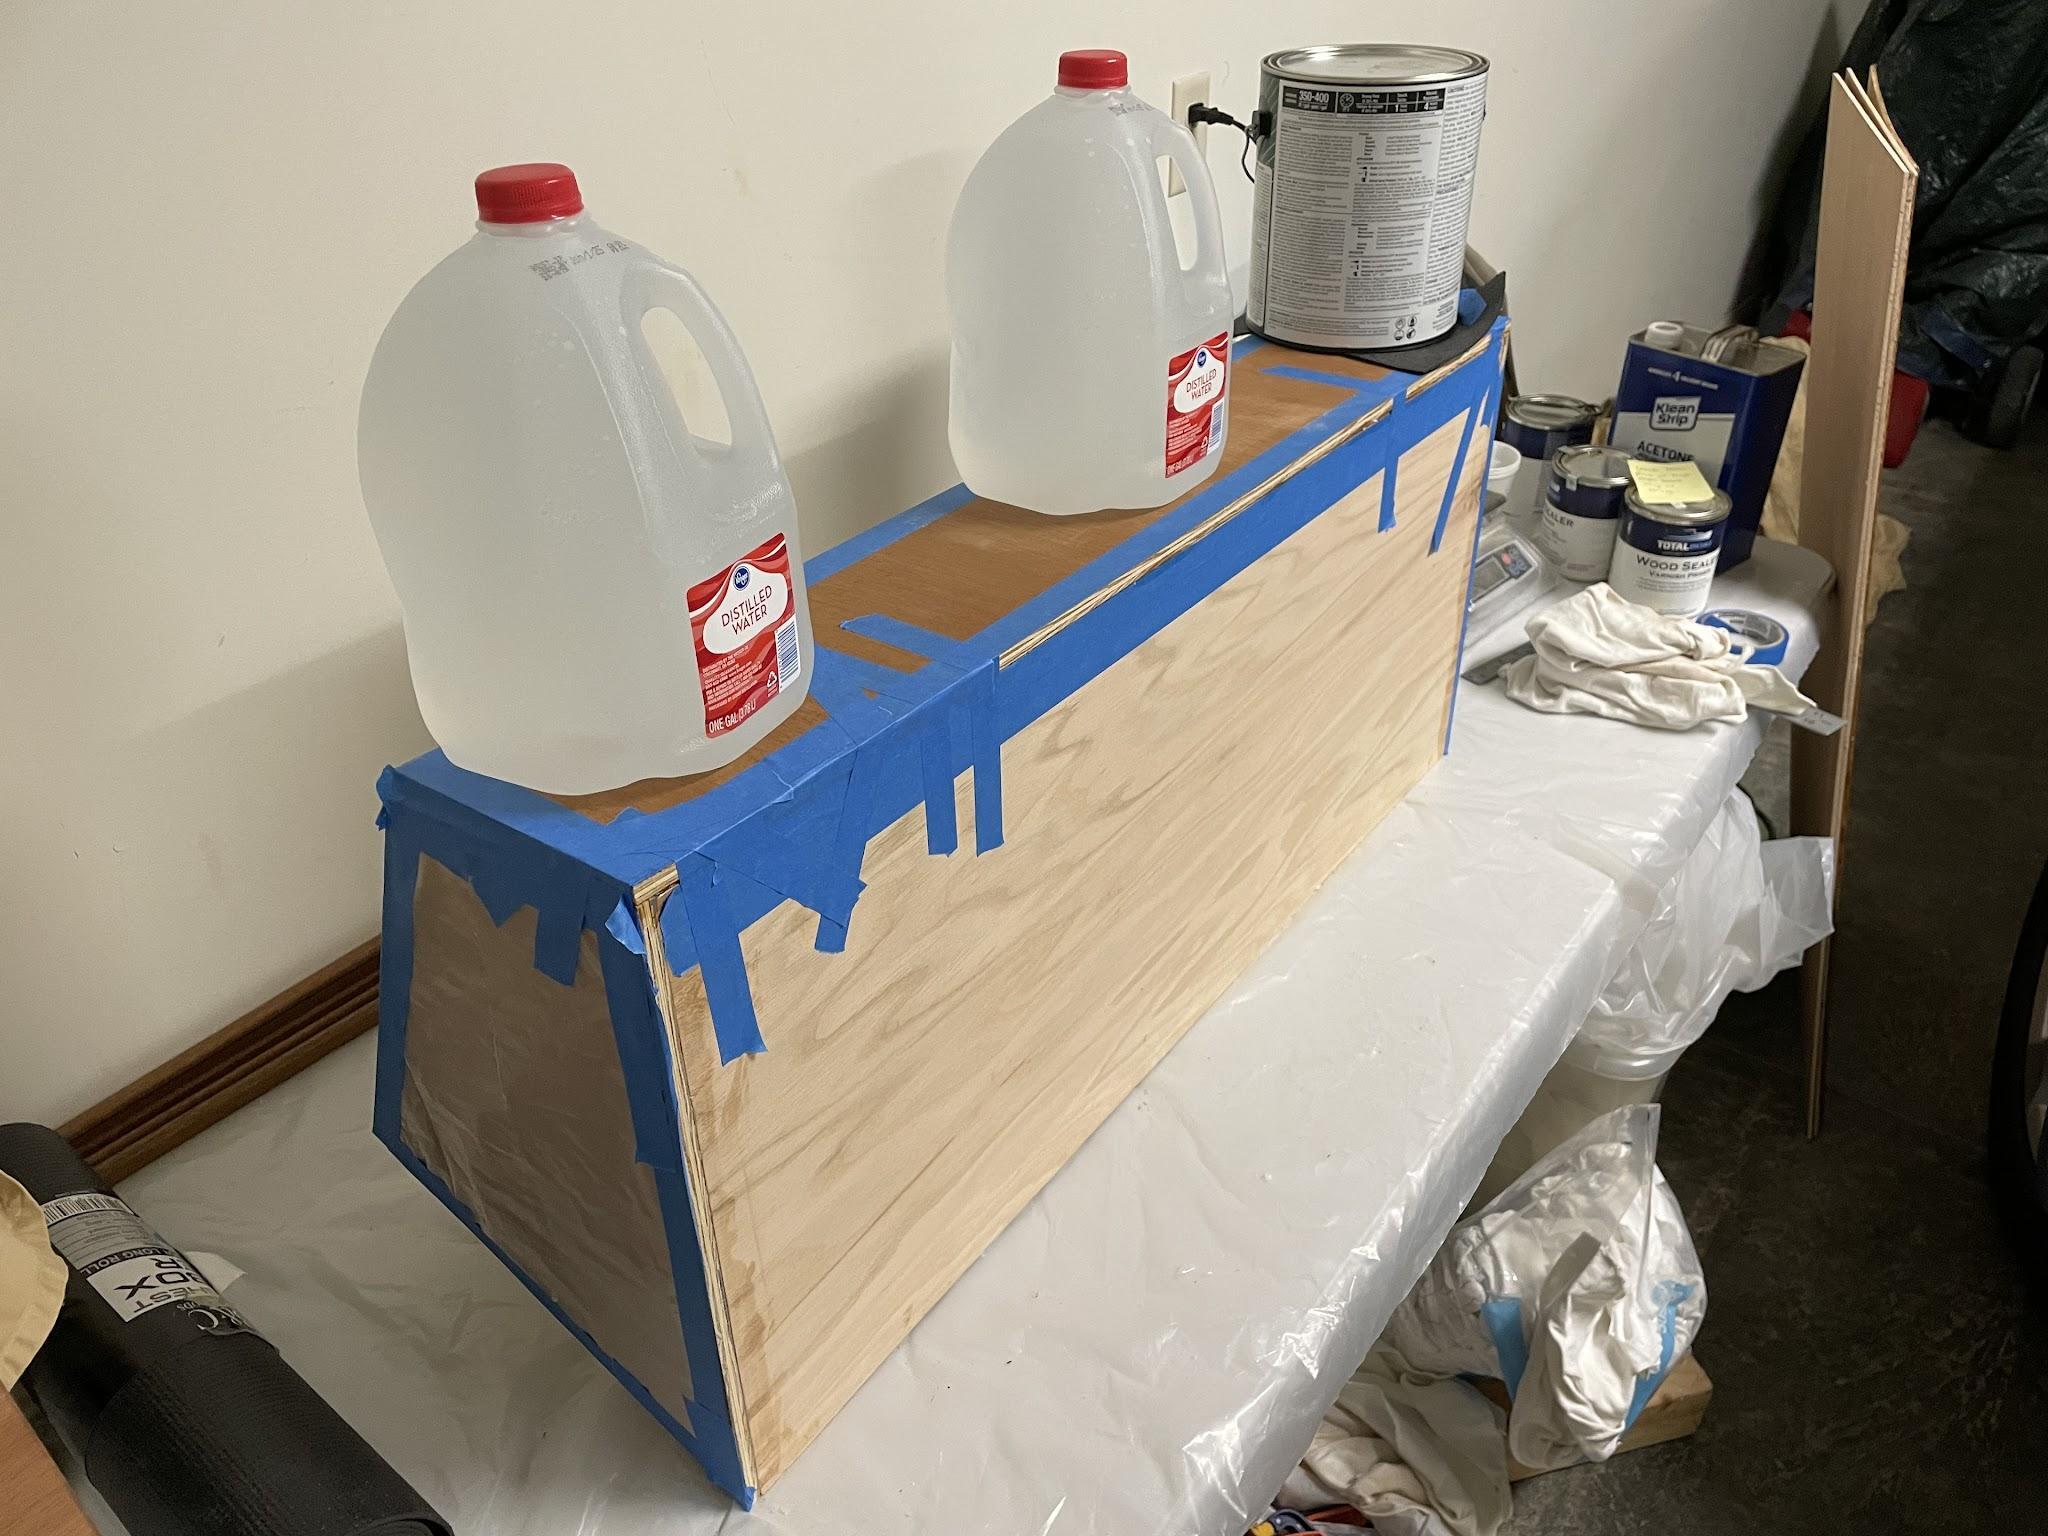
I measured and cut the top and back panels out of mahogany veneer ¼-inch plywood. I installed the back panel first. There was no easy way to effectively clamp it while the epoxy cured, so I used gallon jugs of water and a can of paint to hold the panel down.
Next it was time to attach the top panel to finish off the installation of the mahogany panels. To do this, I put spacers along the back bottom edge of the cabinet so that the top panel was horizontal to the workbench counter, clamped the front edge, and put weights (gallon jugs of water) on the top back edge to ensure that the panel stayed flat and made good contact with the 2x2 frame underneath while the epoxy cured.
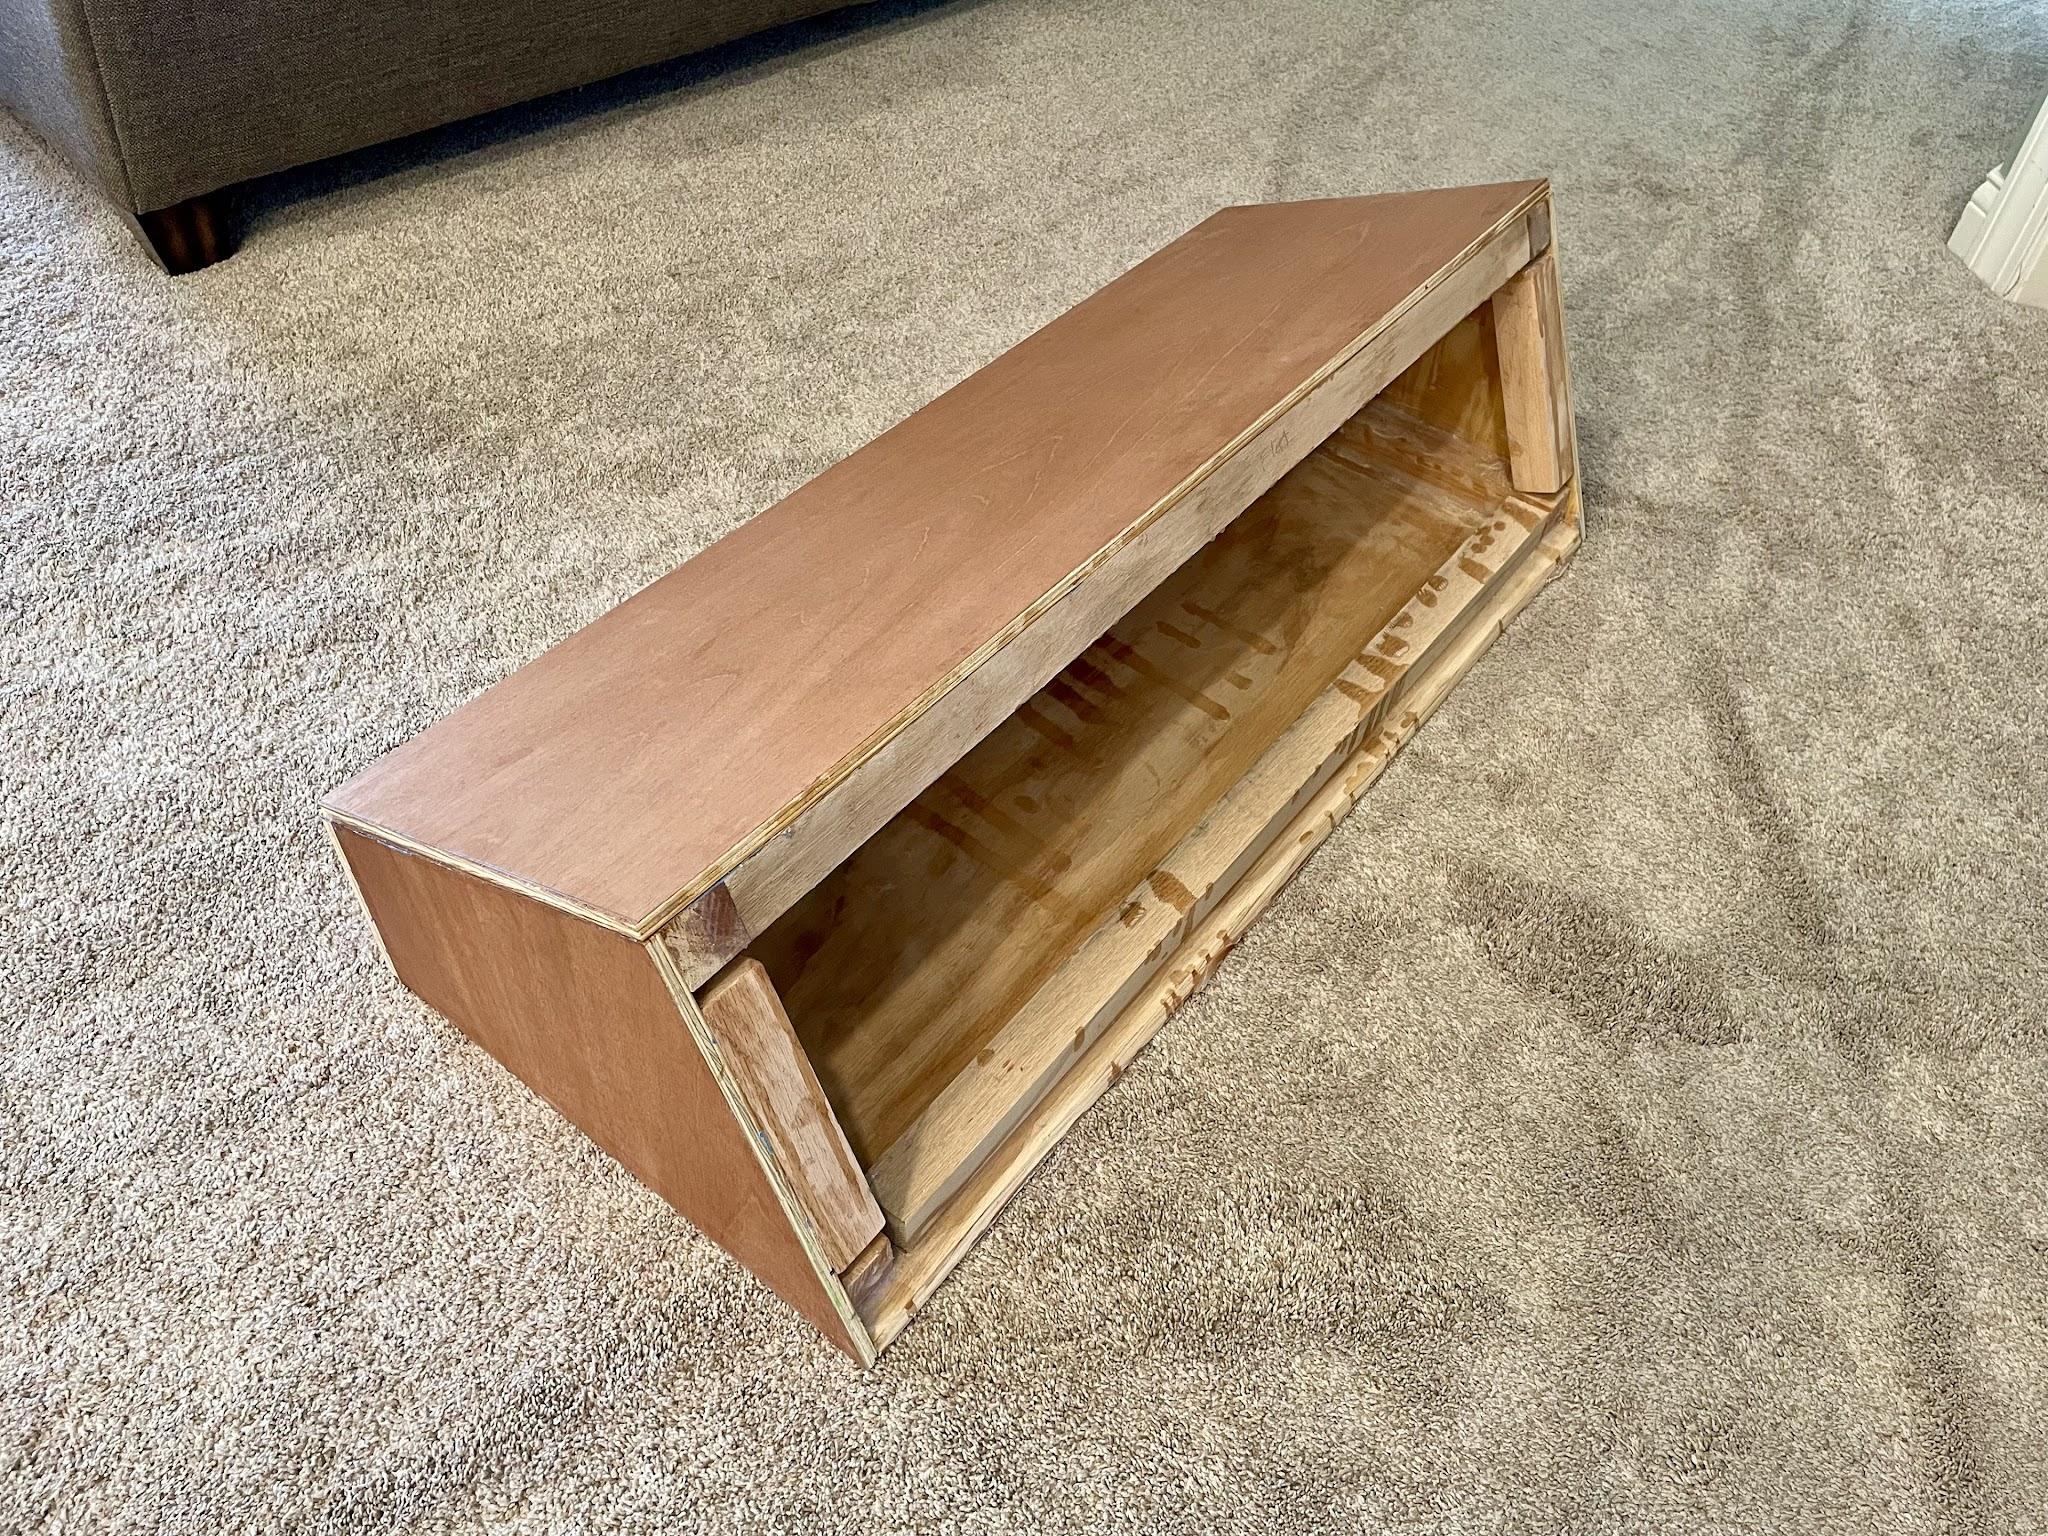
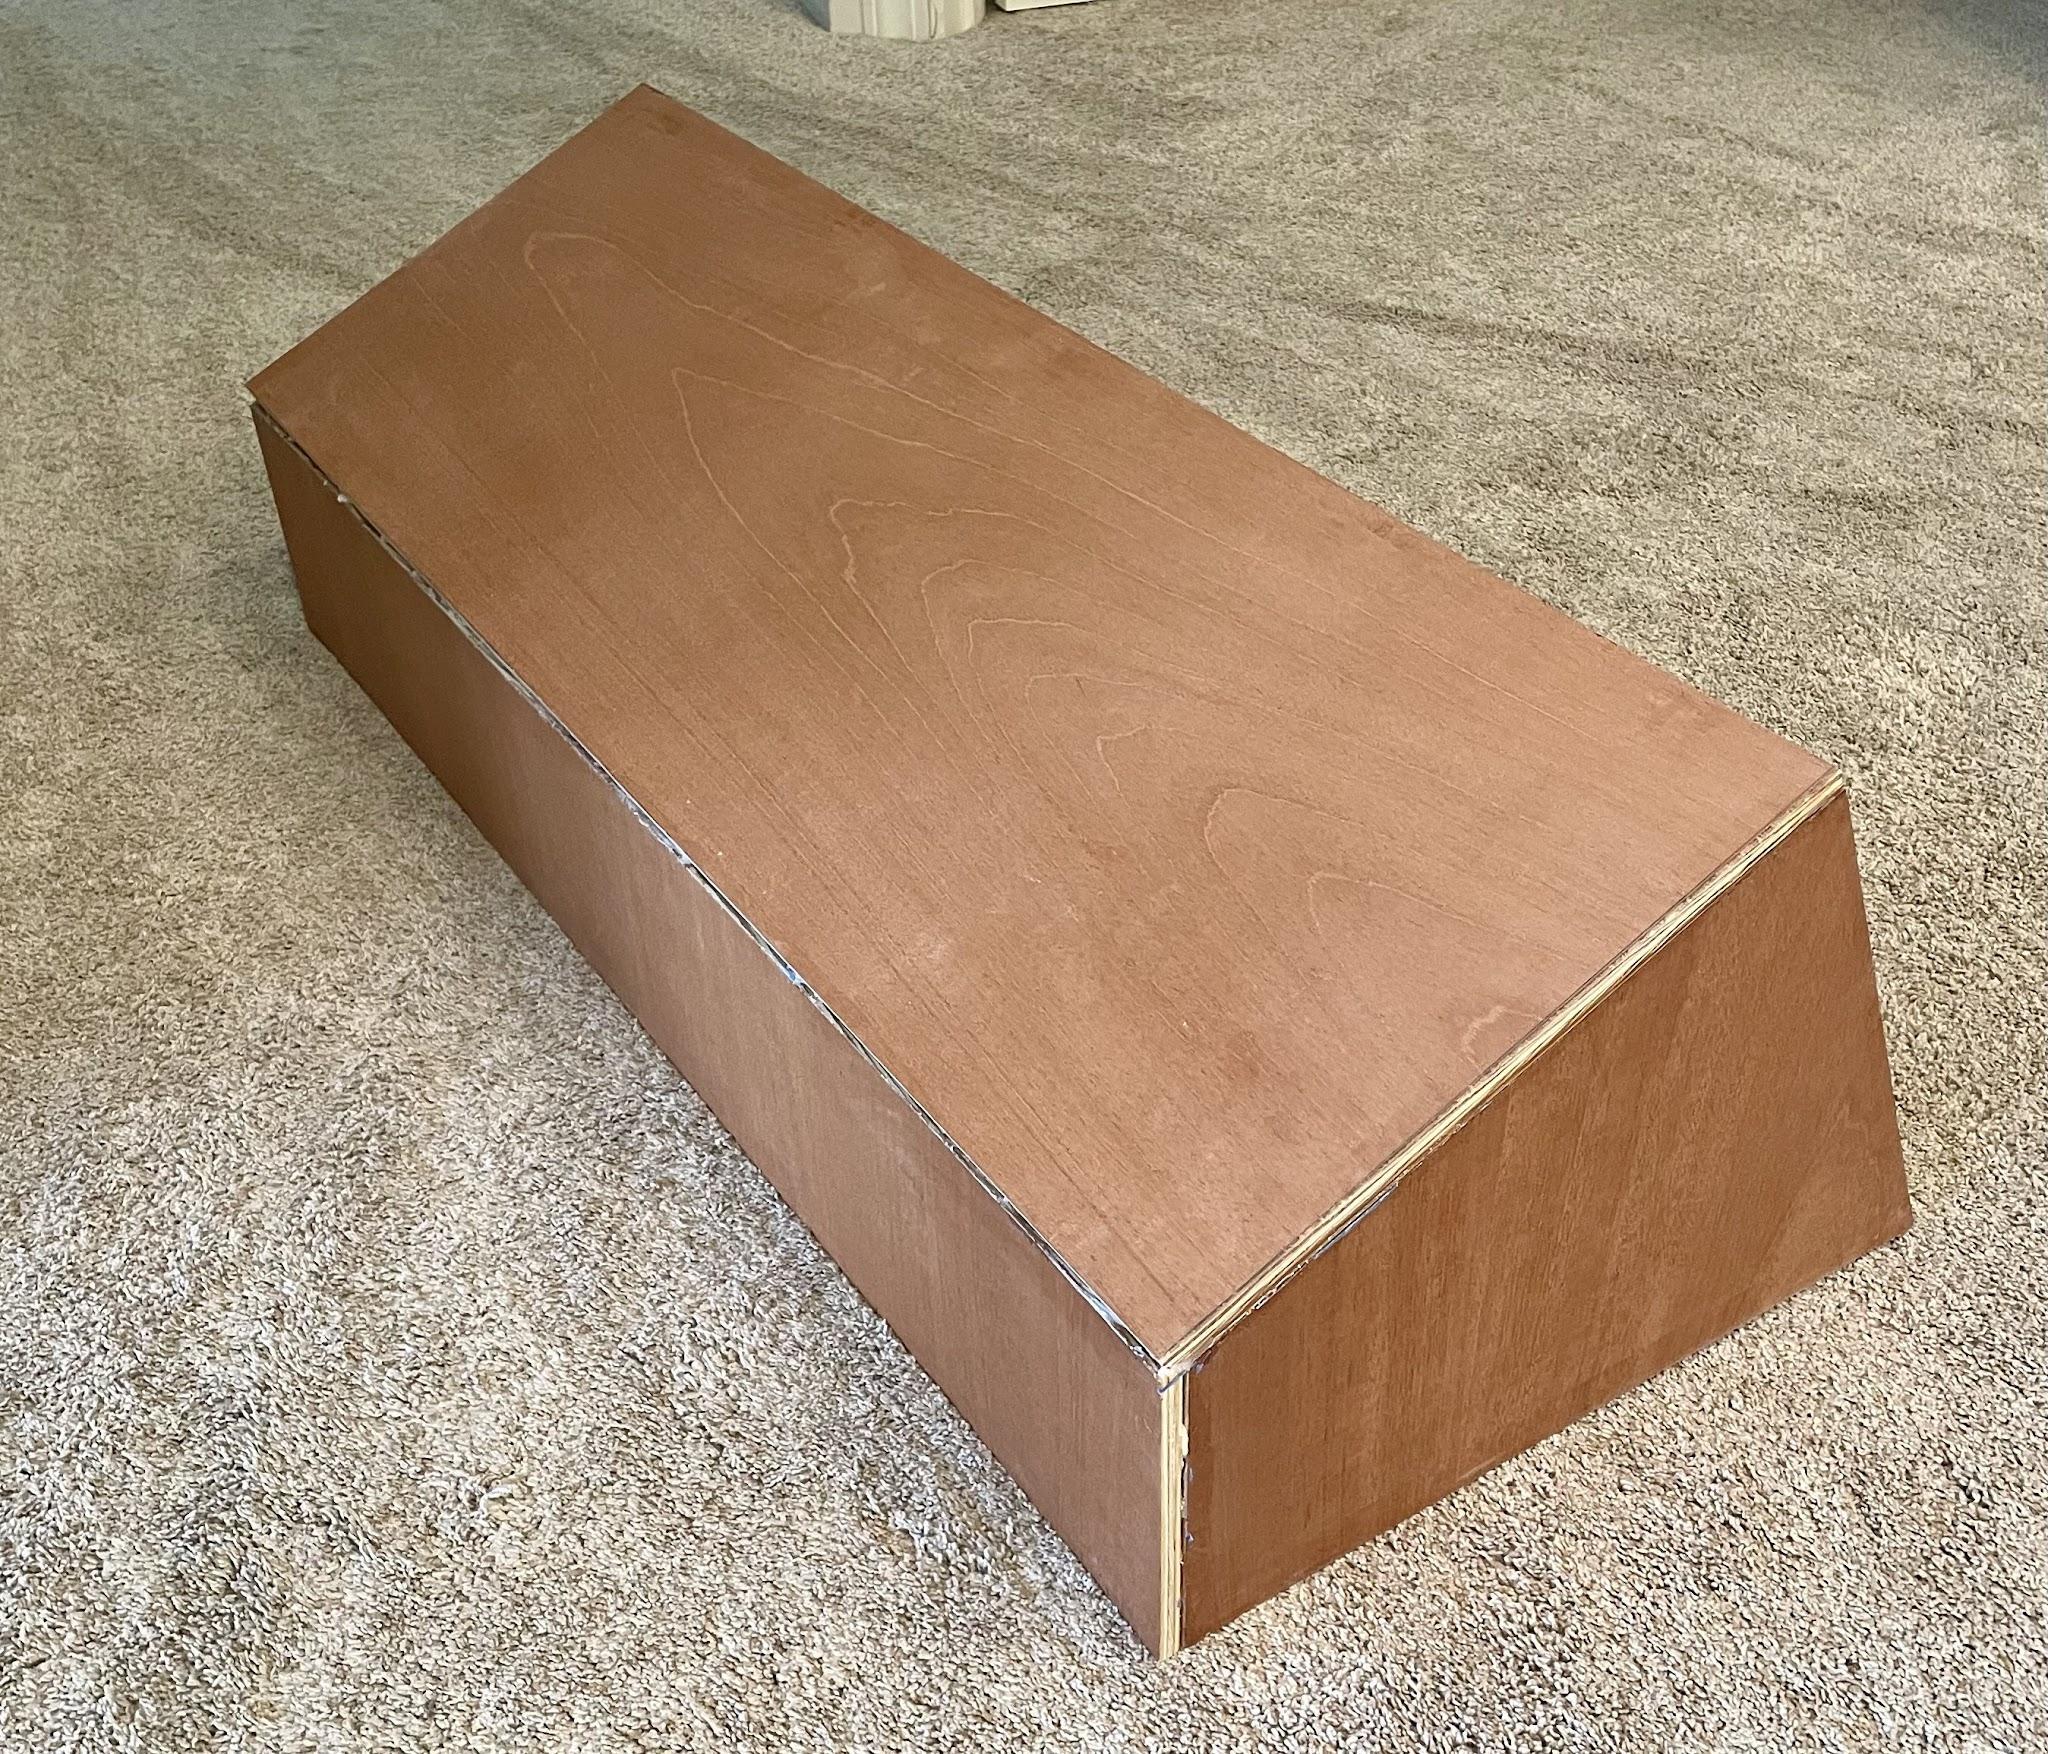
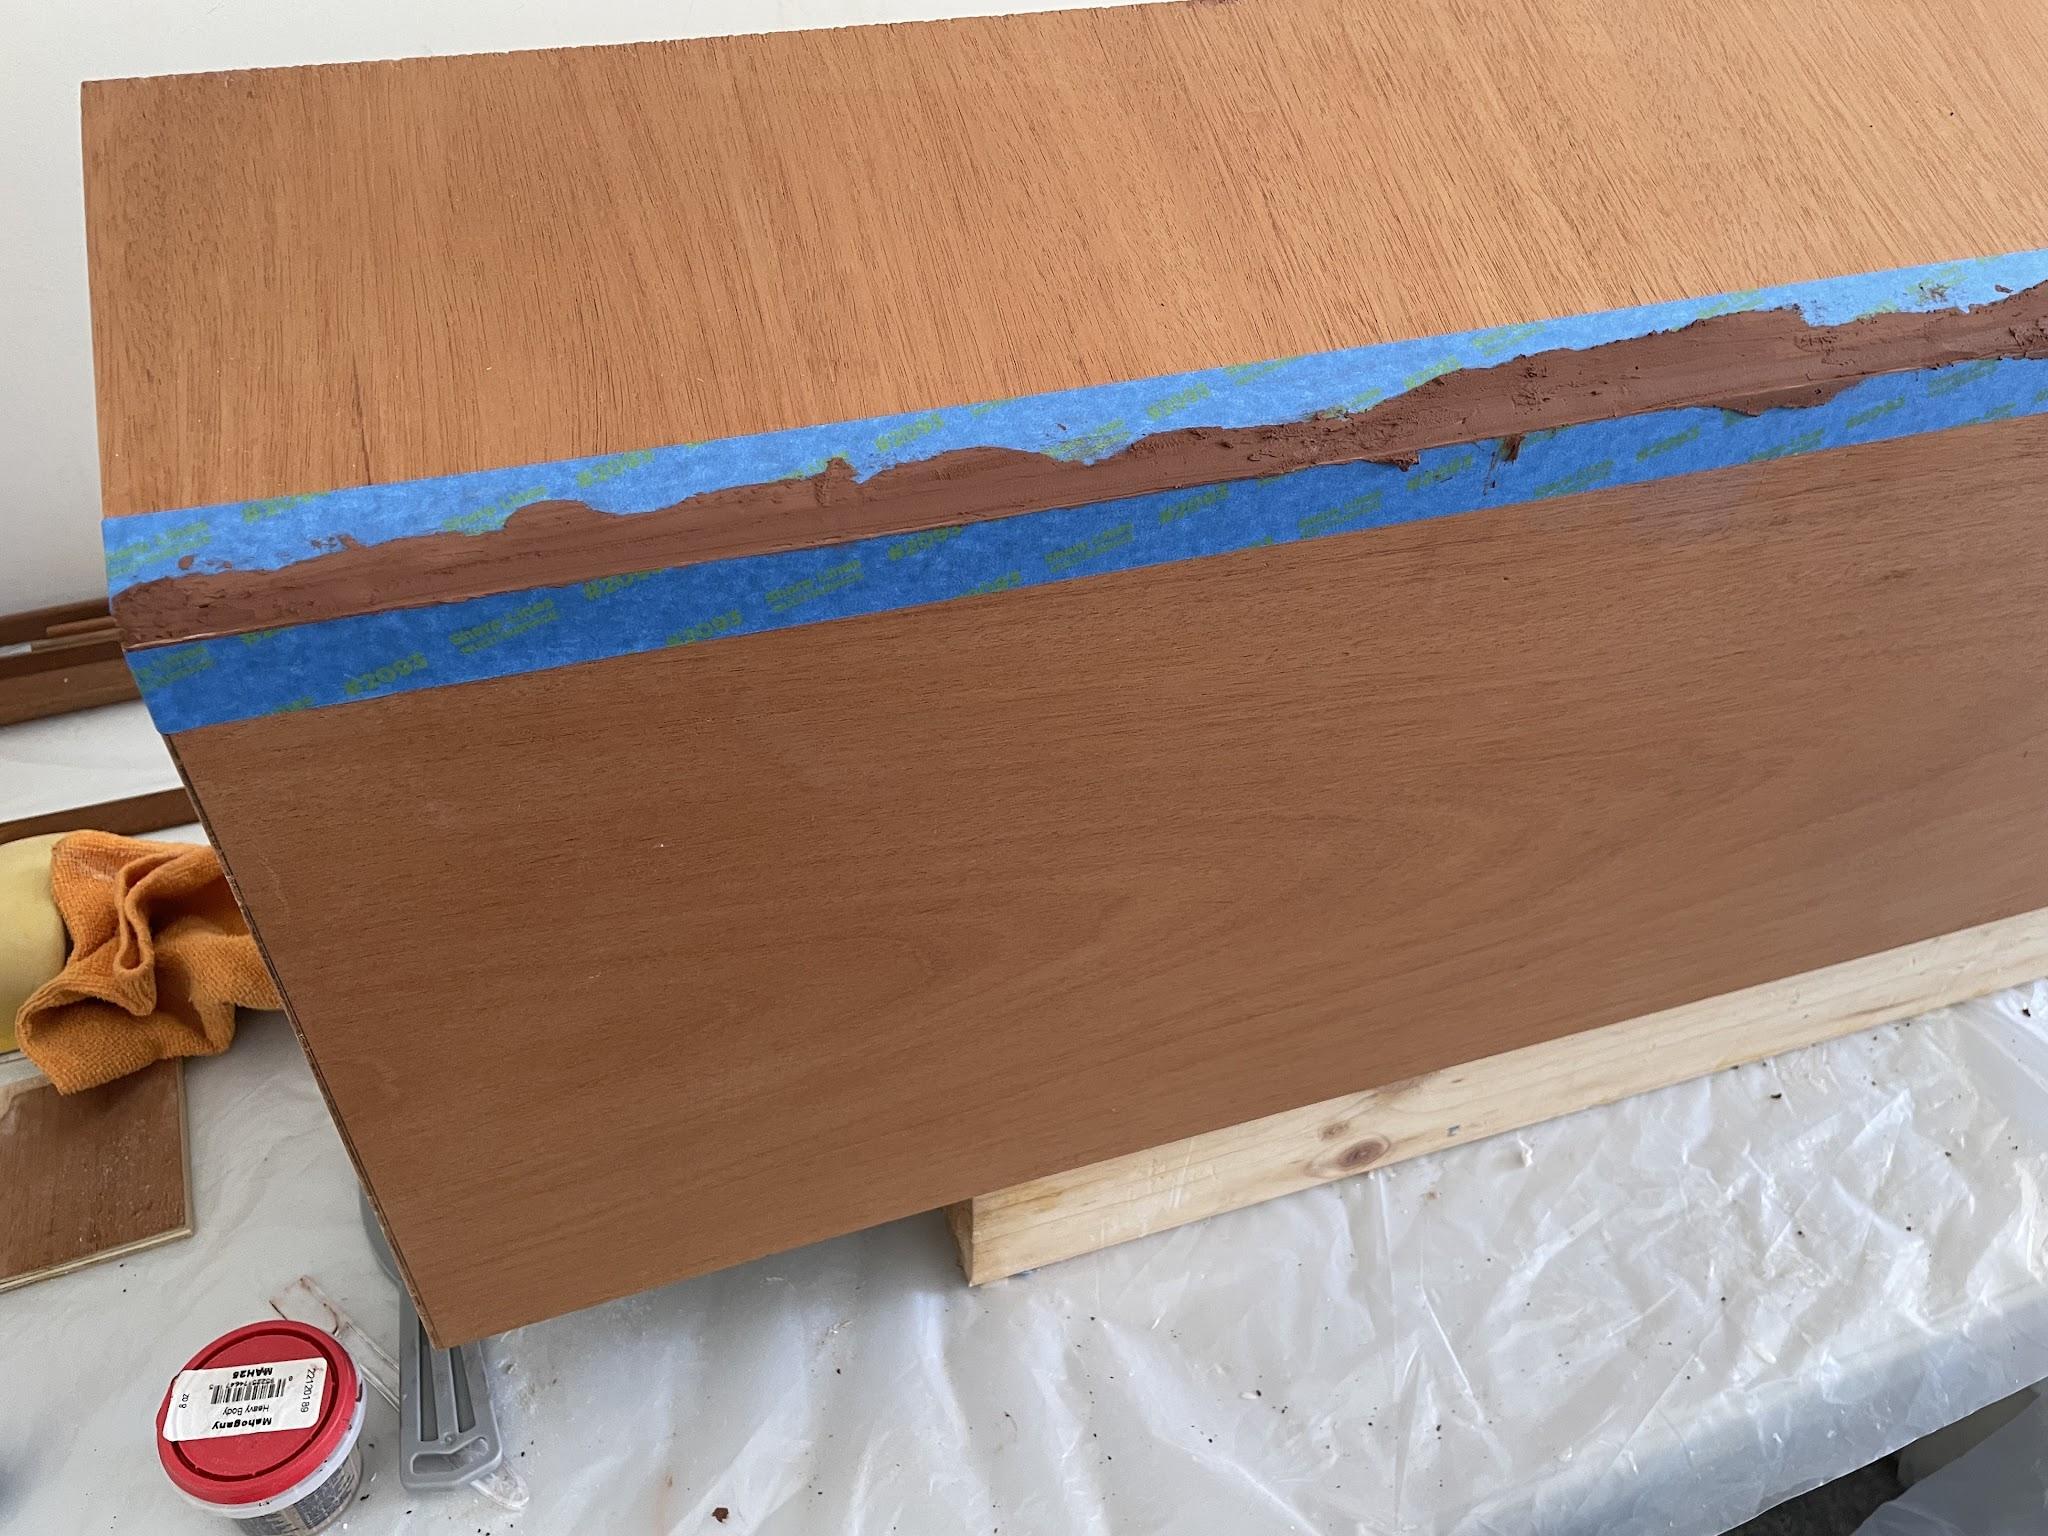
I filled the joint between the back and top panels using a mahogany-tinted wood filler. I had first tested several types of filler in different shades on scrap boards before choosing the one that best matched the mahogany veneer panels. I then made several passes applying and sanding the filler compound to obtain a smooth surface at the joint on the cabinet. I had originally thought of installing mahogany trim to hide the joint rather than filler but didn’t want to overdo the amount of trim. Plus, after being installed on the pilothouse counter, the back end of the console won’t be visible to anyone.
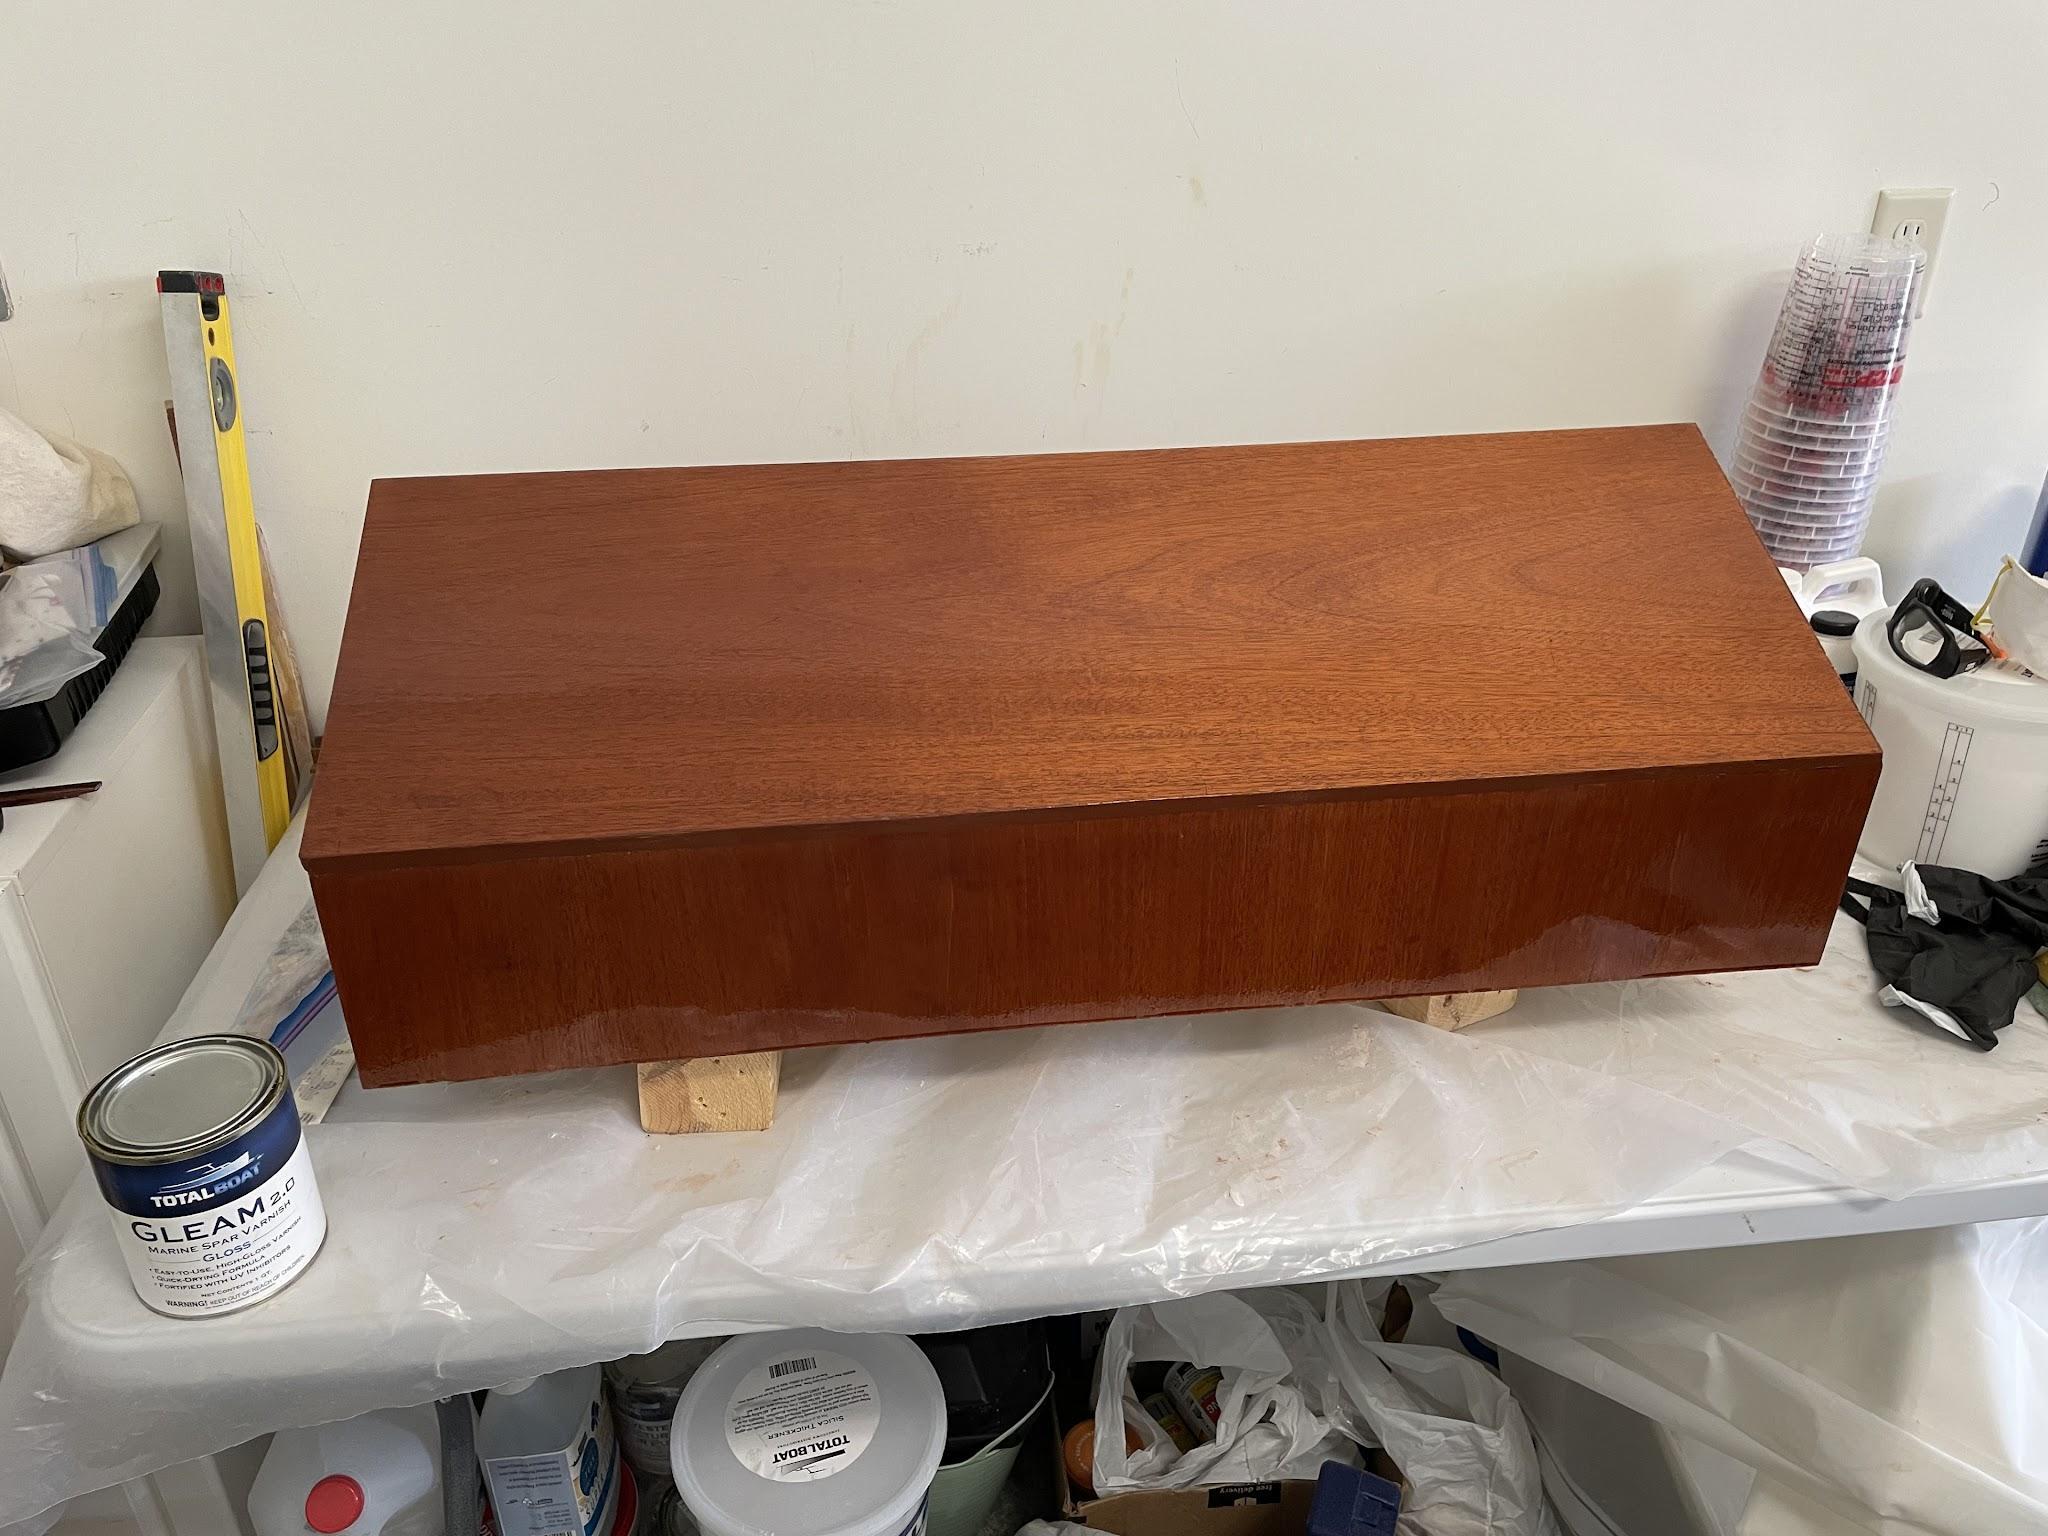
I then sanded, cleaned, and sealed the exterior mahogany surfaces in preparation for the application of varnish.
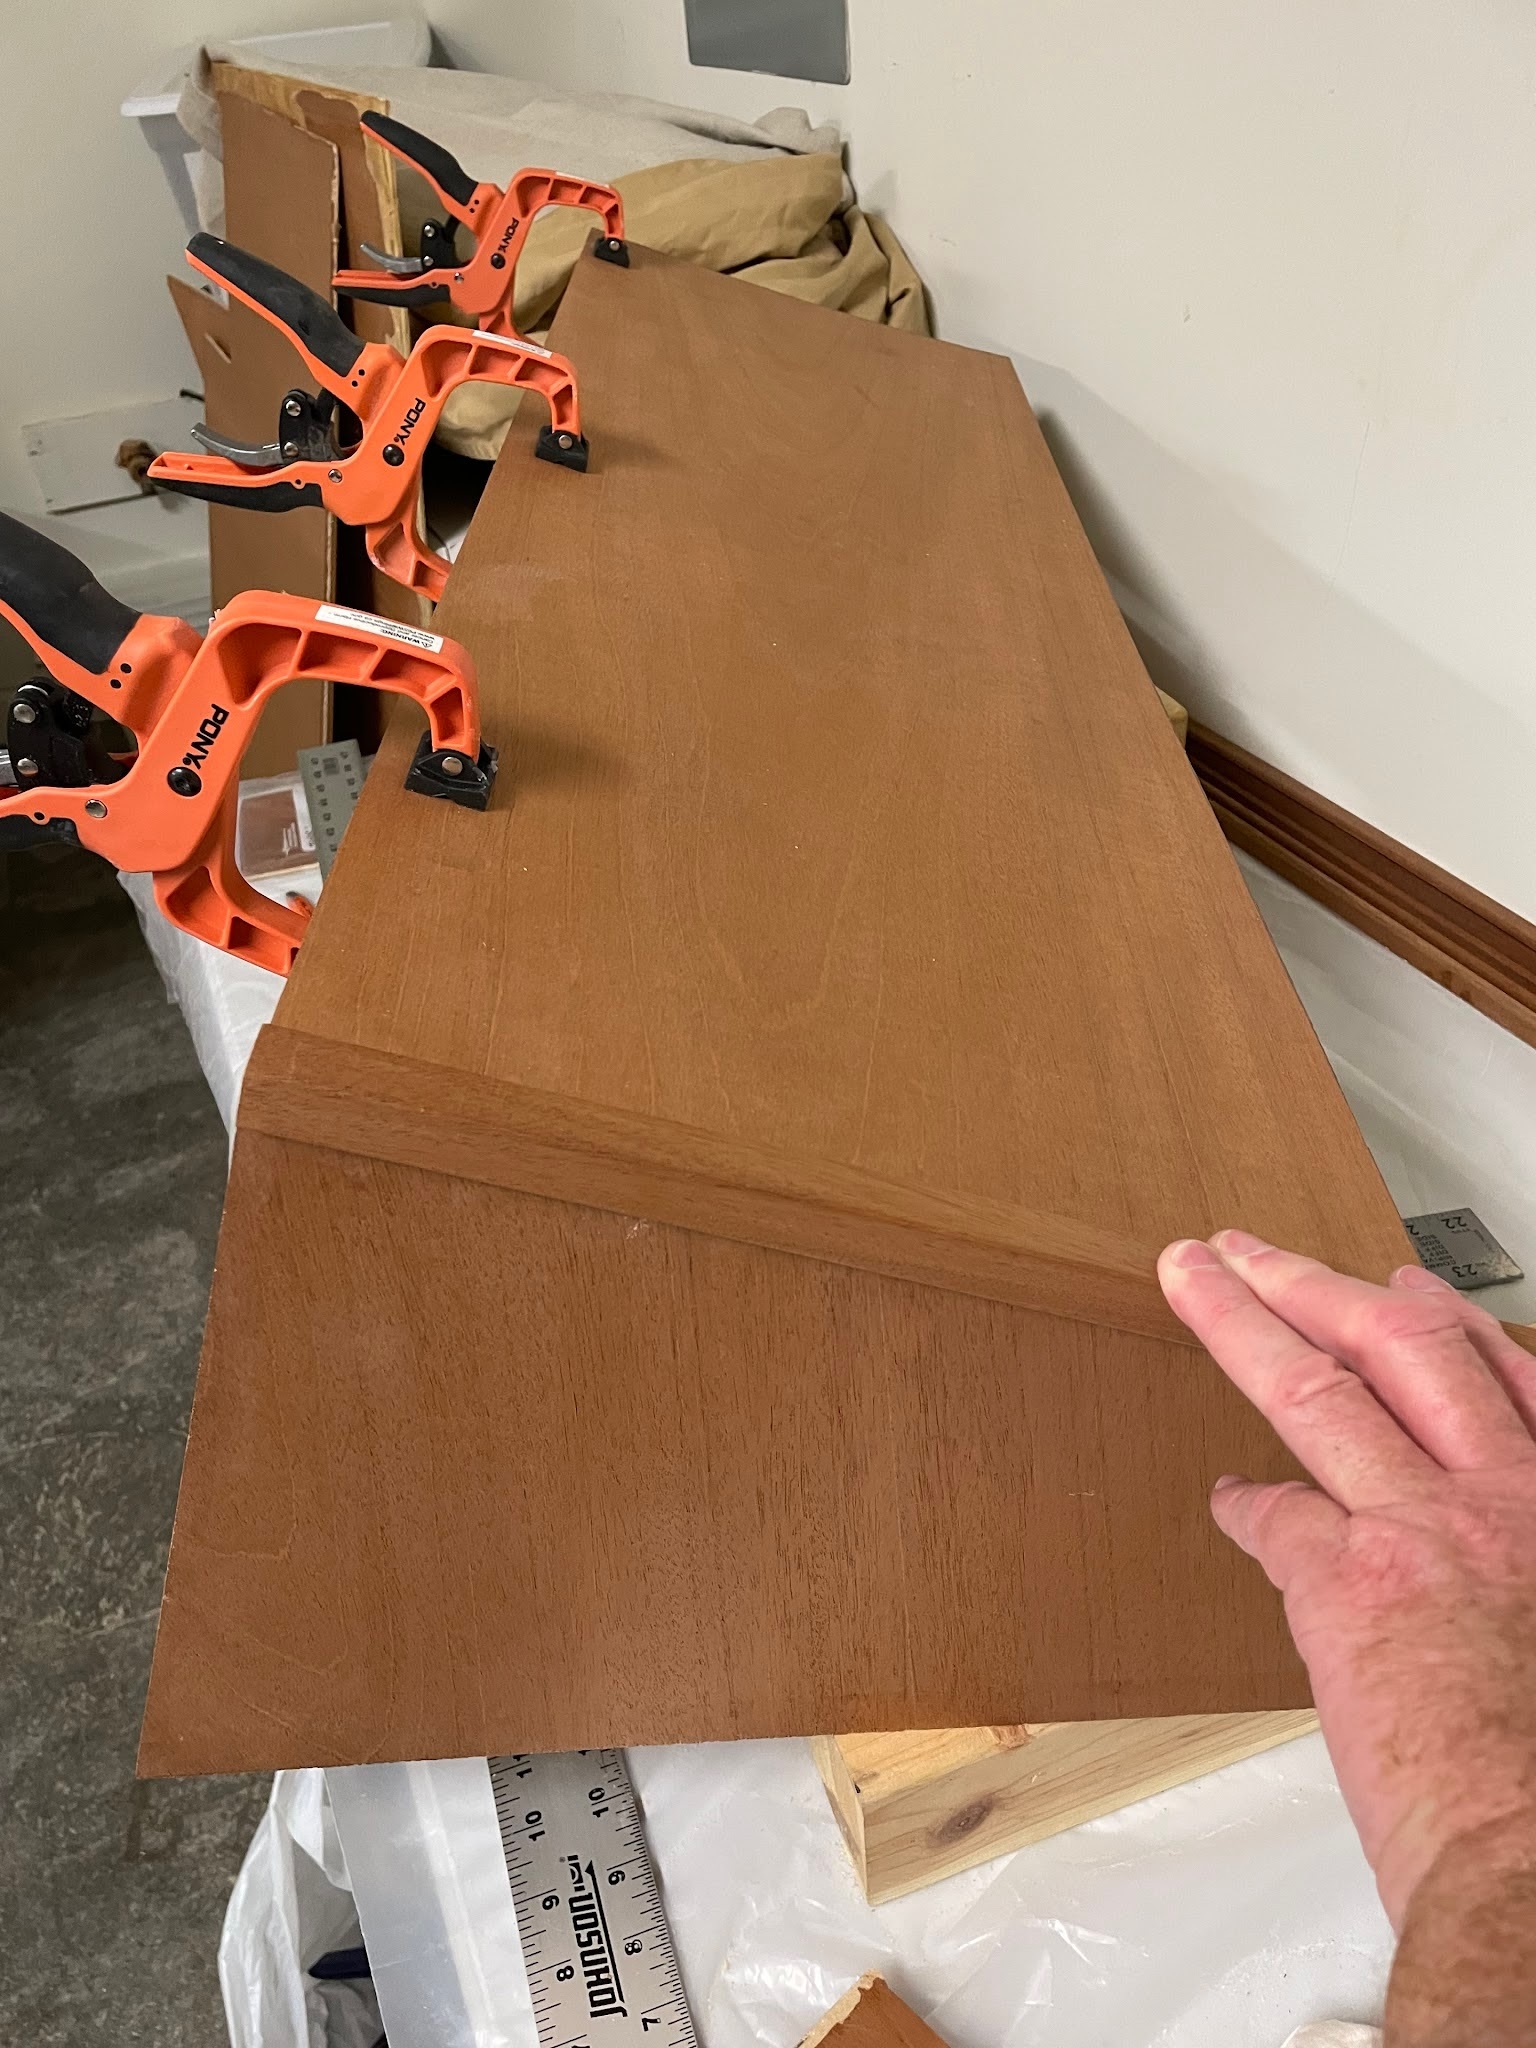
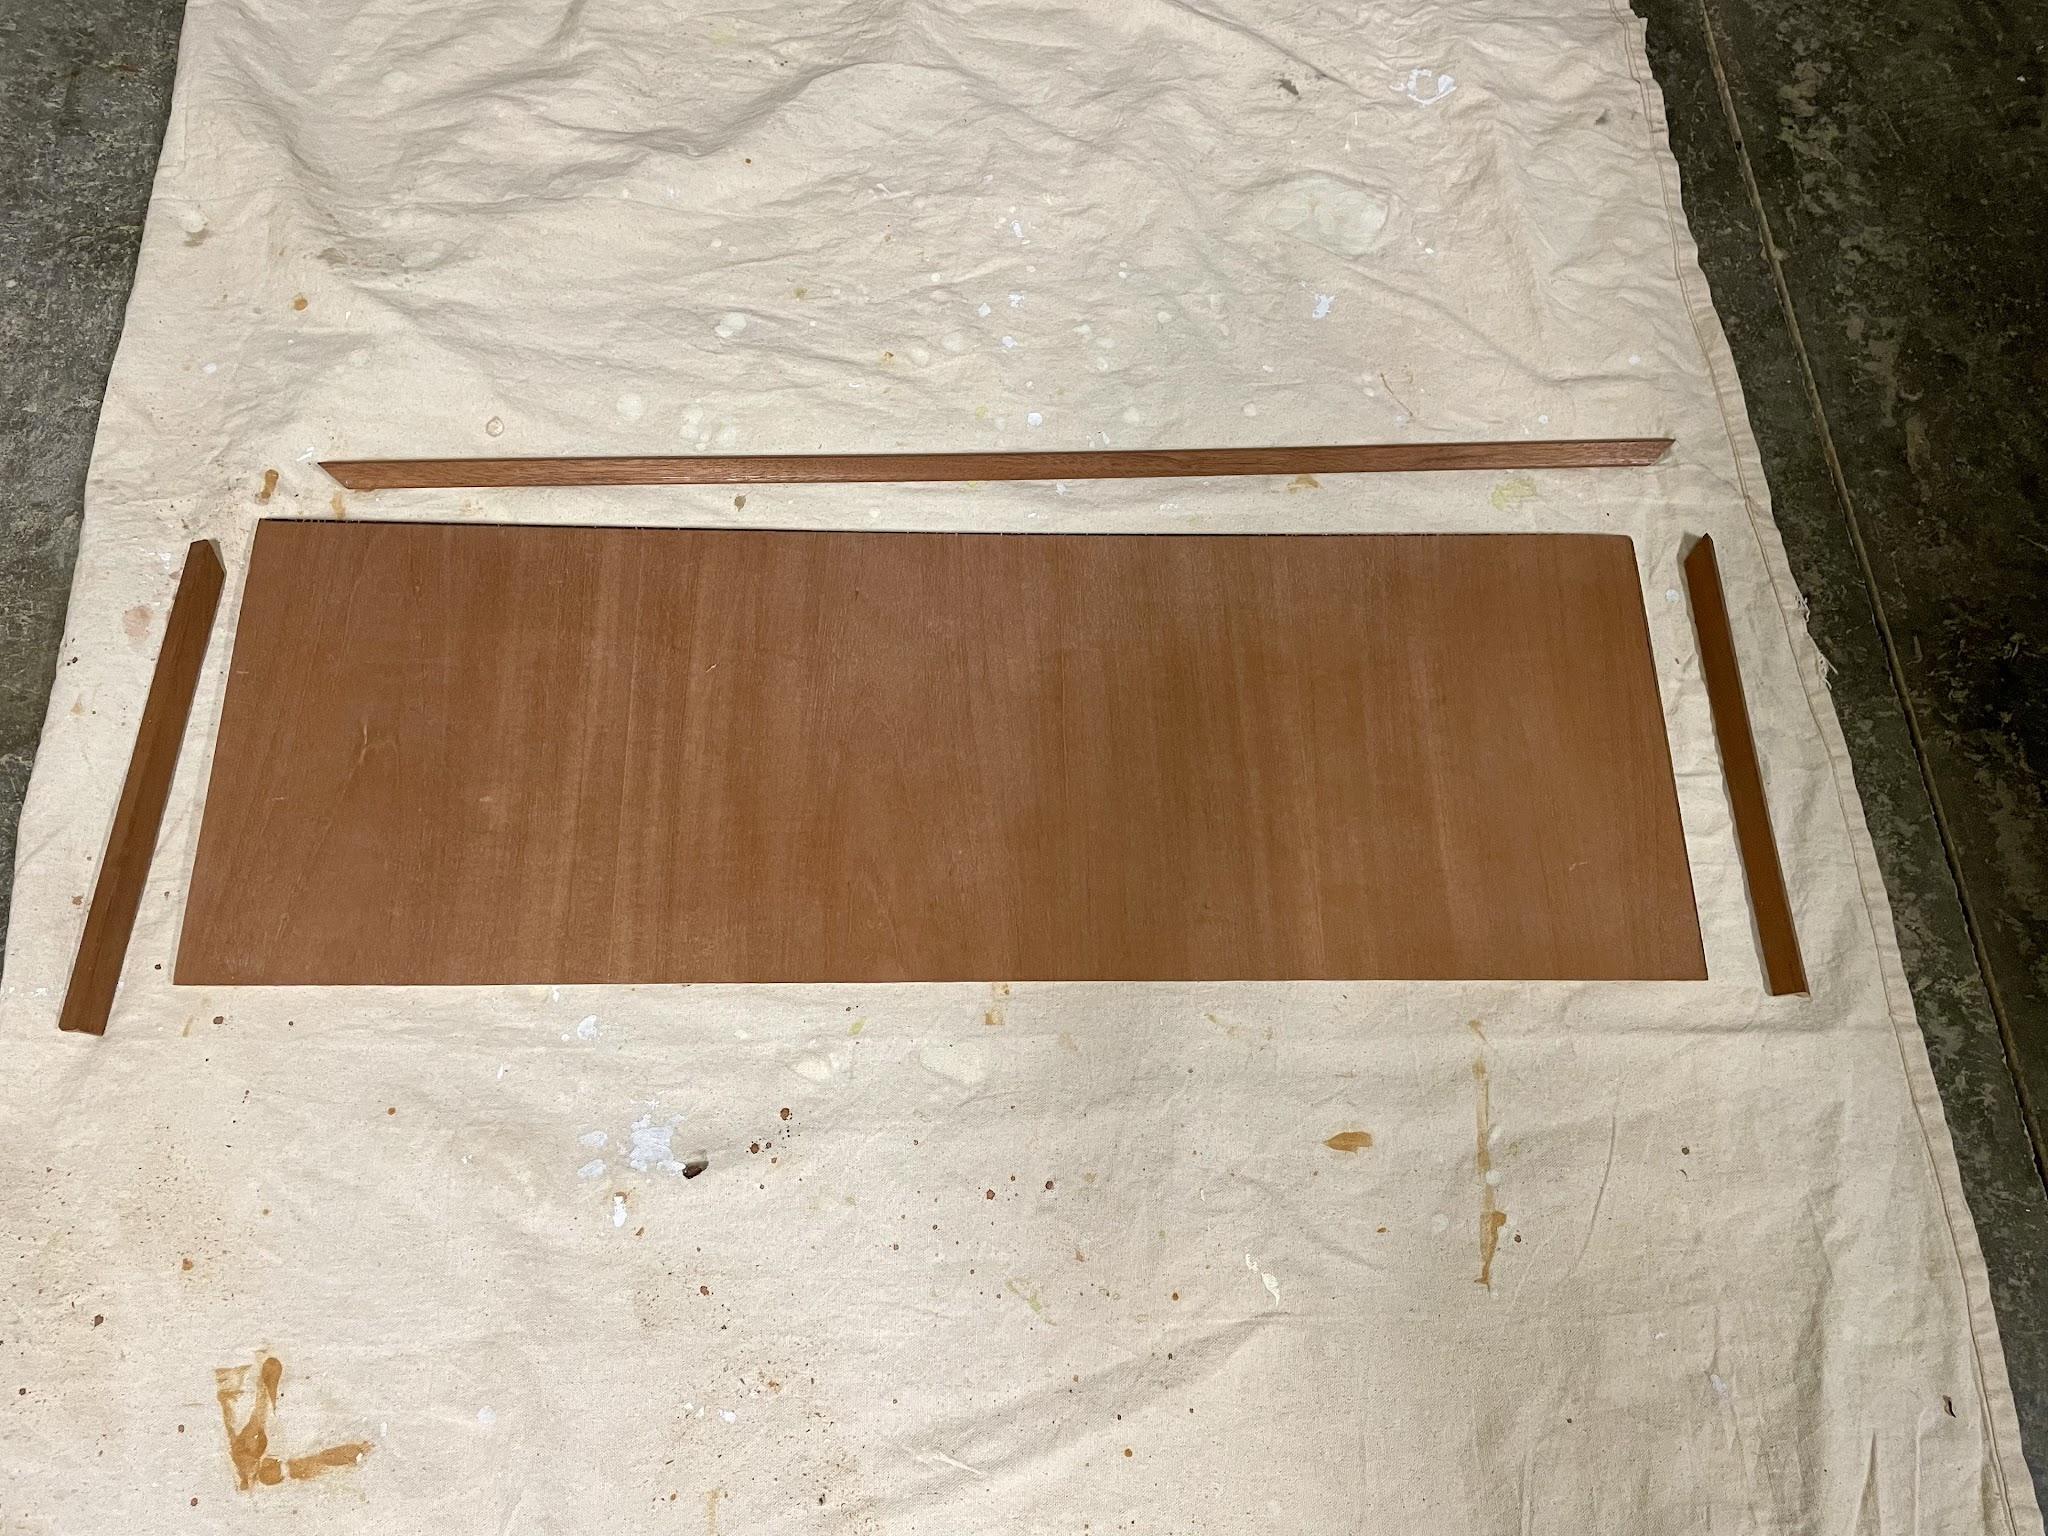
The removable front panel was fabricated separately. I measured and cut the ¼-inch mahogany plywood panel and gradually sanded its lower edge at an angle (since the panel was angled back) until it seated properly against the cabinet and countertop. I then cut and fitted the mahogany corner-round trim around three sides of the front panel’s edge, epoxied the trim in place, and sanded the inside edges of the trim until the panel fit flush against the front of the cabinet. The trim was installed to allow the front panel to fit like a lid around the console cabinet’s front edge (and also hide the seam where the front lid and cabinet meet).
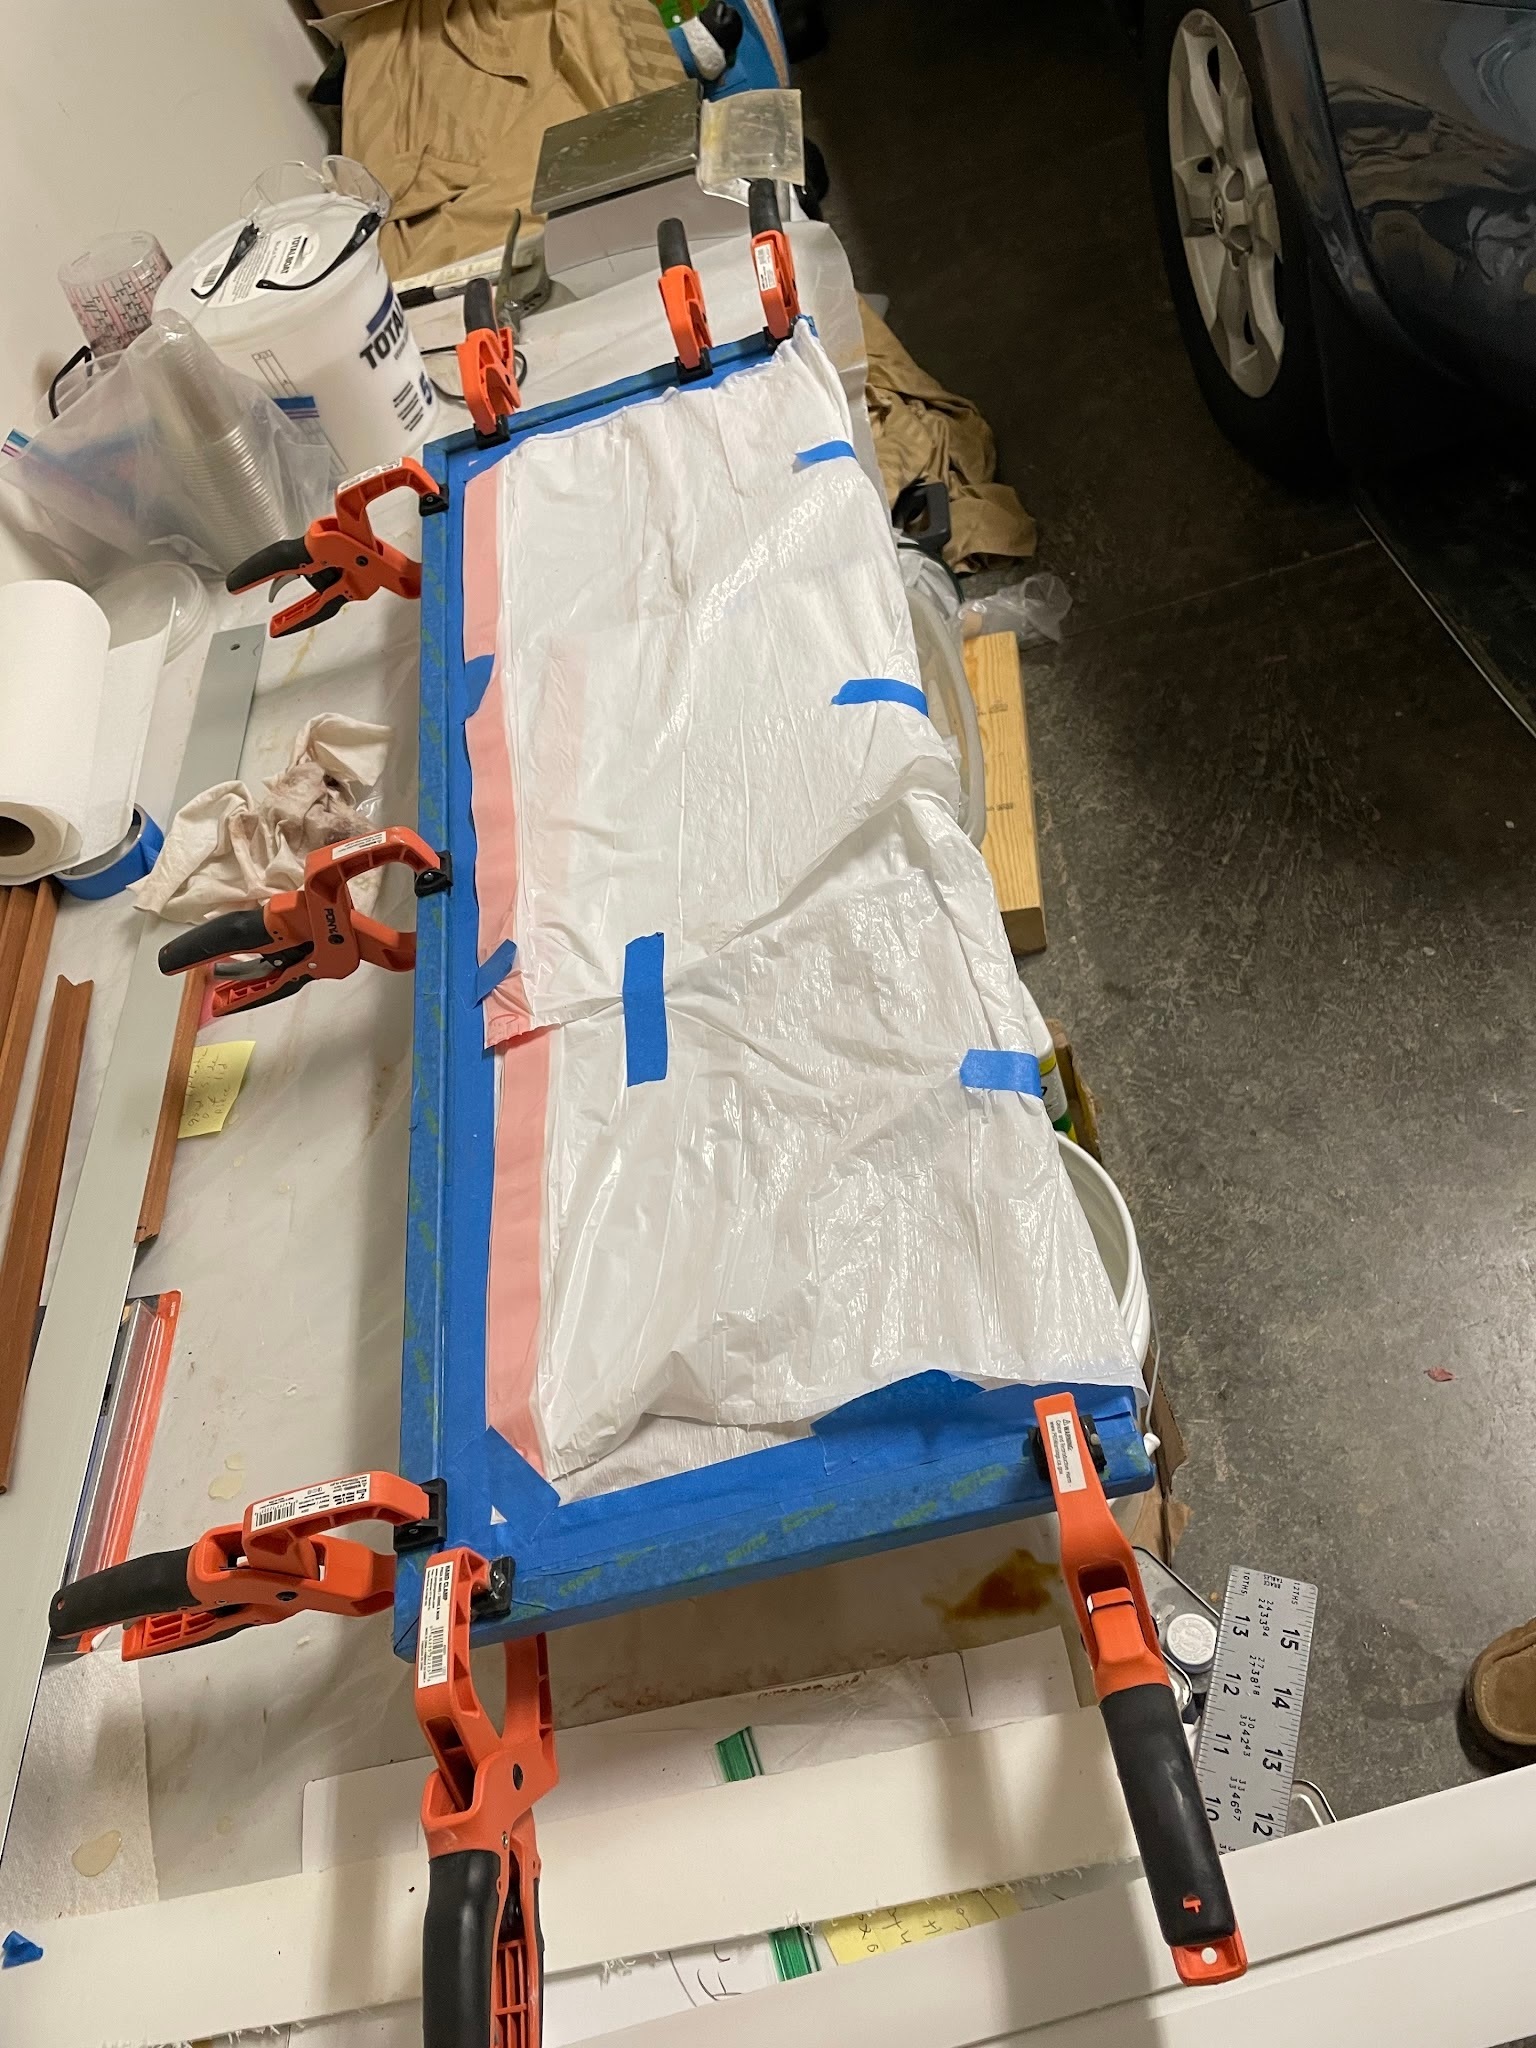
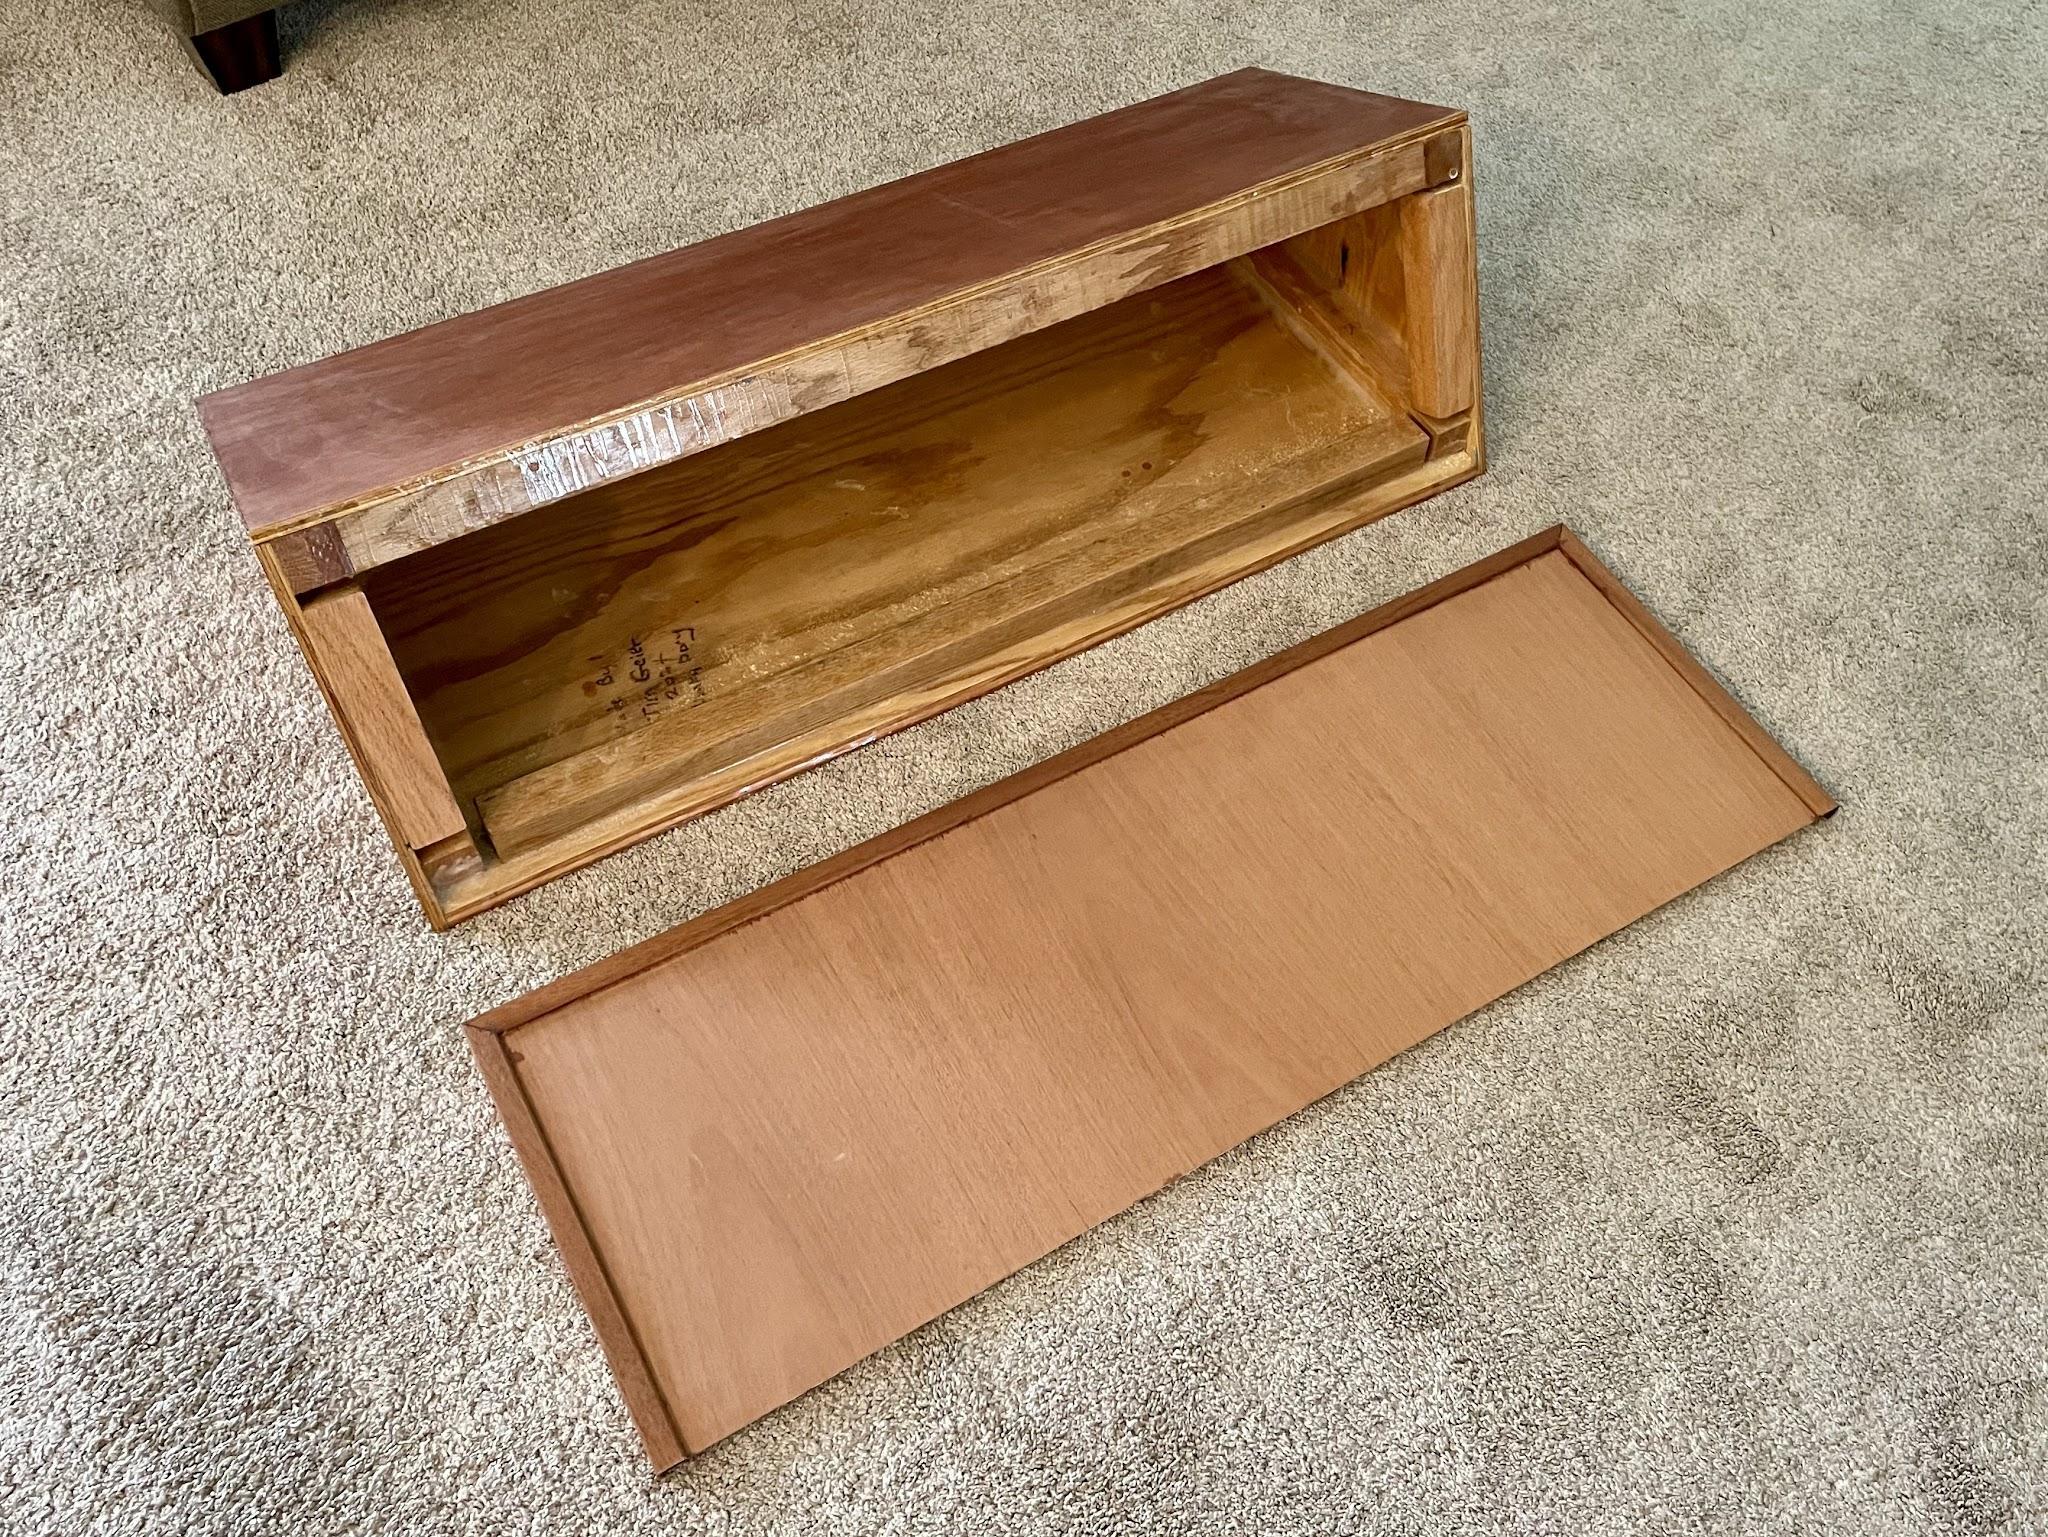
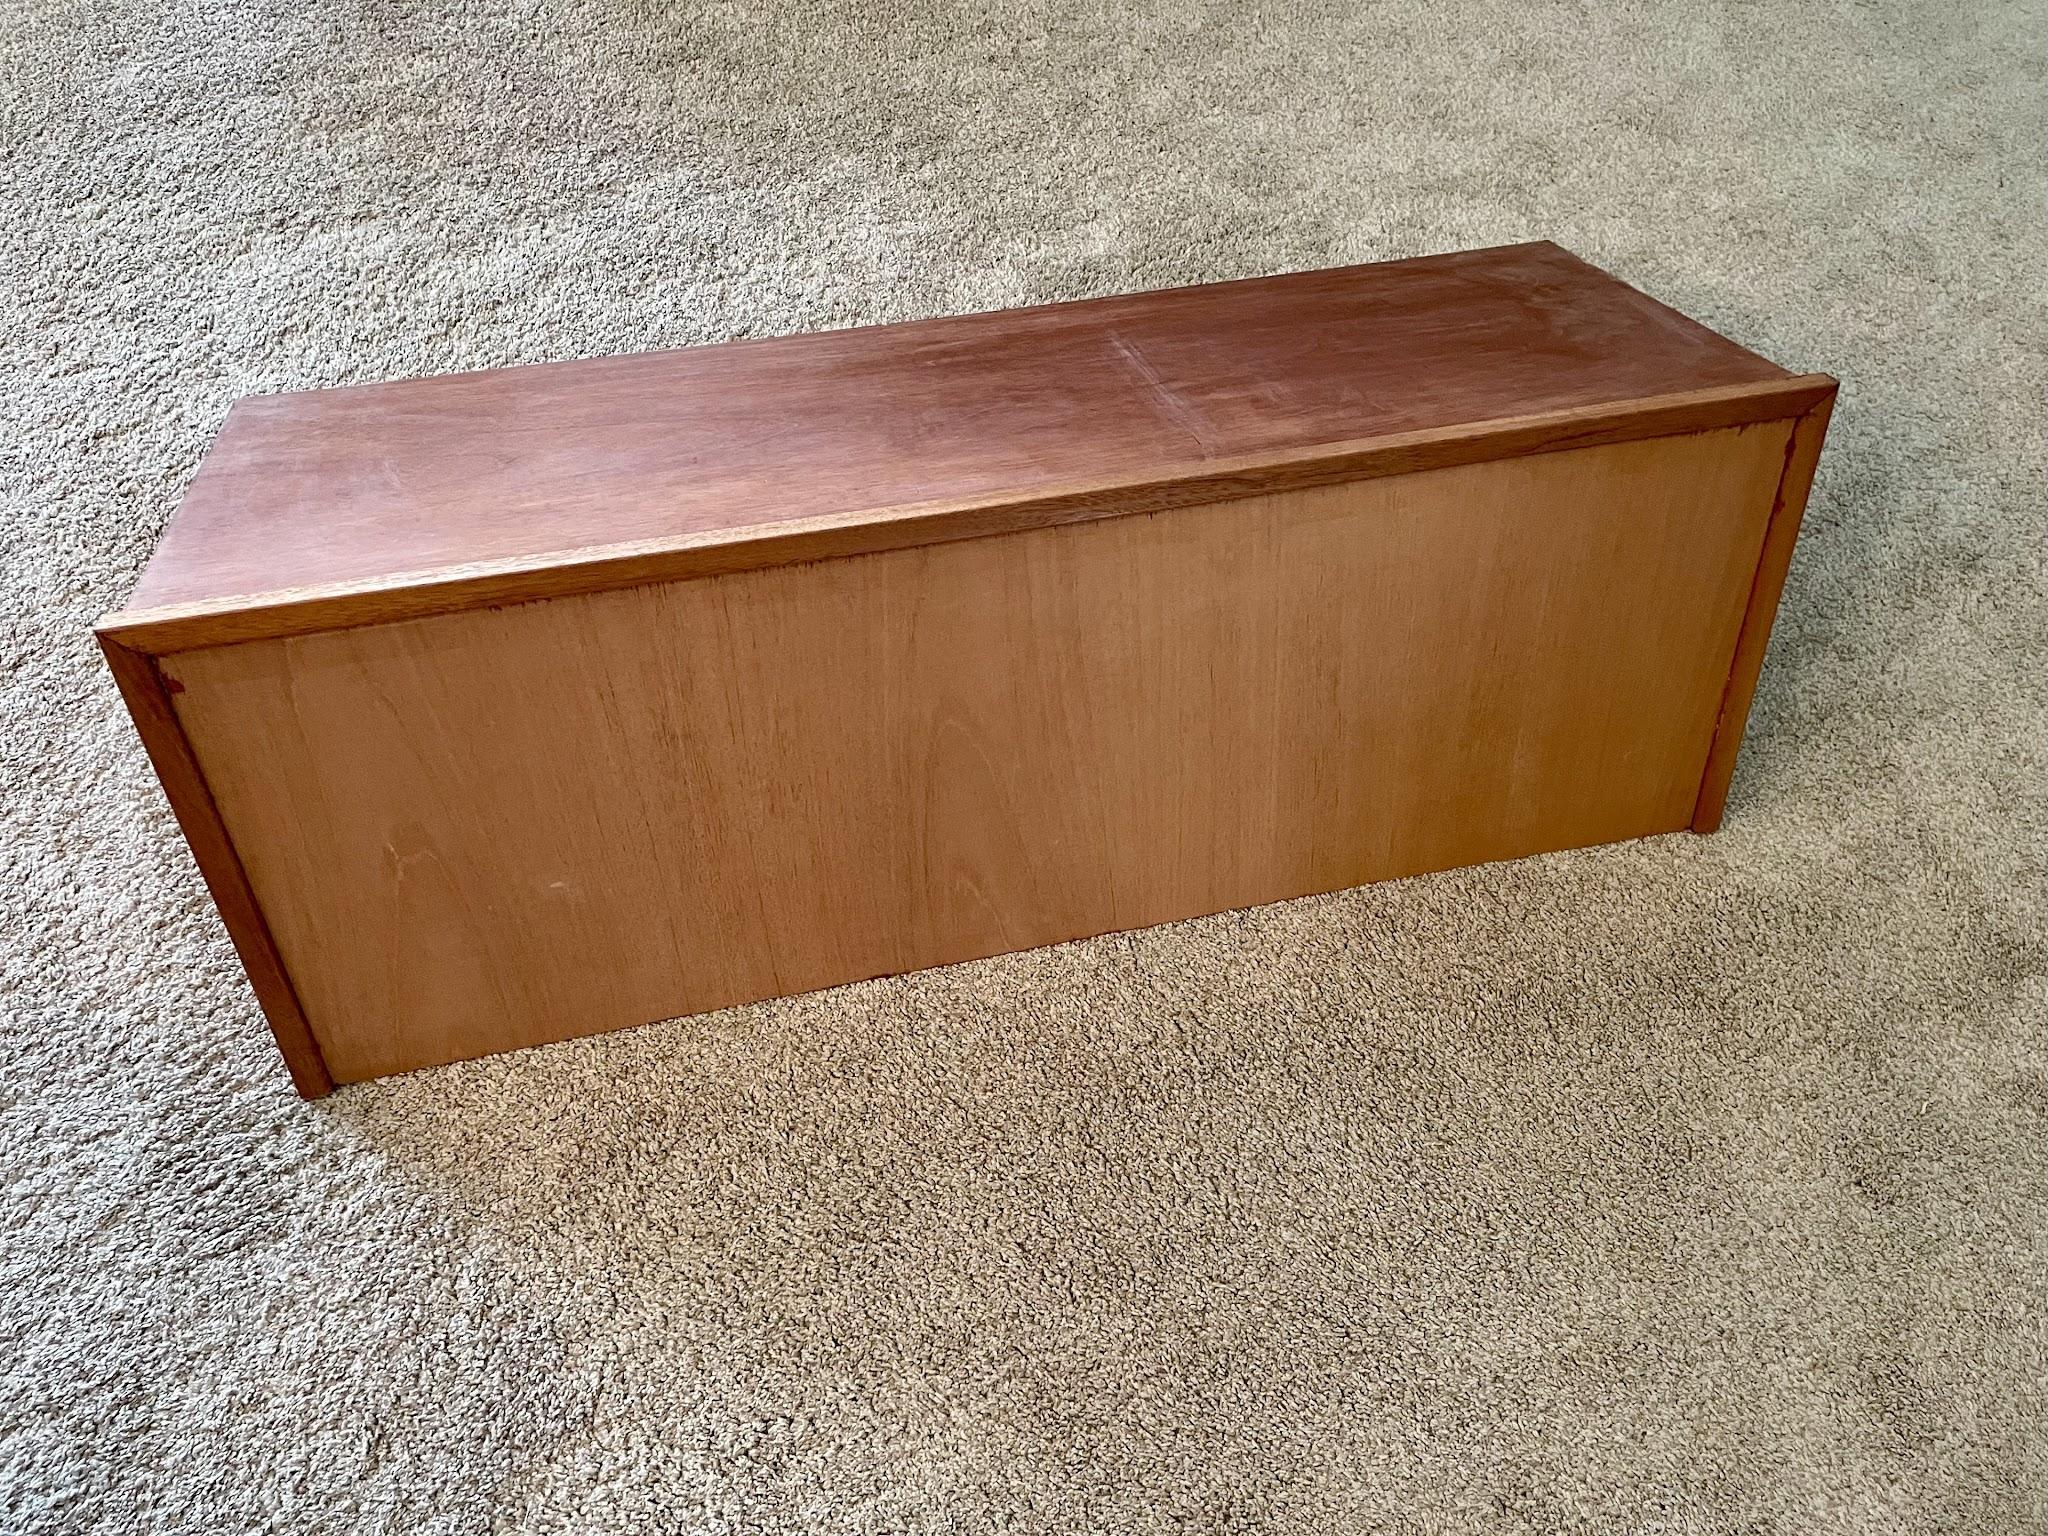
I next added mahogany corner-round trim to the top sides and back of the cabinet. Each piece was cut slightly long and then carefully fitted before being epoxied in place. After sanding the trim and front panel, I applied thinned epoxy sealer to the newly installed pieces.
Inside the cabinet, I installed mounting blocks for securing the removable front panel and painted the interior with an off-white sealer paint. The lighter finish inside the cabinet should give it a clean interior appearance and make it easier to see the wiring and connections once the electronics are installed.
Using the cutout templates supplied with the chartplotters (good thing I’d kept them from a few years ago when purchasing them), I marked and cut two openings in the front panel to accommodate flush mounting the chartplotters. I was very nervous about making these cuts since I’d spent so much time making the front panel (and I didn’t have any extra veneer plywood with the same grain pattern to make another one), so I measured and rechecked everything several times before proceeding with the saw. The chartplotters fit the openings, although I needed to grind down some of the 2x2 that ran along the front bottom side to provide adequate clearance to accommodate the bottom of the chartplotter case. I also sealed the freshly cut edges of the openings.
I applied multiple coats of gloss varnish (six coats total) over the entire cabinet to provide a solid base for the top coats that I’ll apply later.
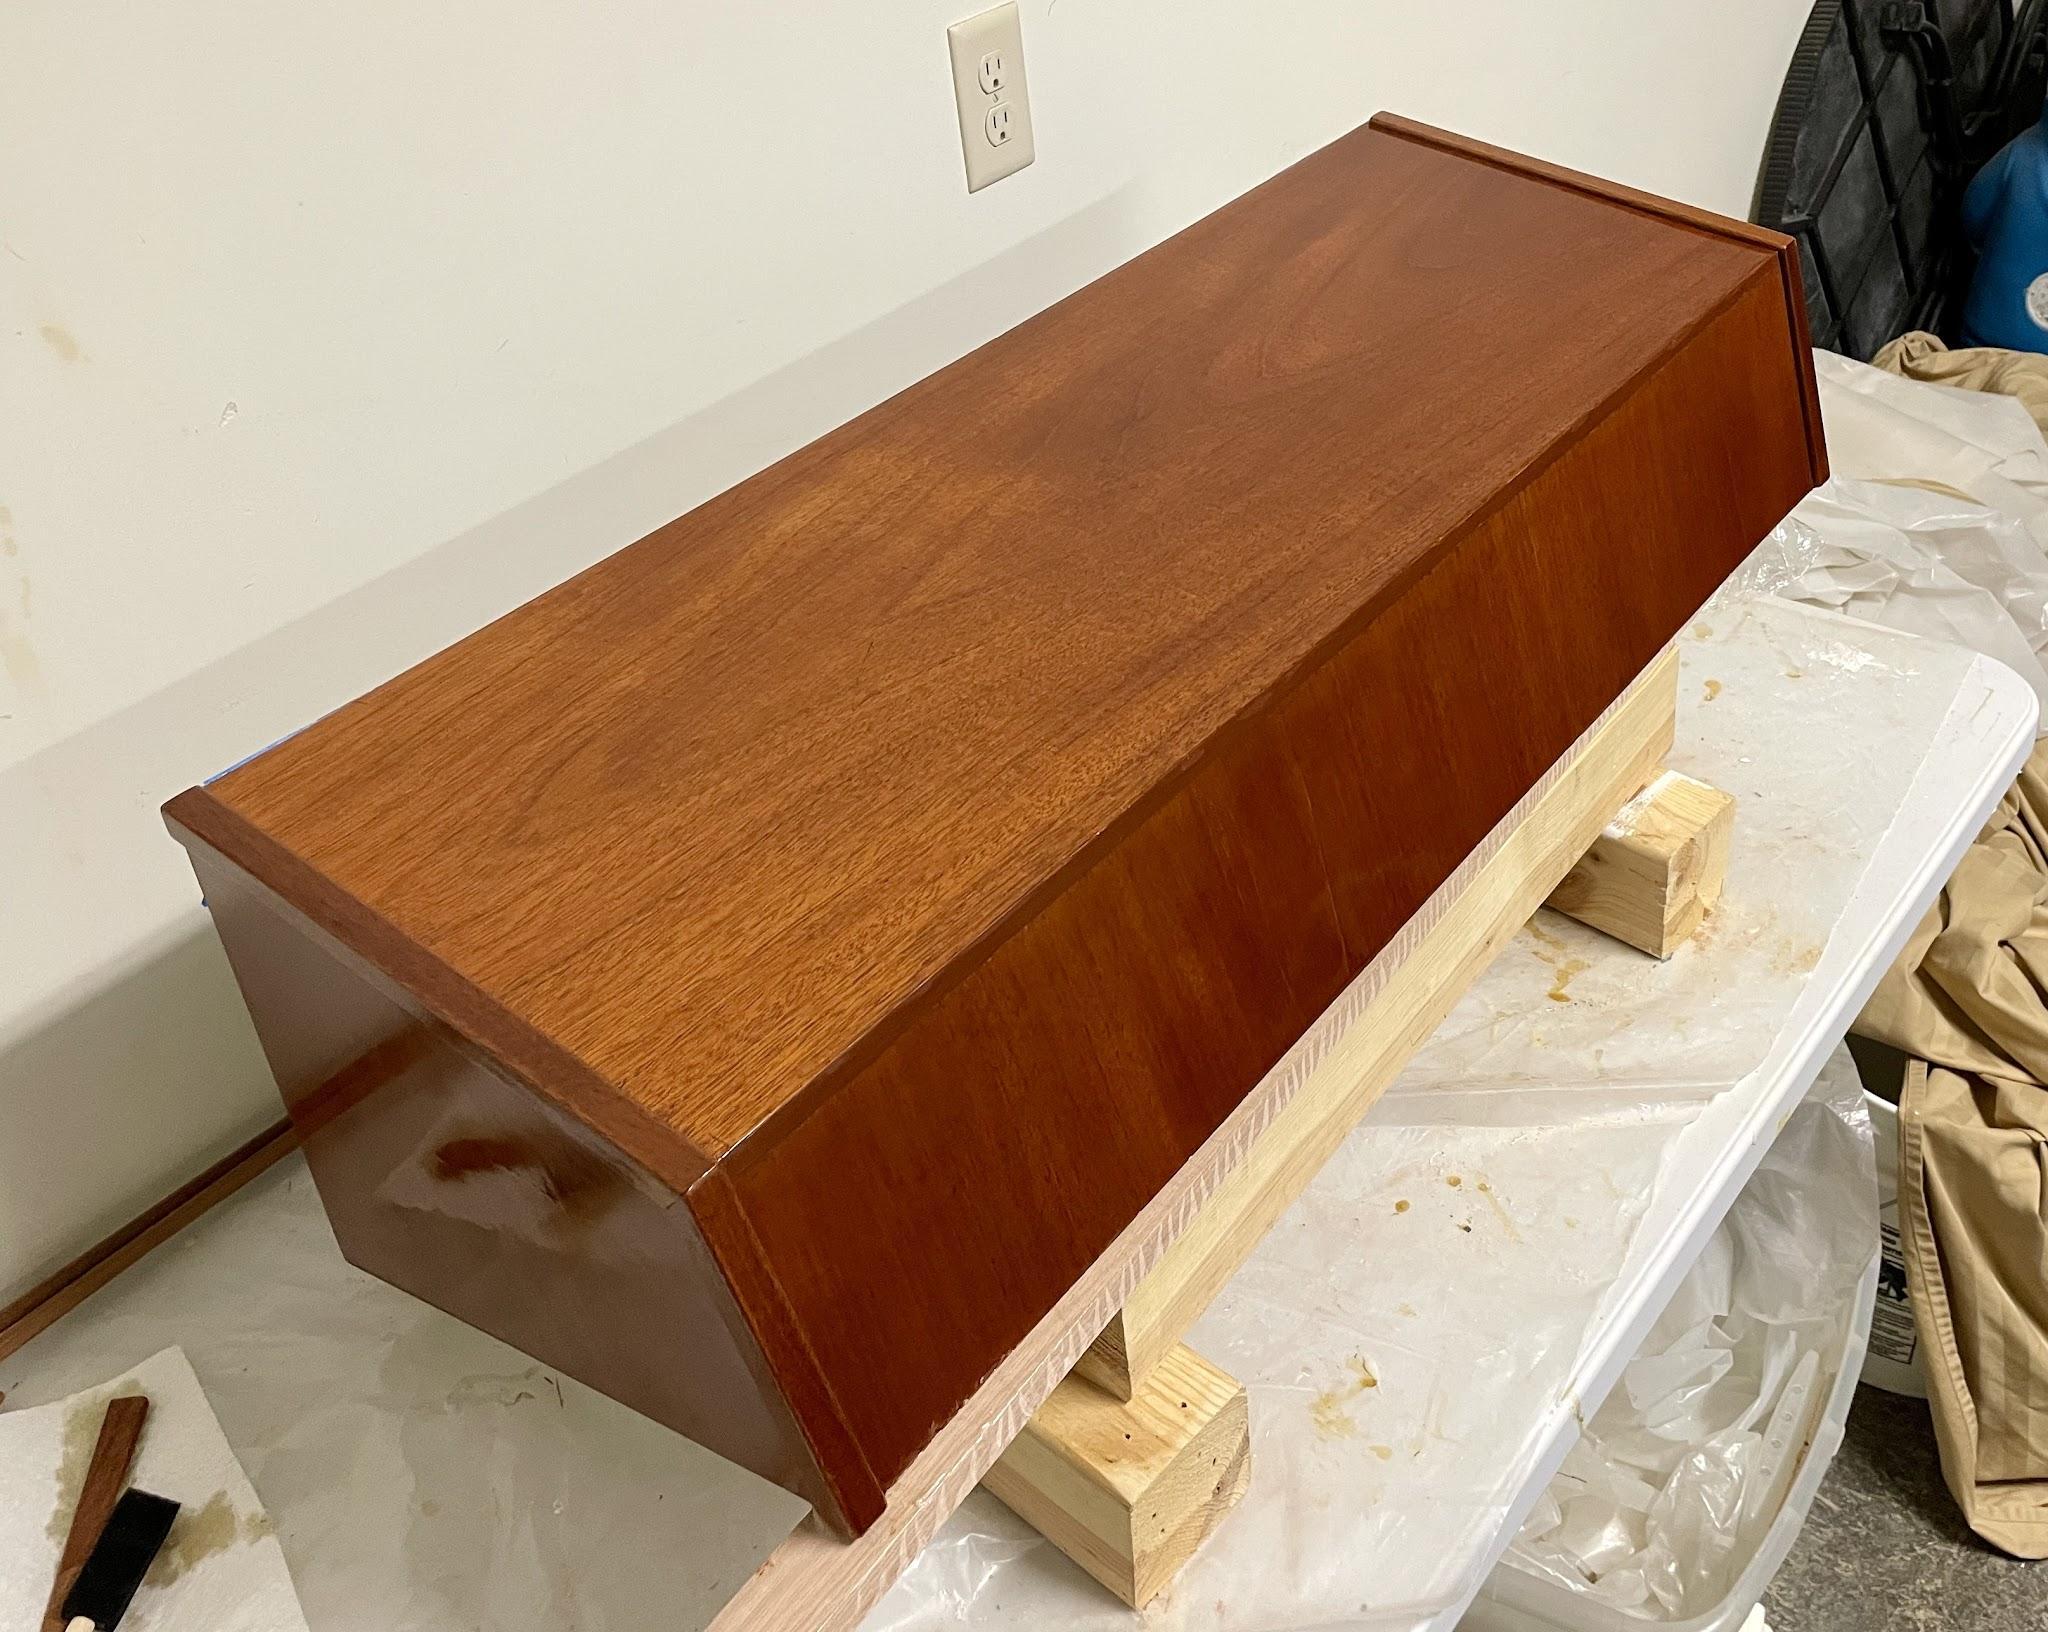
It’s not done yet! The next steps will be to install screws for securing the removable front panel to the cabinet, install the console on the pilothouse counter, fit the chartplotters and operating switches, run the associated cabling, and apply the final coats of varnish.
Lessons learned
- Build and check the frame in stages. Assembling the base, ends, side supports, and crosspieces separately made it easier to keep everything aligned.
- Dry-fit before applying epoxy. Clamp pieces in place, check them with a square, and determine how they might move due to the slippery epoxy.
- Cut trim slightly long. Final sanding produced tighter-fitting joints than trying to cut every piece to its exact finished length initially.
- Test finishes and fillers on scraps. The sample boards helped evaluate filler colors, stains, sealers, varnish, brushes, thinning methods, and the appearance of the mahogany veneer.
- Apply sealer carefully to veneer and trim. Sealer soaks into plywood readily but tends to pool on finer wood surfaces, such as mahogany veneer. Consider thinning the sealer.
- Keep the work level while varnishing. An unlevel surface contributes to runs.
- Plan for equipment clearance inside the cabinet. For this project, some internal framing needed to be sanded after the chartplotter openings were cut.