
The existing chartplotter installation in Hunky Dory’s pilothouse was functional, but it looked temporary. Both chartplotters were mounted on brackets just forward of the instrument panel, with their cables passing through the countertop below them.
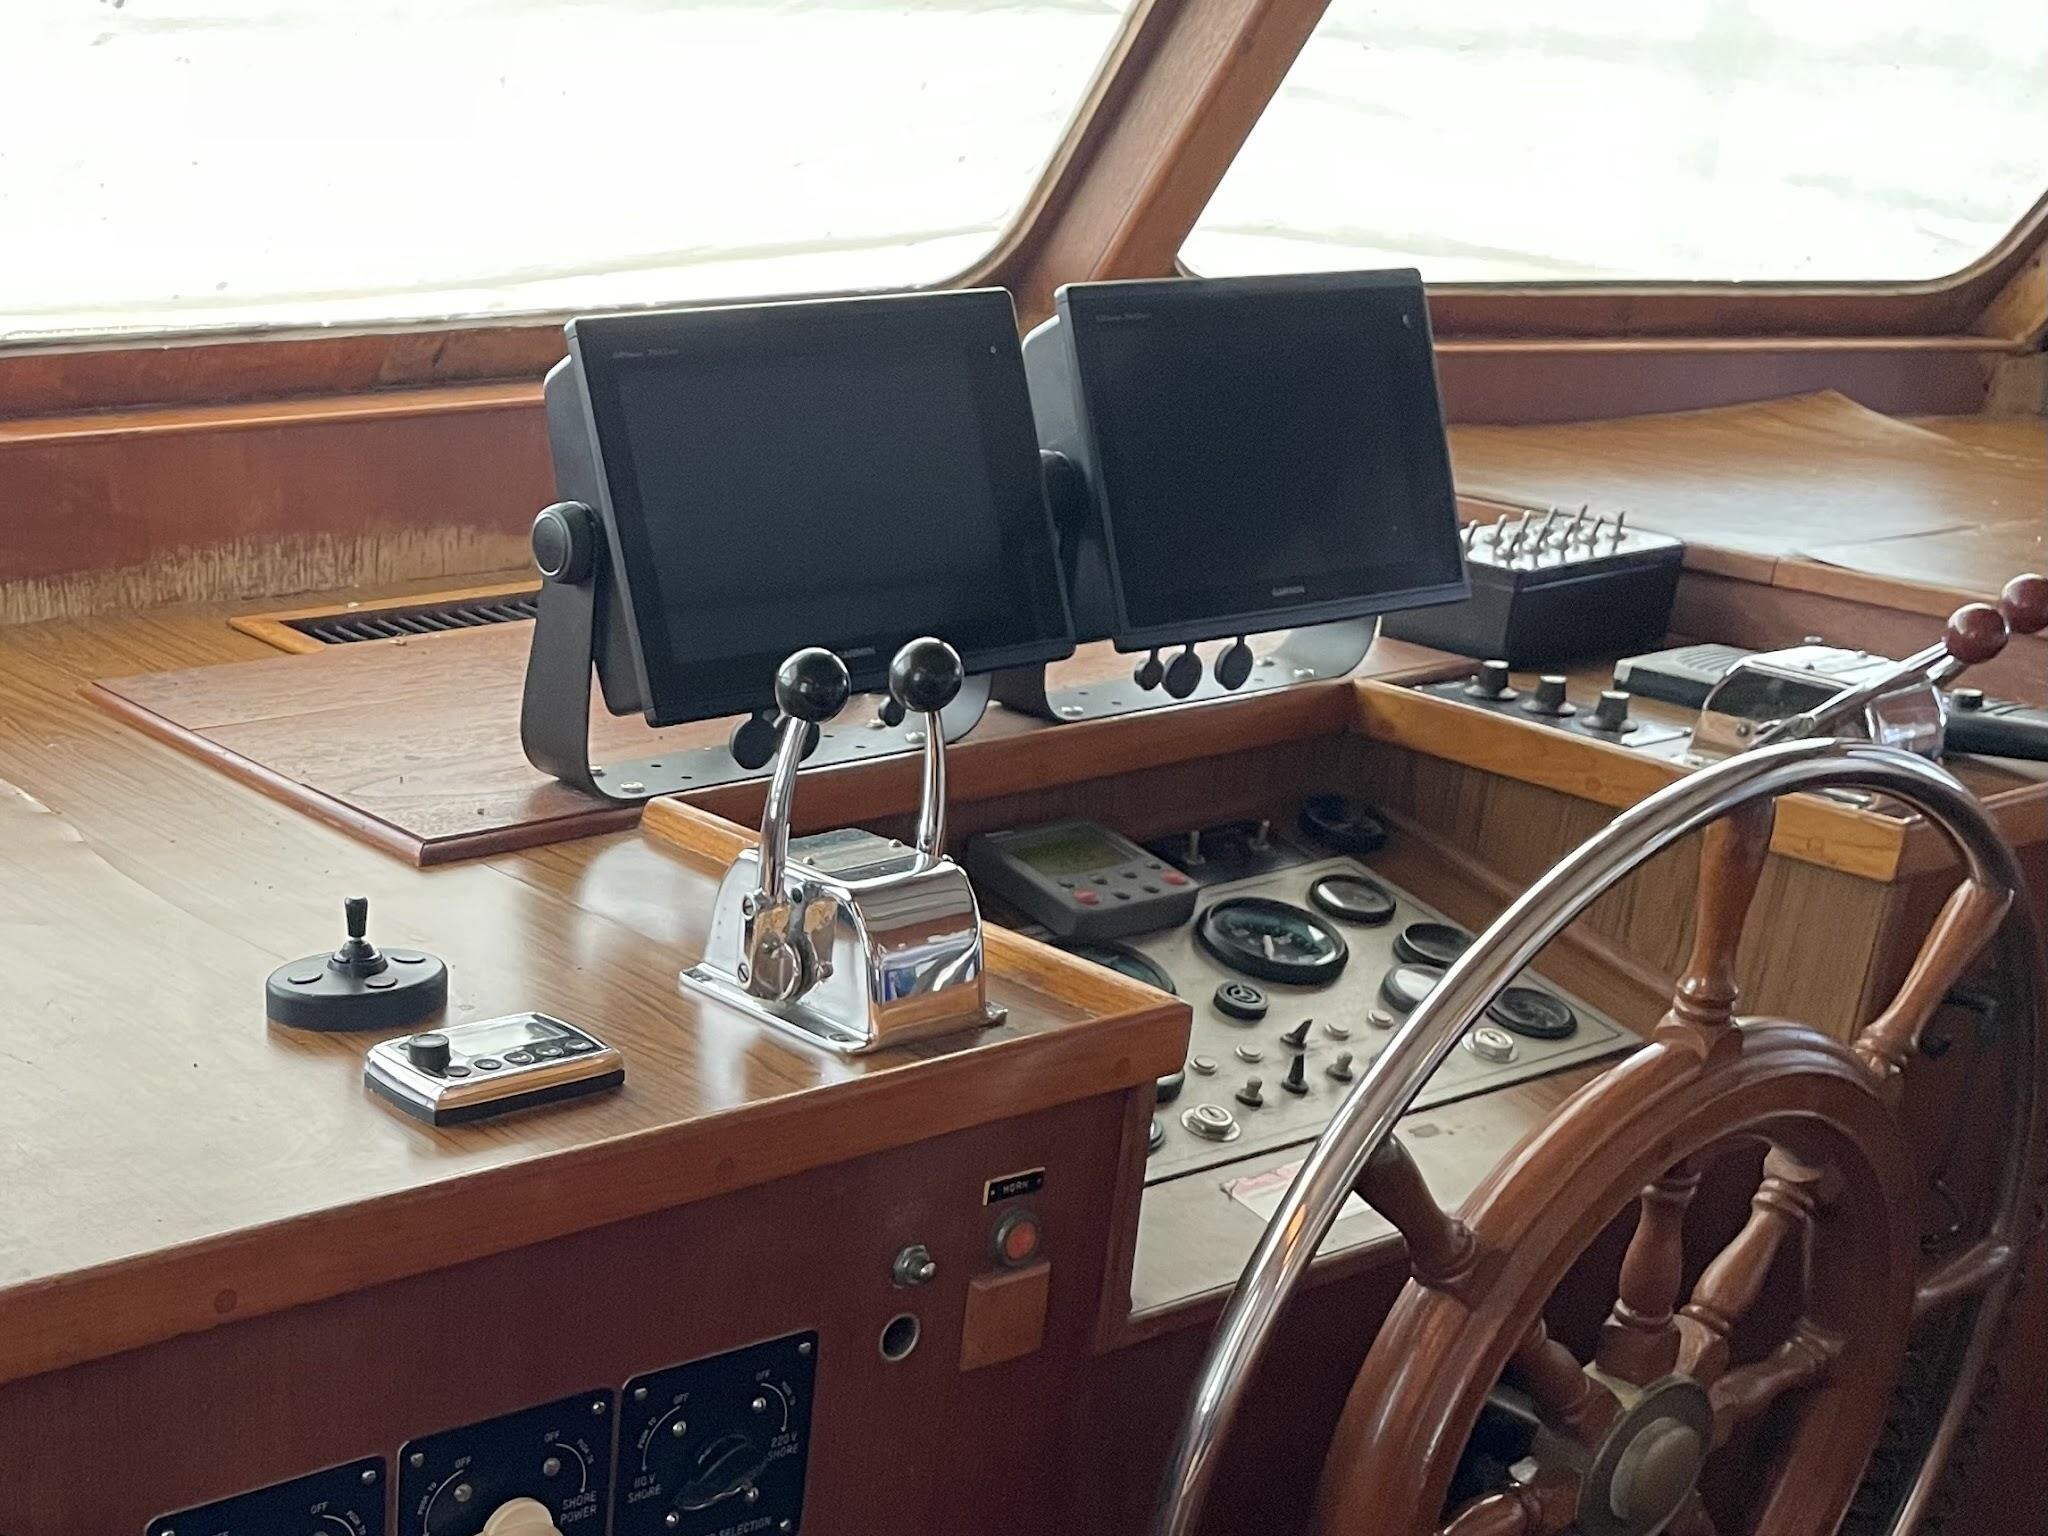
My goal is to replace that arrangement with a cabinet-style console that looks like it belongs in the pilothouse. The chartplotters will be mounted in the front panel, along with switches for equipment I need while underway, such as the navigation lights. Besides improving the appearance, the cabinet will conceal the wiring and provide a more organized operating position.
Before cutting any of the finished material, I needed to make sure that the idea would actually work. The console needs to fit the available space and keep the chartplotters and switches within comfortable reach. In other words, I want to be sure I’m building the right thing.
I began by taking measurements aboard the boat. I then drew the console on graph paper and built a full-size prototype at home. For construction material, I used cardboard left over from the boxes in which my flexible solar panels had been shipped. The cardboard was sturdy enough to hold its shape, and mistakes were considerably less expensive than mistakes made if building the real thing.
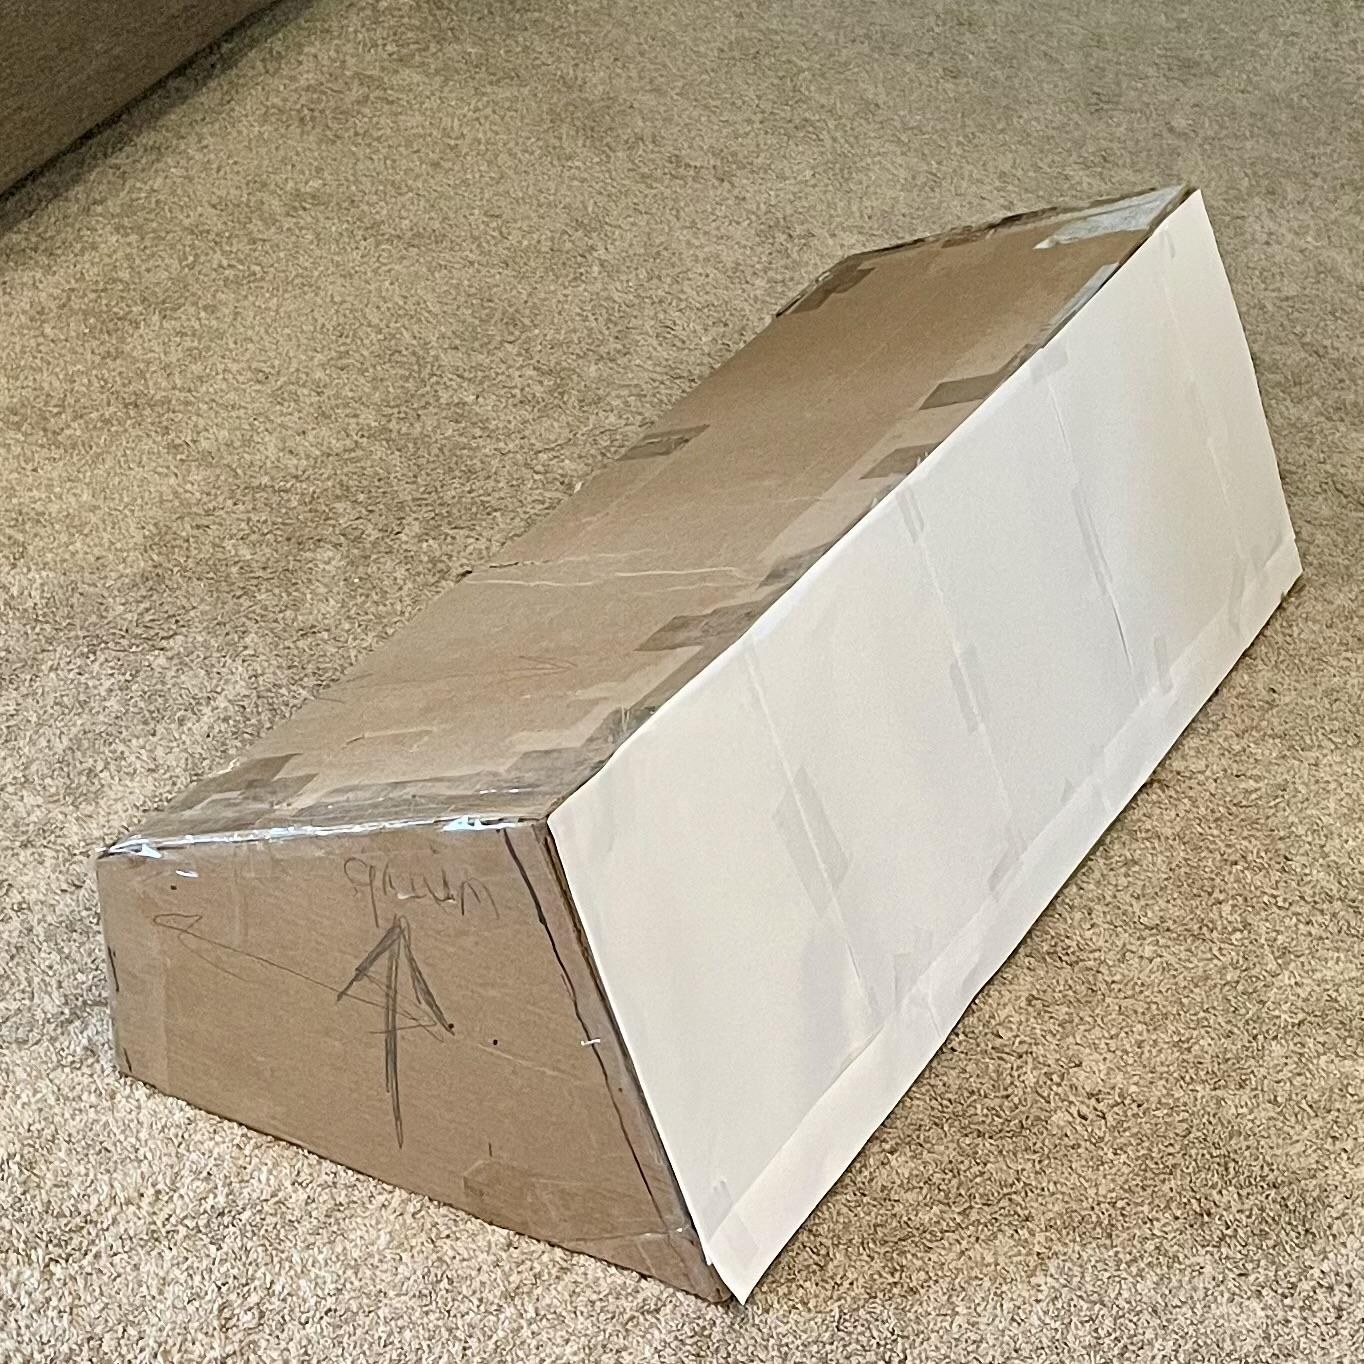
The first prototype’s front panel was angled to match the existing chartplotters mounted on brackets. I had operated the boat for years with the chartplotters at that viewing angle and found it comfortable, so I wanted the new console to preserve it—especially since the chartplotters would be fixed in position once installed. The first prototype also extended from the instrument panel to the forward end of the countertop, with its forward end covering the existing Cruisair blower vent near the windshield. My plan was to route that air through the console and discharge it through new vents installed in the cabinet.
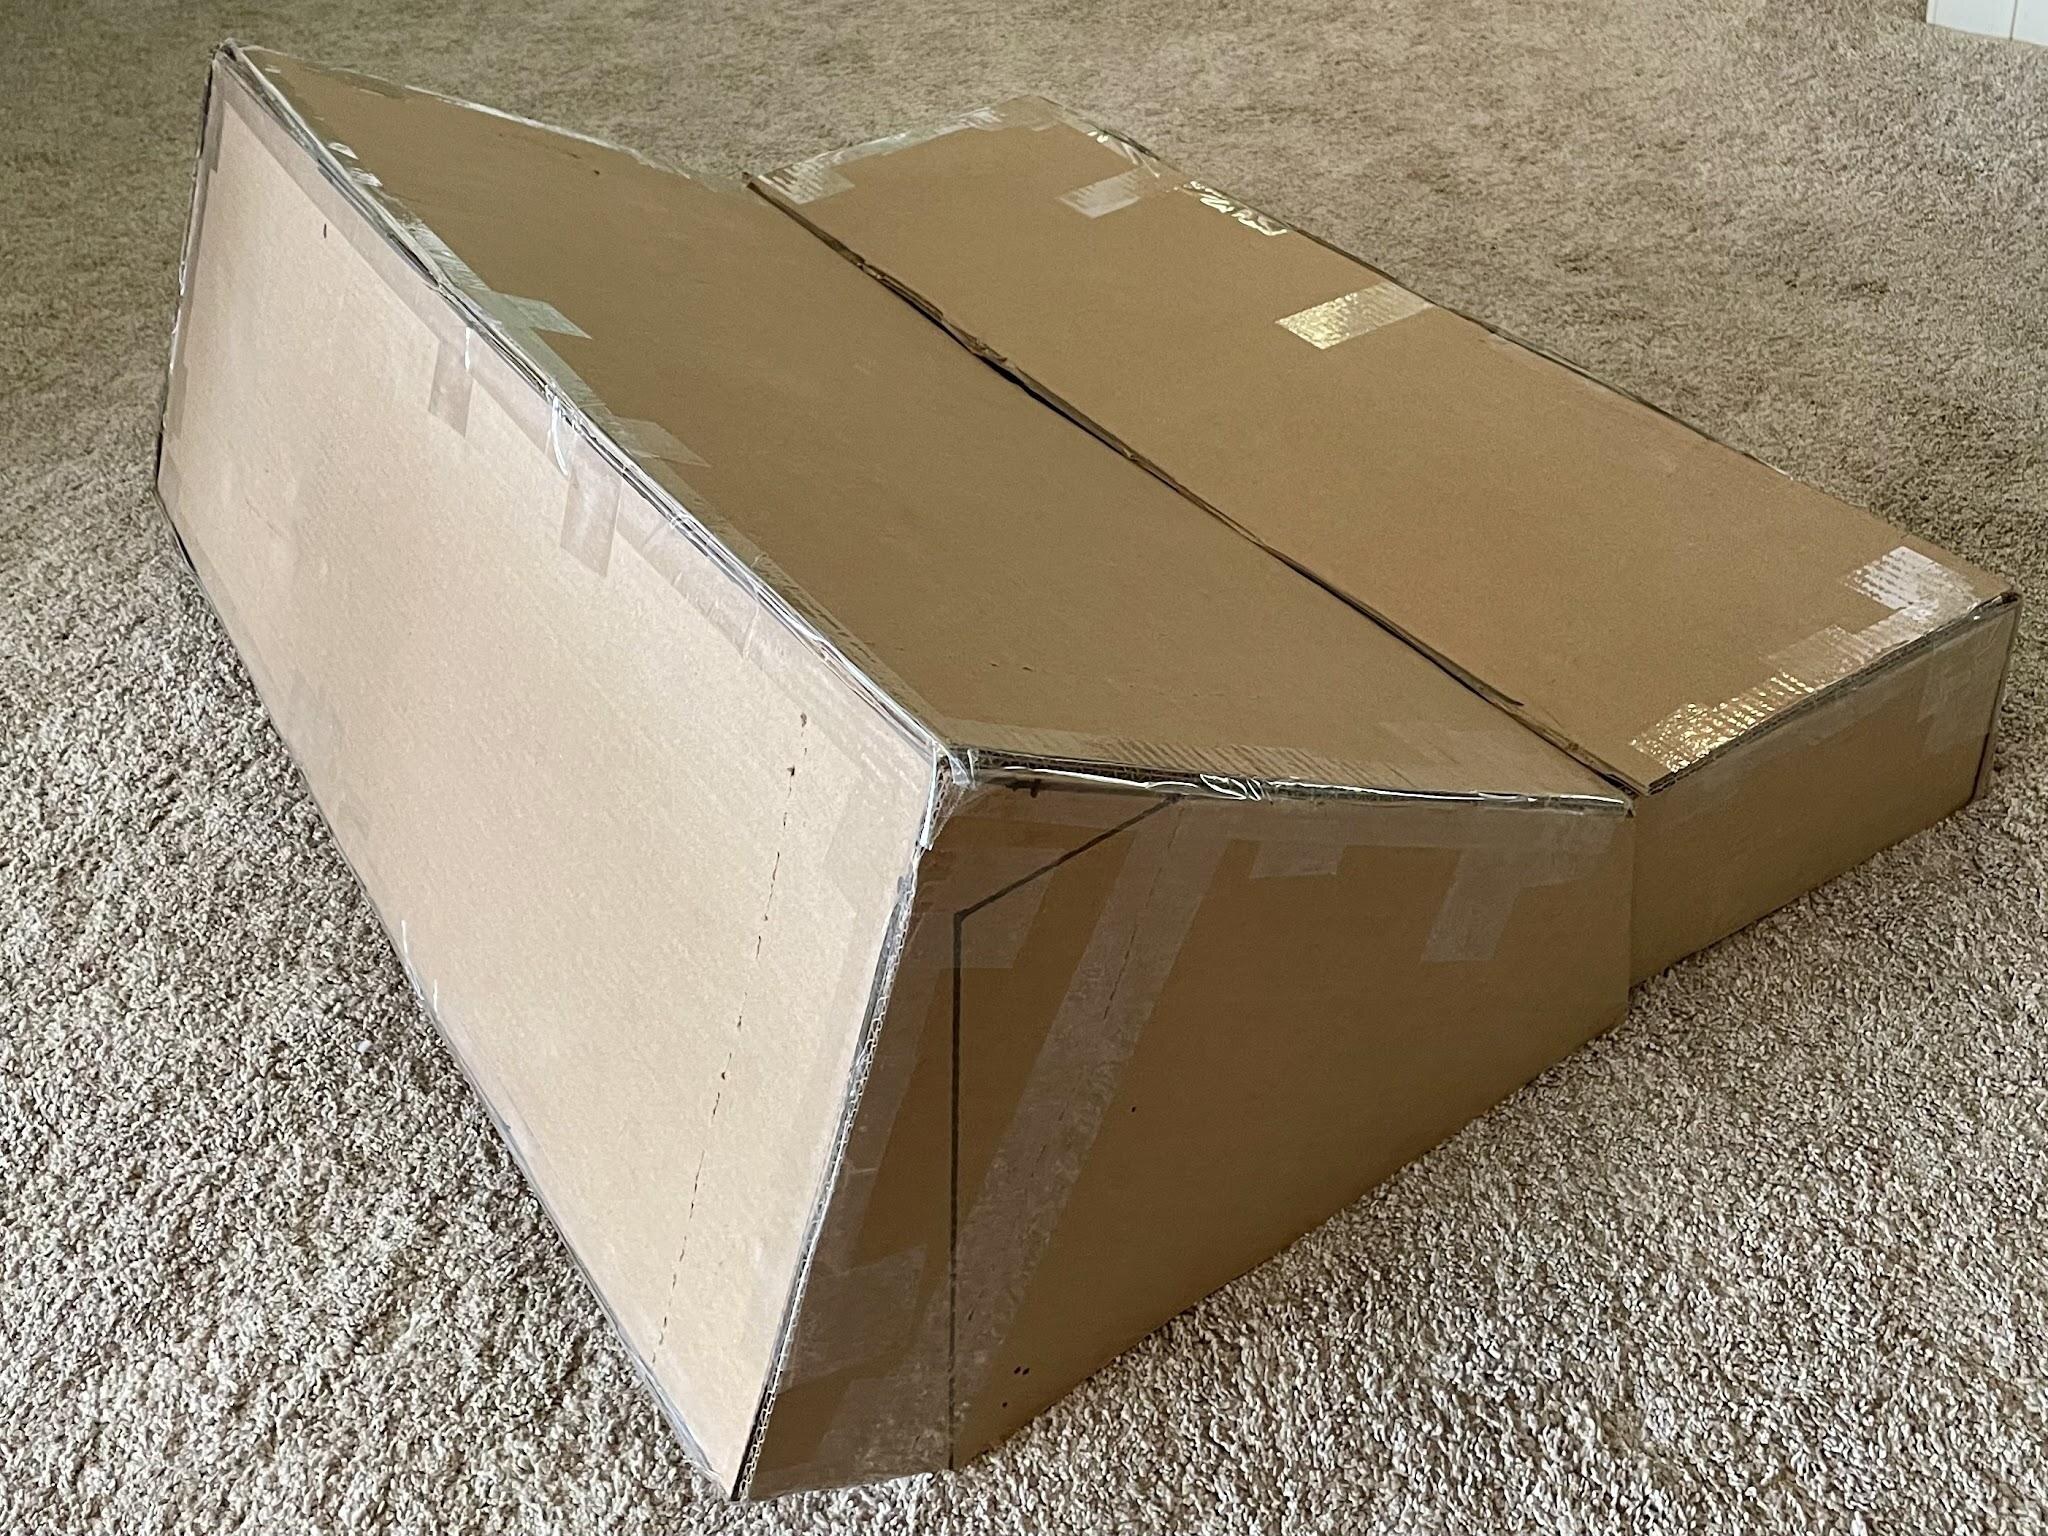
I took that first prototype to the boat and placed it on the pilothouse counter. This allowed me to judge its fit and appearance much better than measurements alone could. I also checked the viewing angle and reach to the chartplotters and the planned switch locations.
The basic concept worked, but the front needed refinement so the console would look more integrated with the instrument panel. So, I reshaped the prototype and checked what it would be like to operate the chartplotters with them positioned a little farther away than they had been on their original brackets. They remained within comfortable reach.
I later returned to the boat for more measurements and compared two possible arrangements. The longer console would cover the air-conditioning vent, but it would also require more complicated fitting around the rear of the counter and the pilothouse windows. A shorter arrangement could sit forward of the vent, leaving the original Cruisair outlet unobstructed and operating exactly as designed.
The simpler approach also looked better. I shortened the console’s depth, reconstructed the cardboard prototype, and checked the available front-panel height for the two chartplotters and the switches. After further trimming and test fitting at the boat, I settled on this second version as the basis for the finished console.
To check the layout more accurately, I cut two pieces of cardboard (from old file folders) to the exact dimensions of the chartplotters and taped them to the front of the prototype. I also mounted a switch similar to the type I plan to install on the side. This gave me a much better sense of how the equipment would fit together and confirmed that there would be enough room between the chartplotters, the switch, and the edges of the finished console.
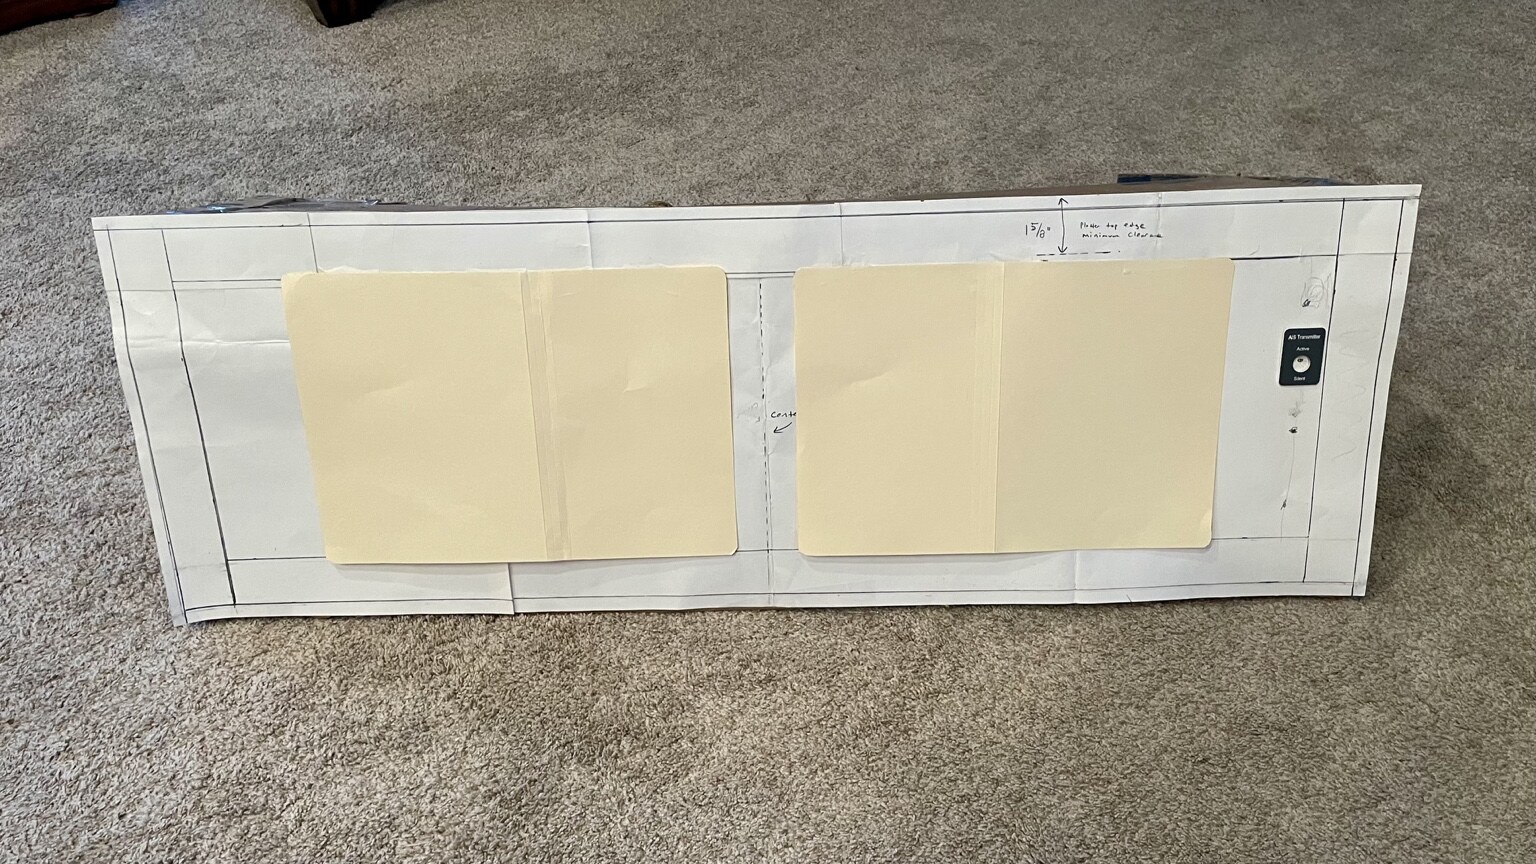
The cardboard had done its job. I now had a console design that fit the space, looked appropriate with the existing pilothouse, kept the controls within reach, and did not require redesigning the air-conditioning system.
The next step will be to build the actual console.
Lessons learned
- Make a full-size prototype. Measurements confirmed whether the console would fit, but the cardboard model showed how it would actually look and feel in the pilothouse.
- Check usability from the existing operating position. Testing the reach to the chartplotters and proposed switches was just as important as checking physical clearances.
- Consider nearby equipment. Shortening the console allowed the original CruiseAir vent to remain unobstructed and eliminated the need to build replacement air outlets.
- Recheck the design aboard the boat. Several rounds of fitting and reshaping produced a better result than relying on the original measurements.
- Save the prototype. It can be used as a cutting pattern for the actual console.